Barn Background

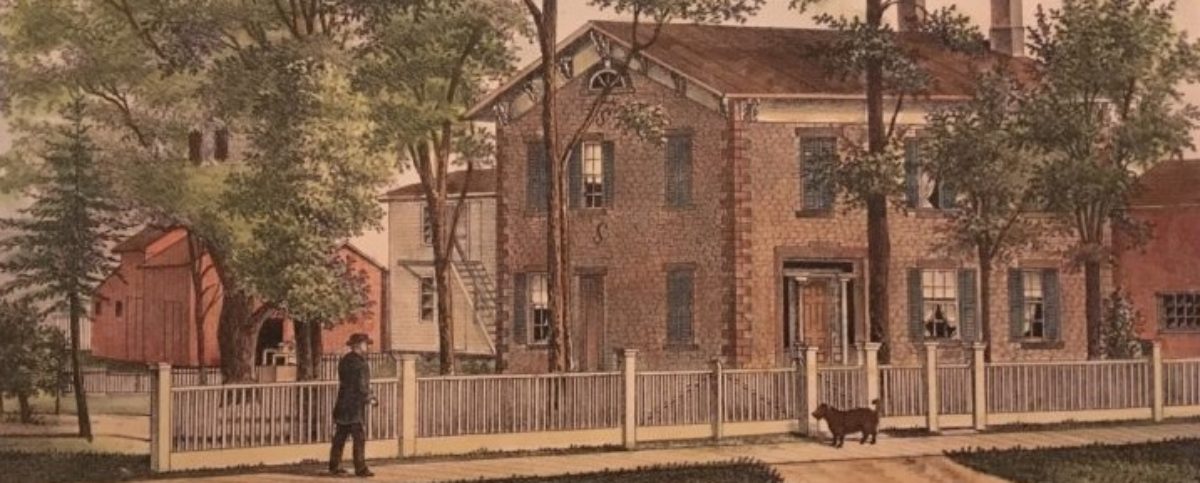
We’ve spent five years working on the house so far, and all that time the barn out back has been slowly leaning and settling as the wooden sill plates rotted away. It’s time to turn to the other structure in the drawing at the top of this blog: the barn.

I’m currently contemplating the “straightening” step, and some recent research led me to River Road Ramblings, which had good detail confirming essentially what I had in mind. It also got me motivated enough to start catching up on progress with the barn so far. If you have an Instagram account, flachsreude will provide some real inspiration as they are starting with a larger, older house and barn in Germany with a lot more work to do.

Our barn has three sections in the old drawing, two of which are still standing. The shed roof off the back is gone, though we can still see where it was attached.

South side of the barn, still showing where the shed roof had been. Missing door has a temporary cover.

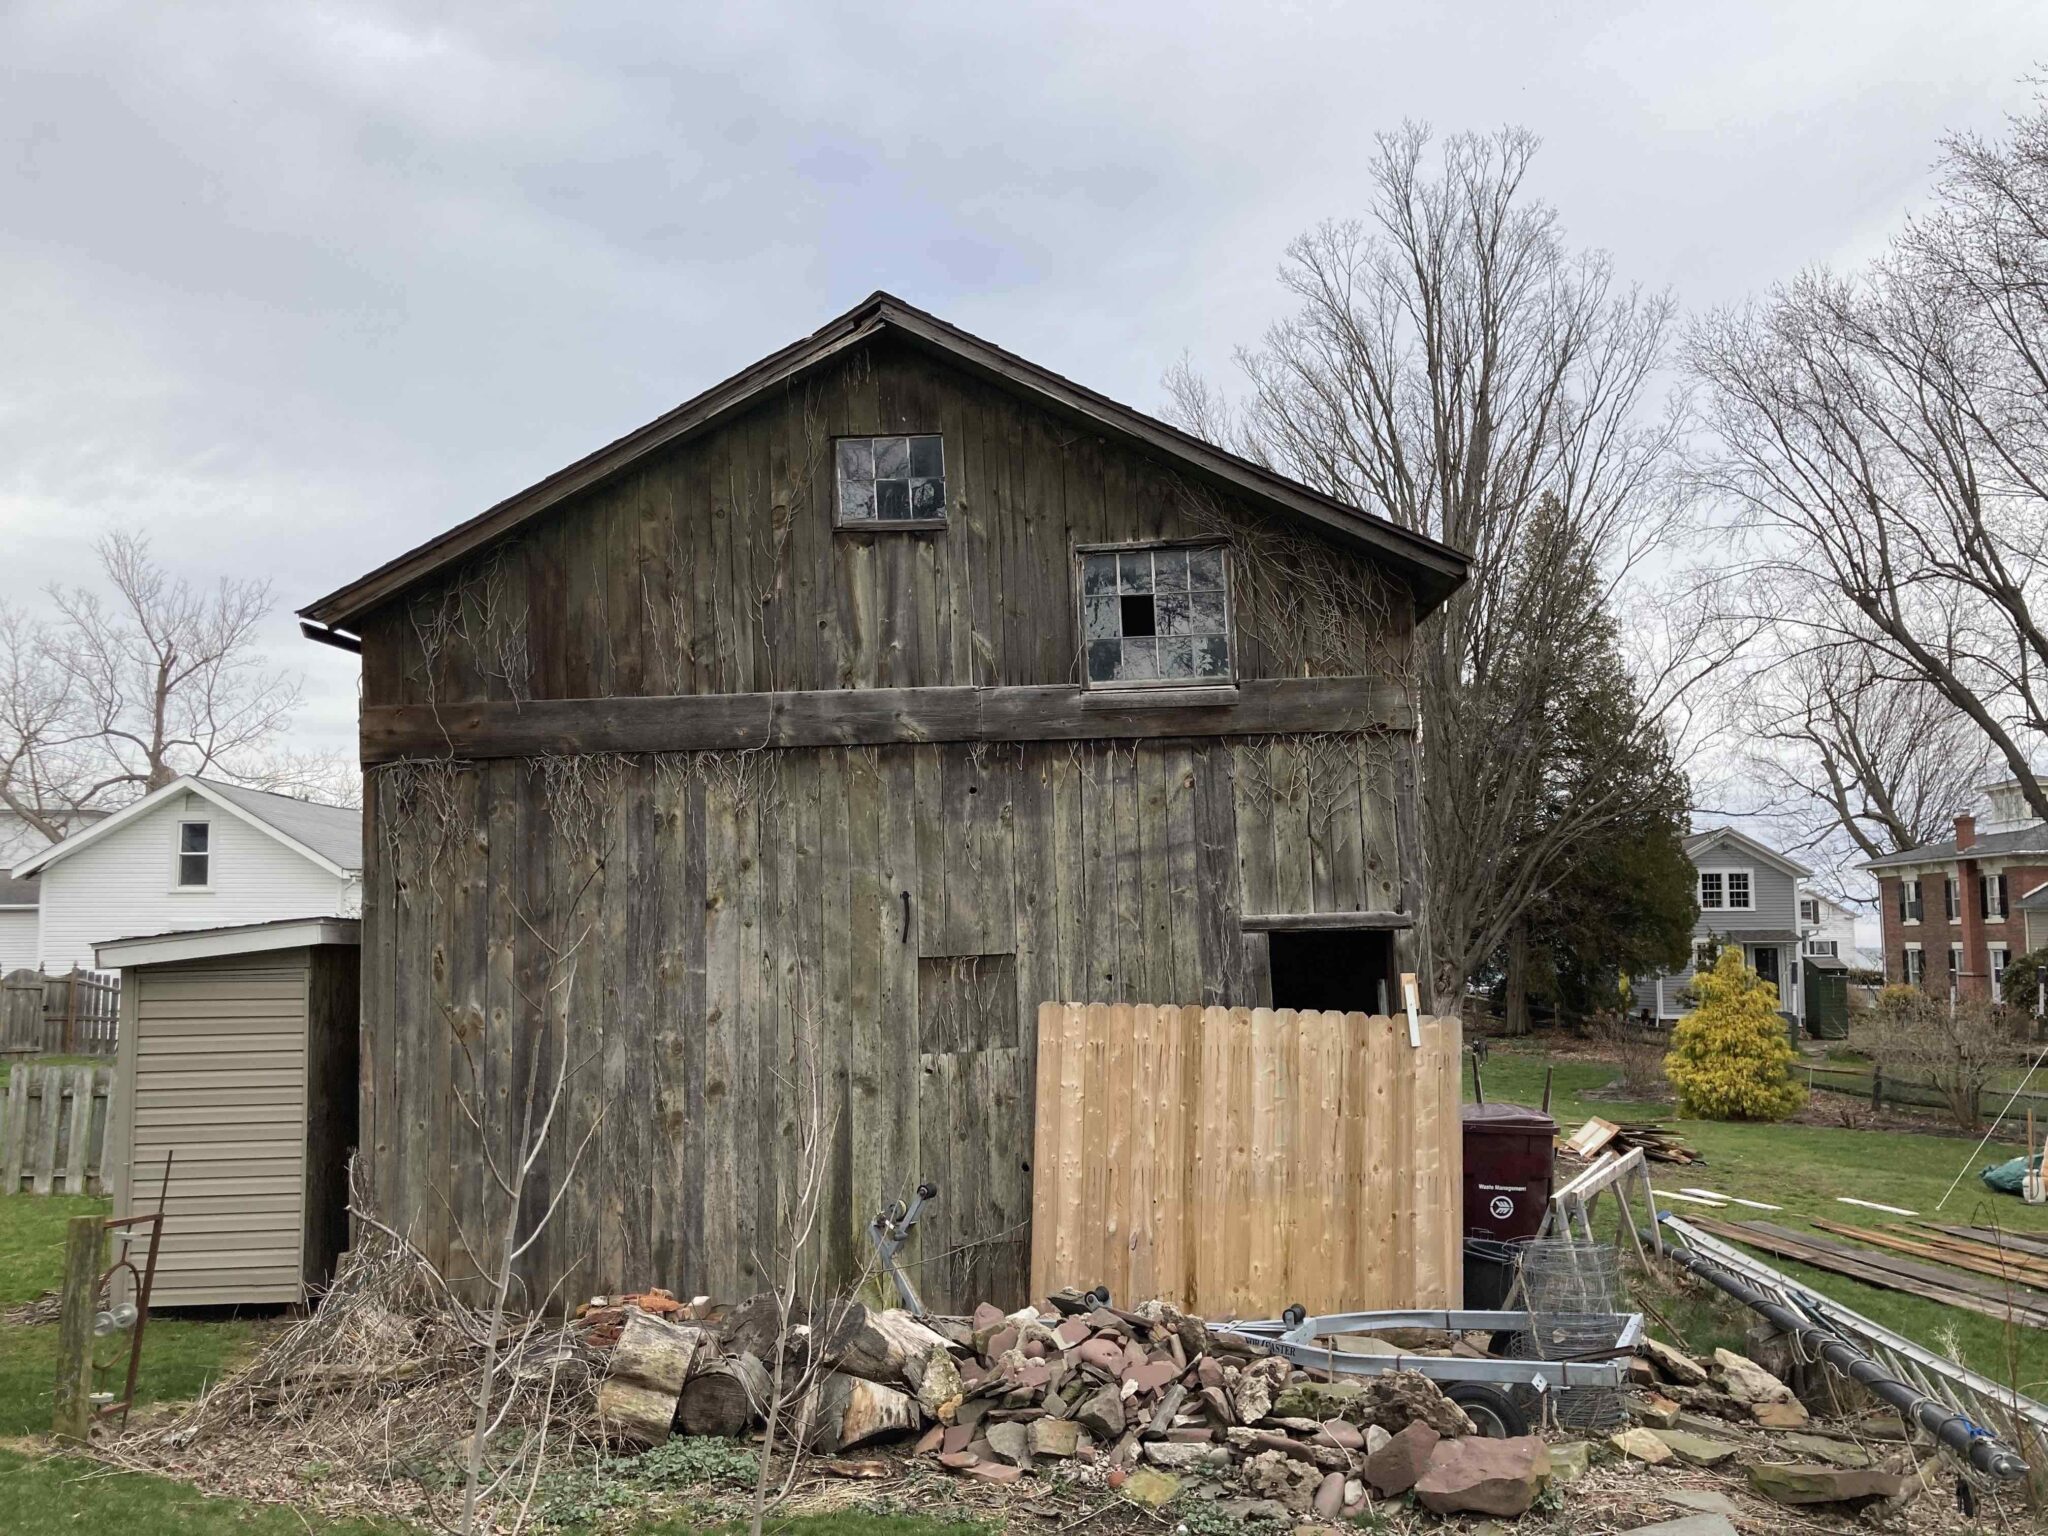
Some time before we bought the house, a tree fell on the barn roof in a storm, damaging the section closest to the house. That sat for some time, letting water in, but was eventually patched with a flat rubber roof and vinyl siding.

Looking west. The shed roof had been off the left side. The house is north, to the right.

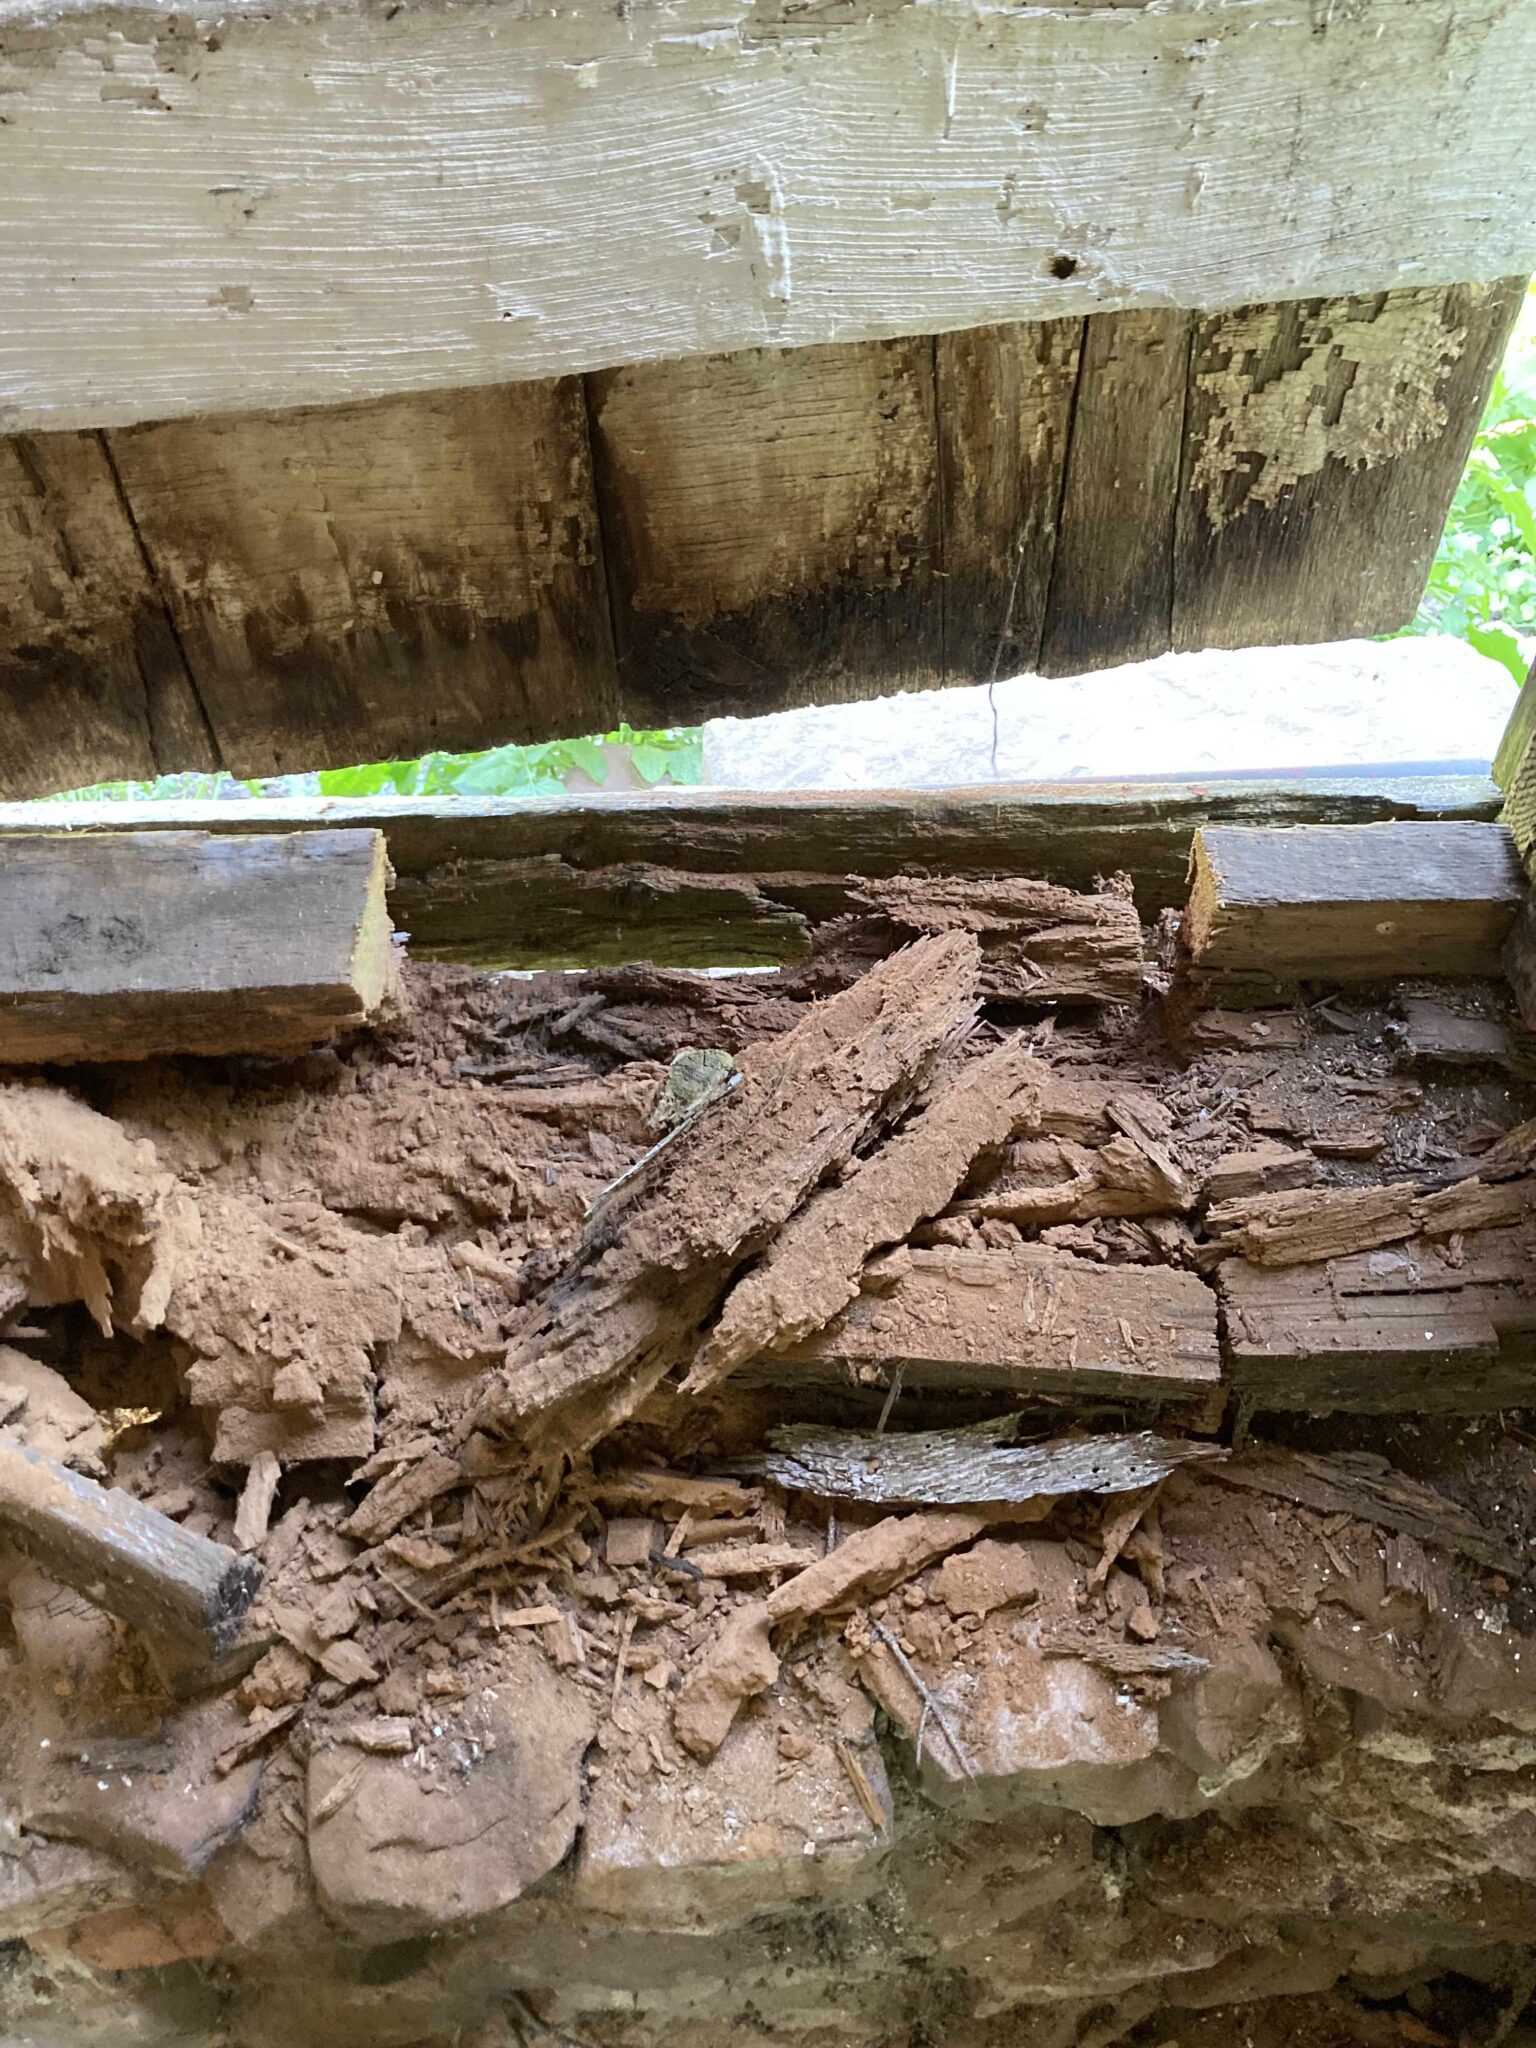
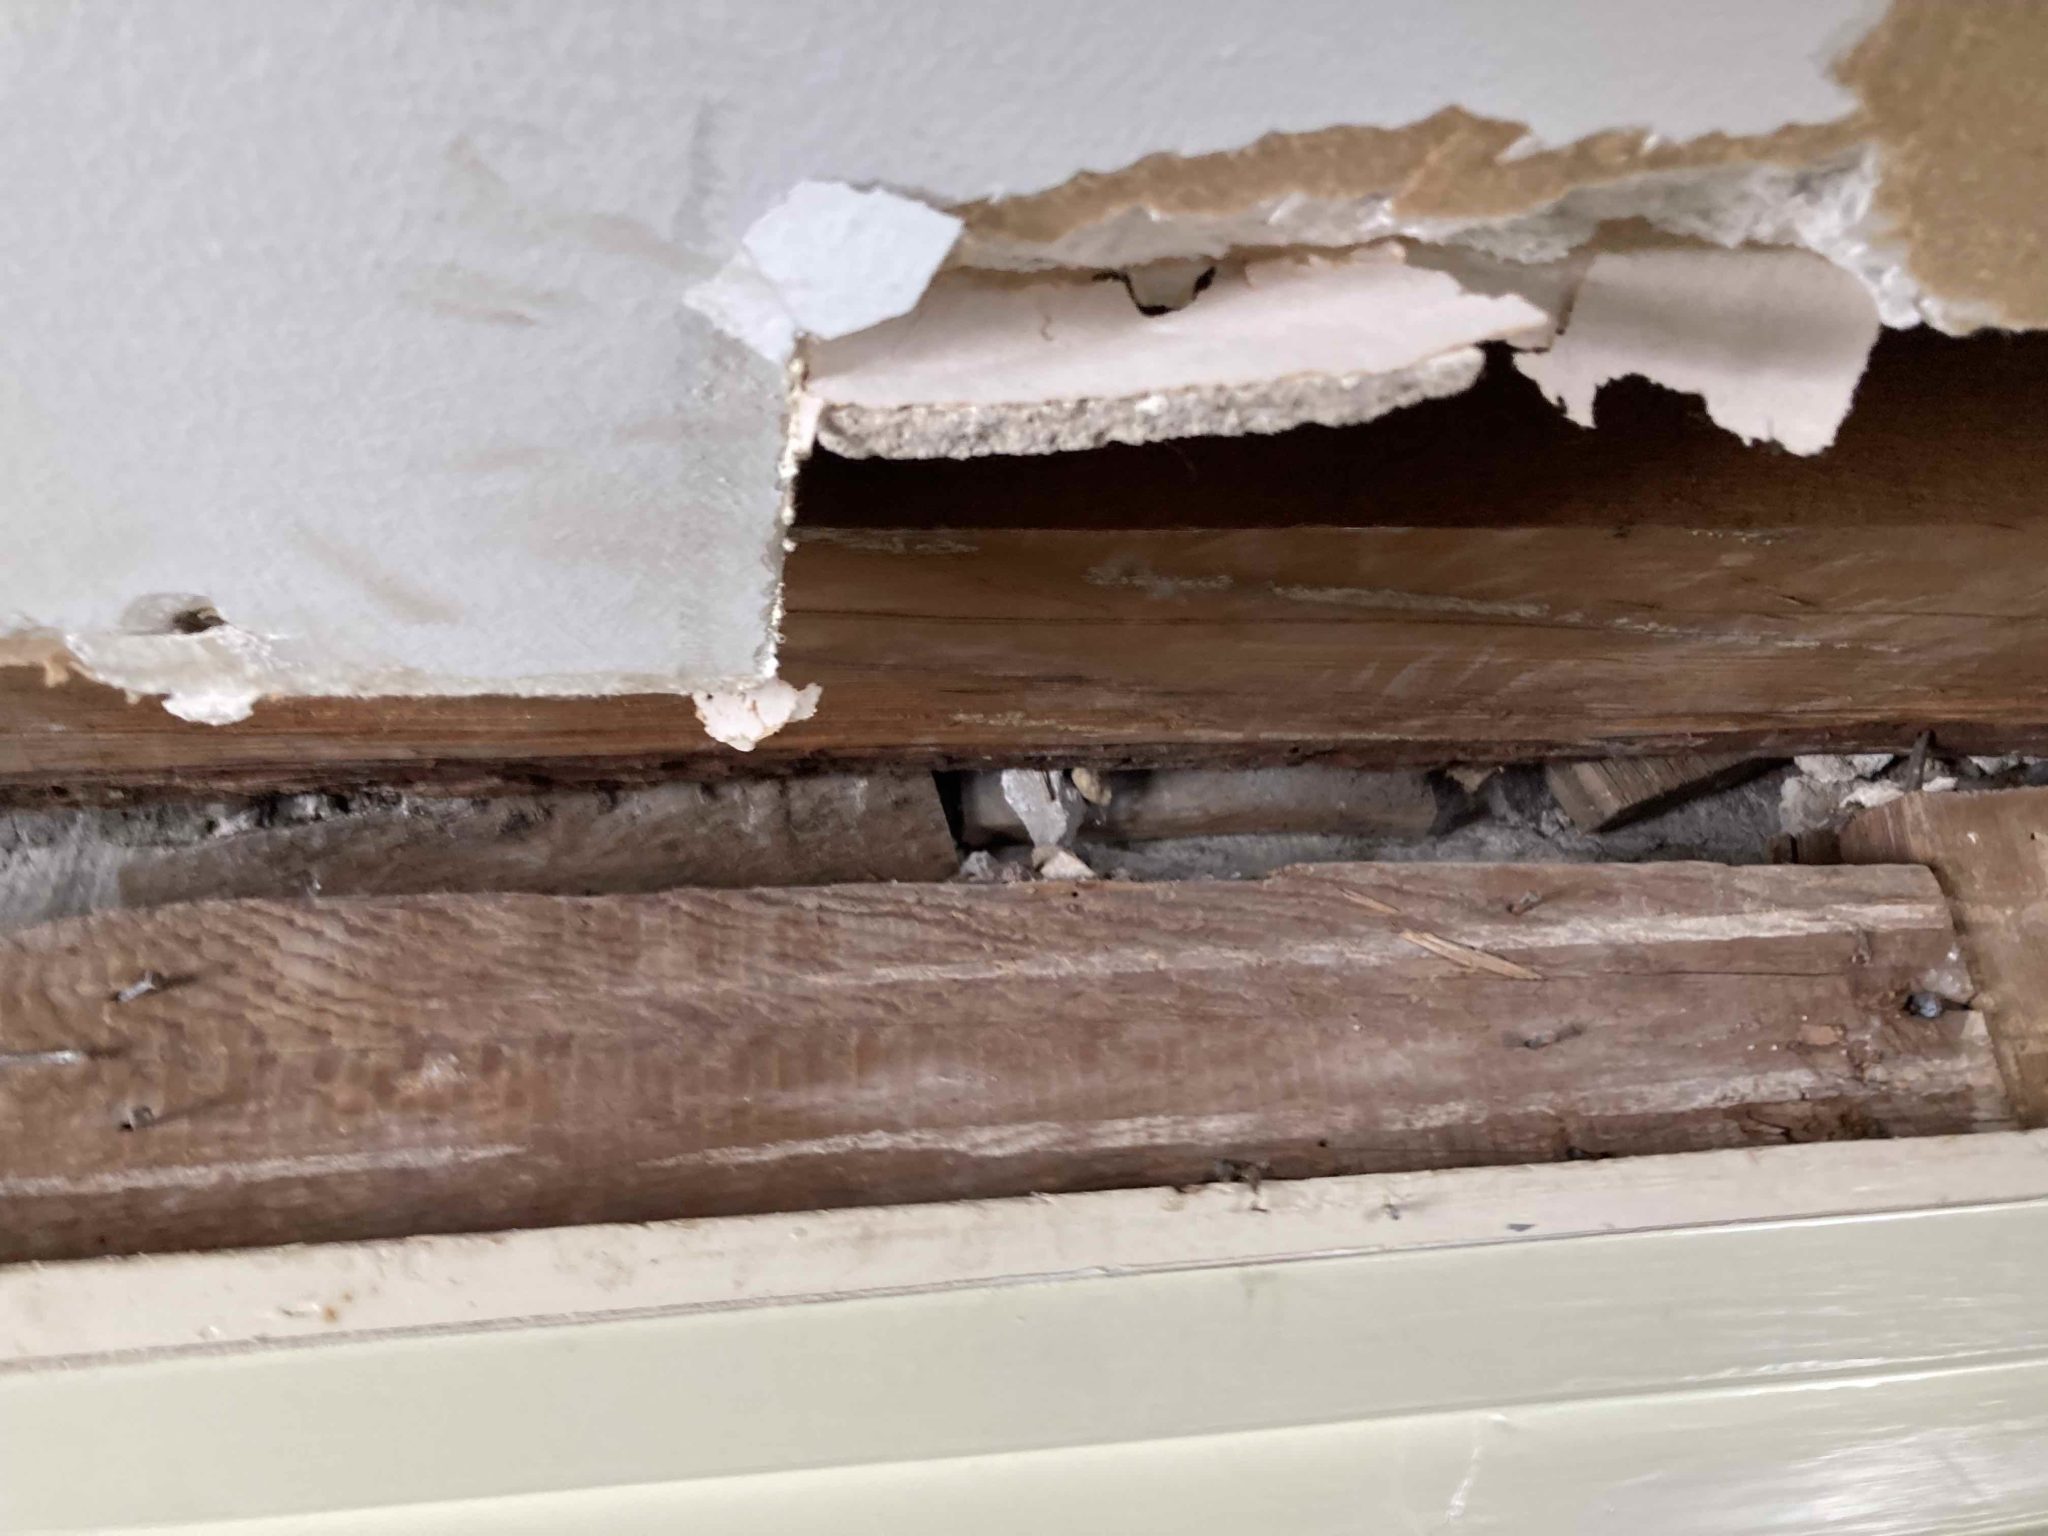
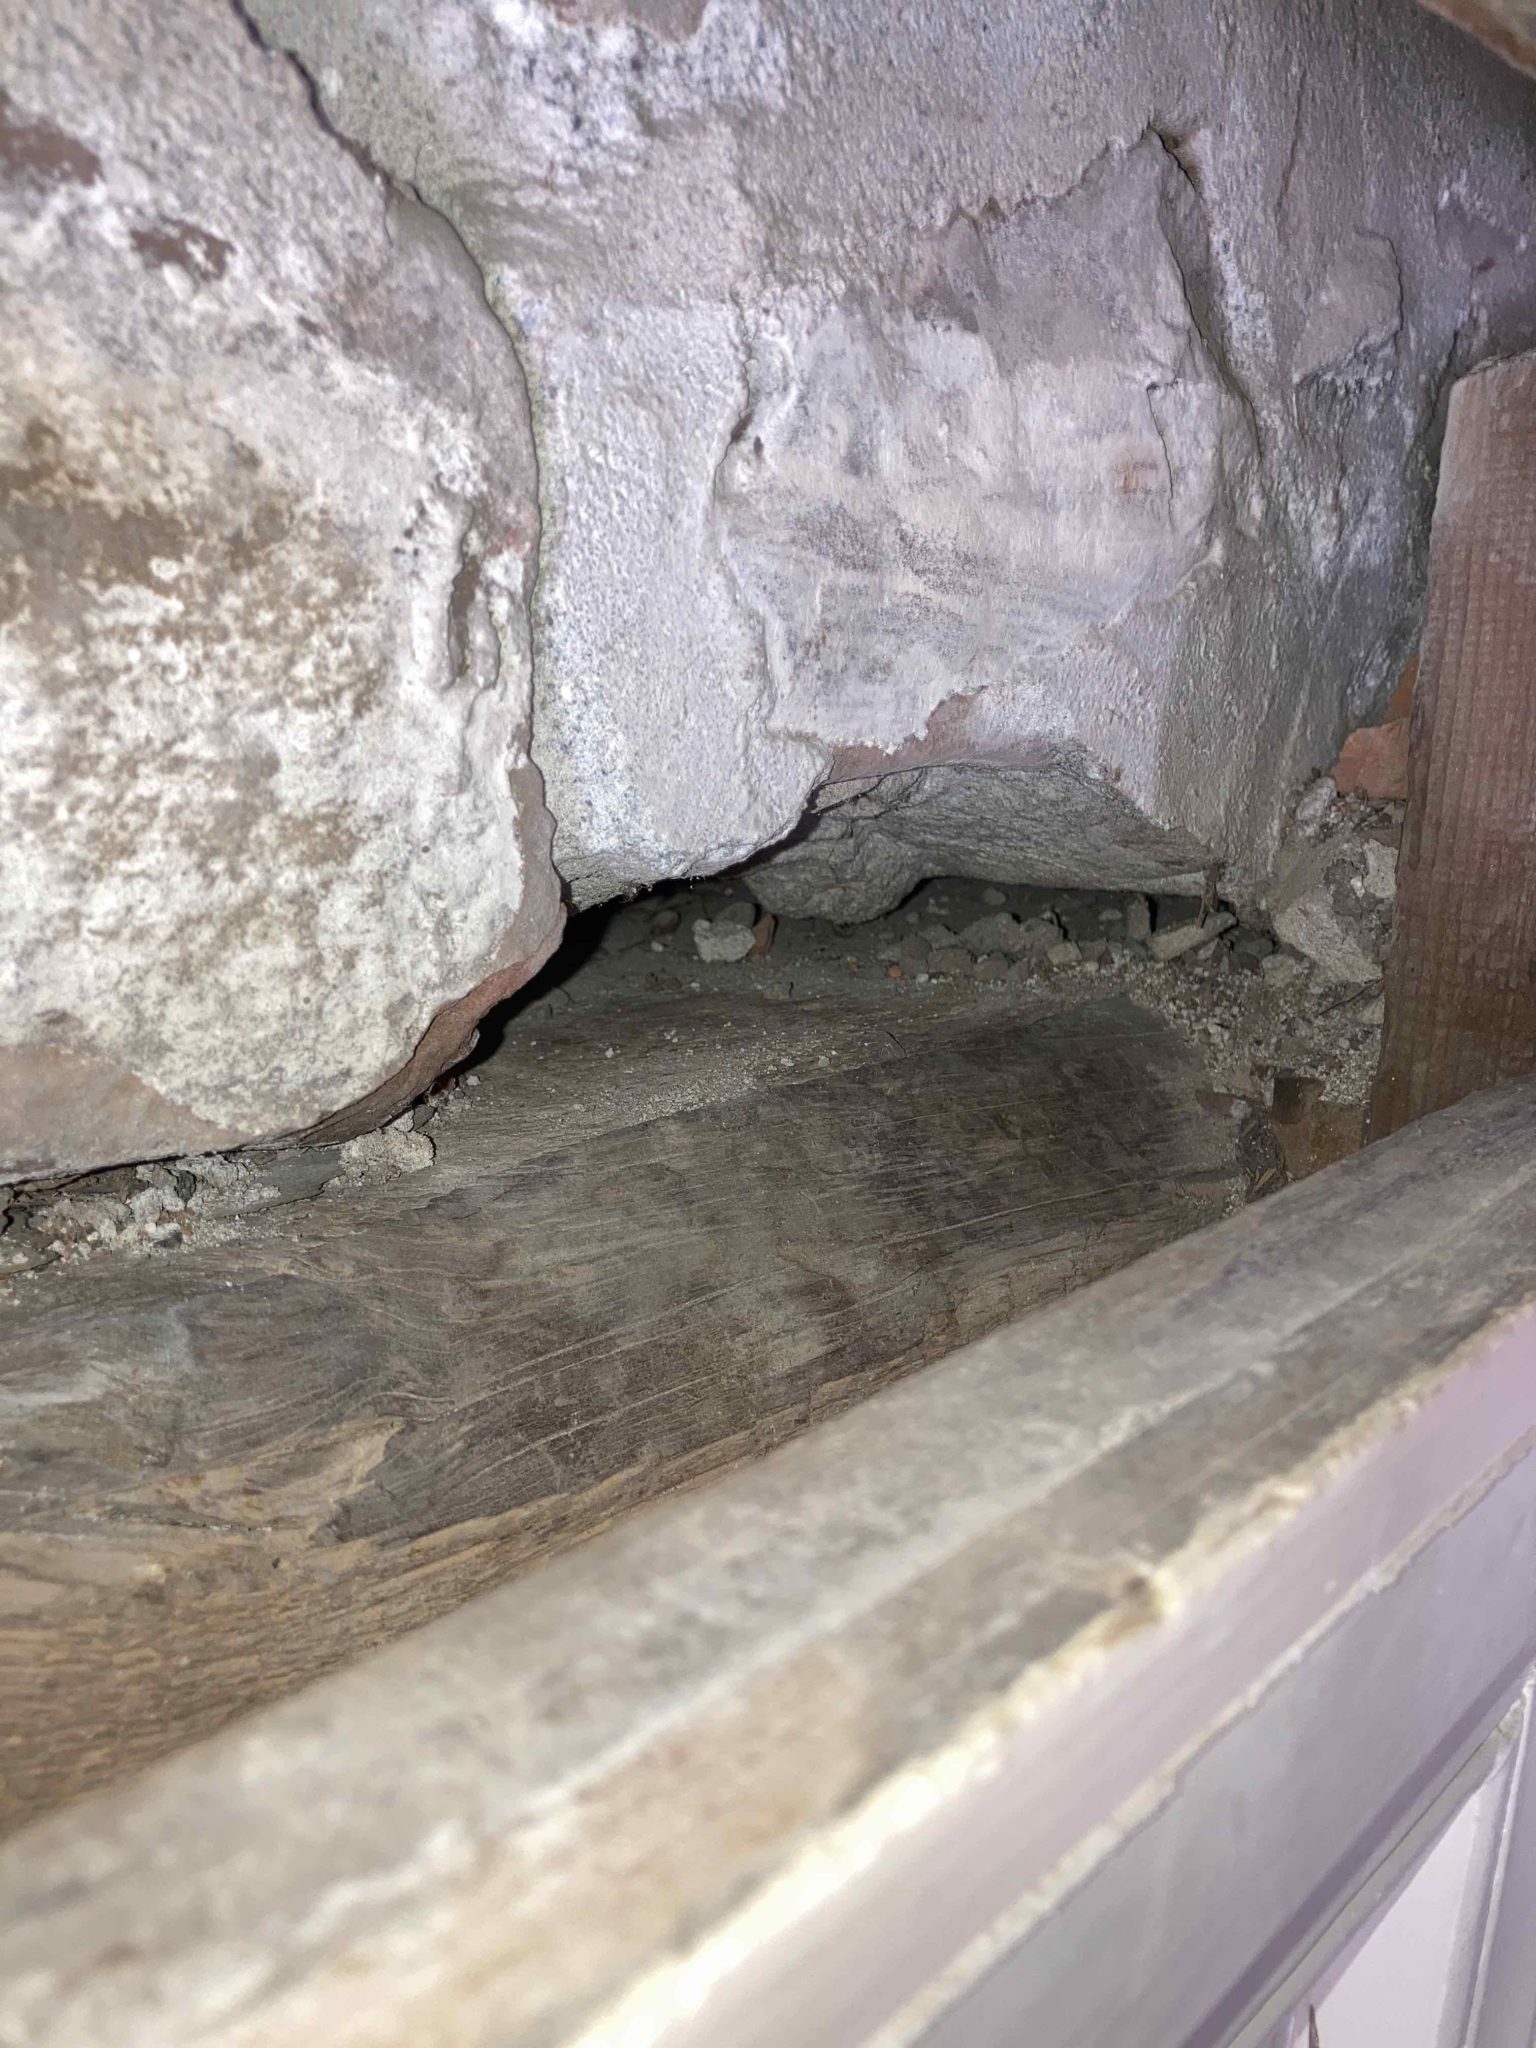
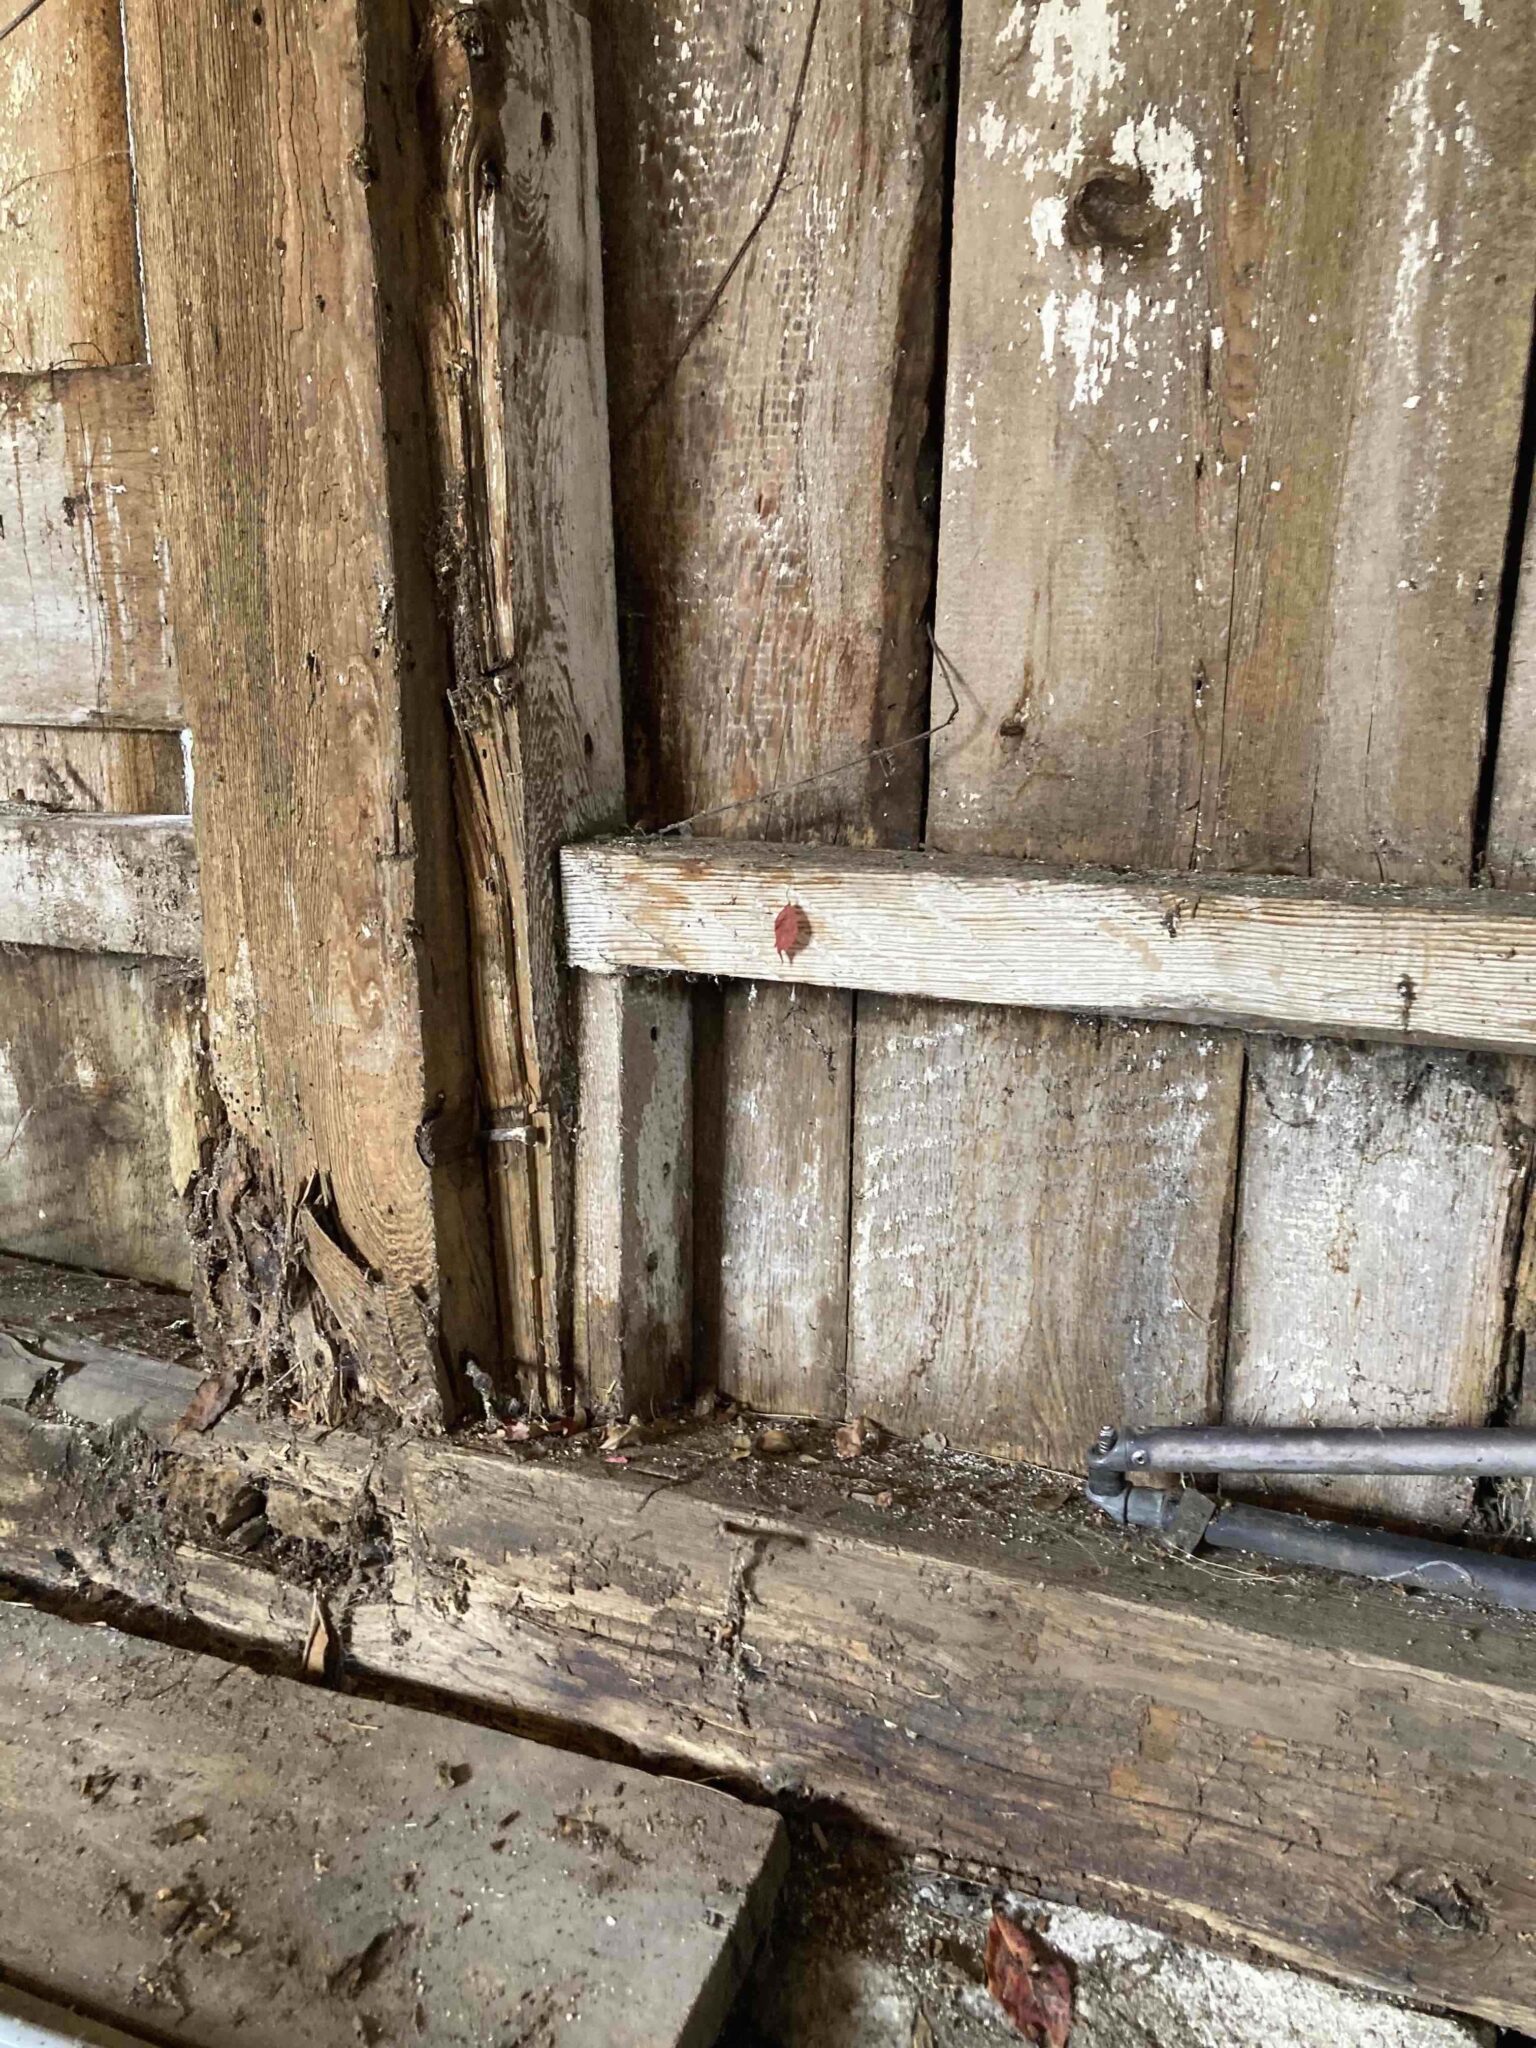
The combination of leaking roof and untreated wood sills resting on damp rock walls has taken a toll. The architect working on our house recommended removing and building new, but I’ve instead decided I could use another project… Besides, it has been here a while and was listed in the Pultneyville historic register application as a “contributing nineteenth-century frame barn”, so I’d like to try to save it. That, and I’m not sure how far down the list this would fall if we had to price out a whole new structure.

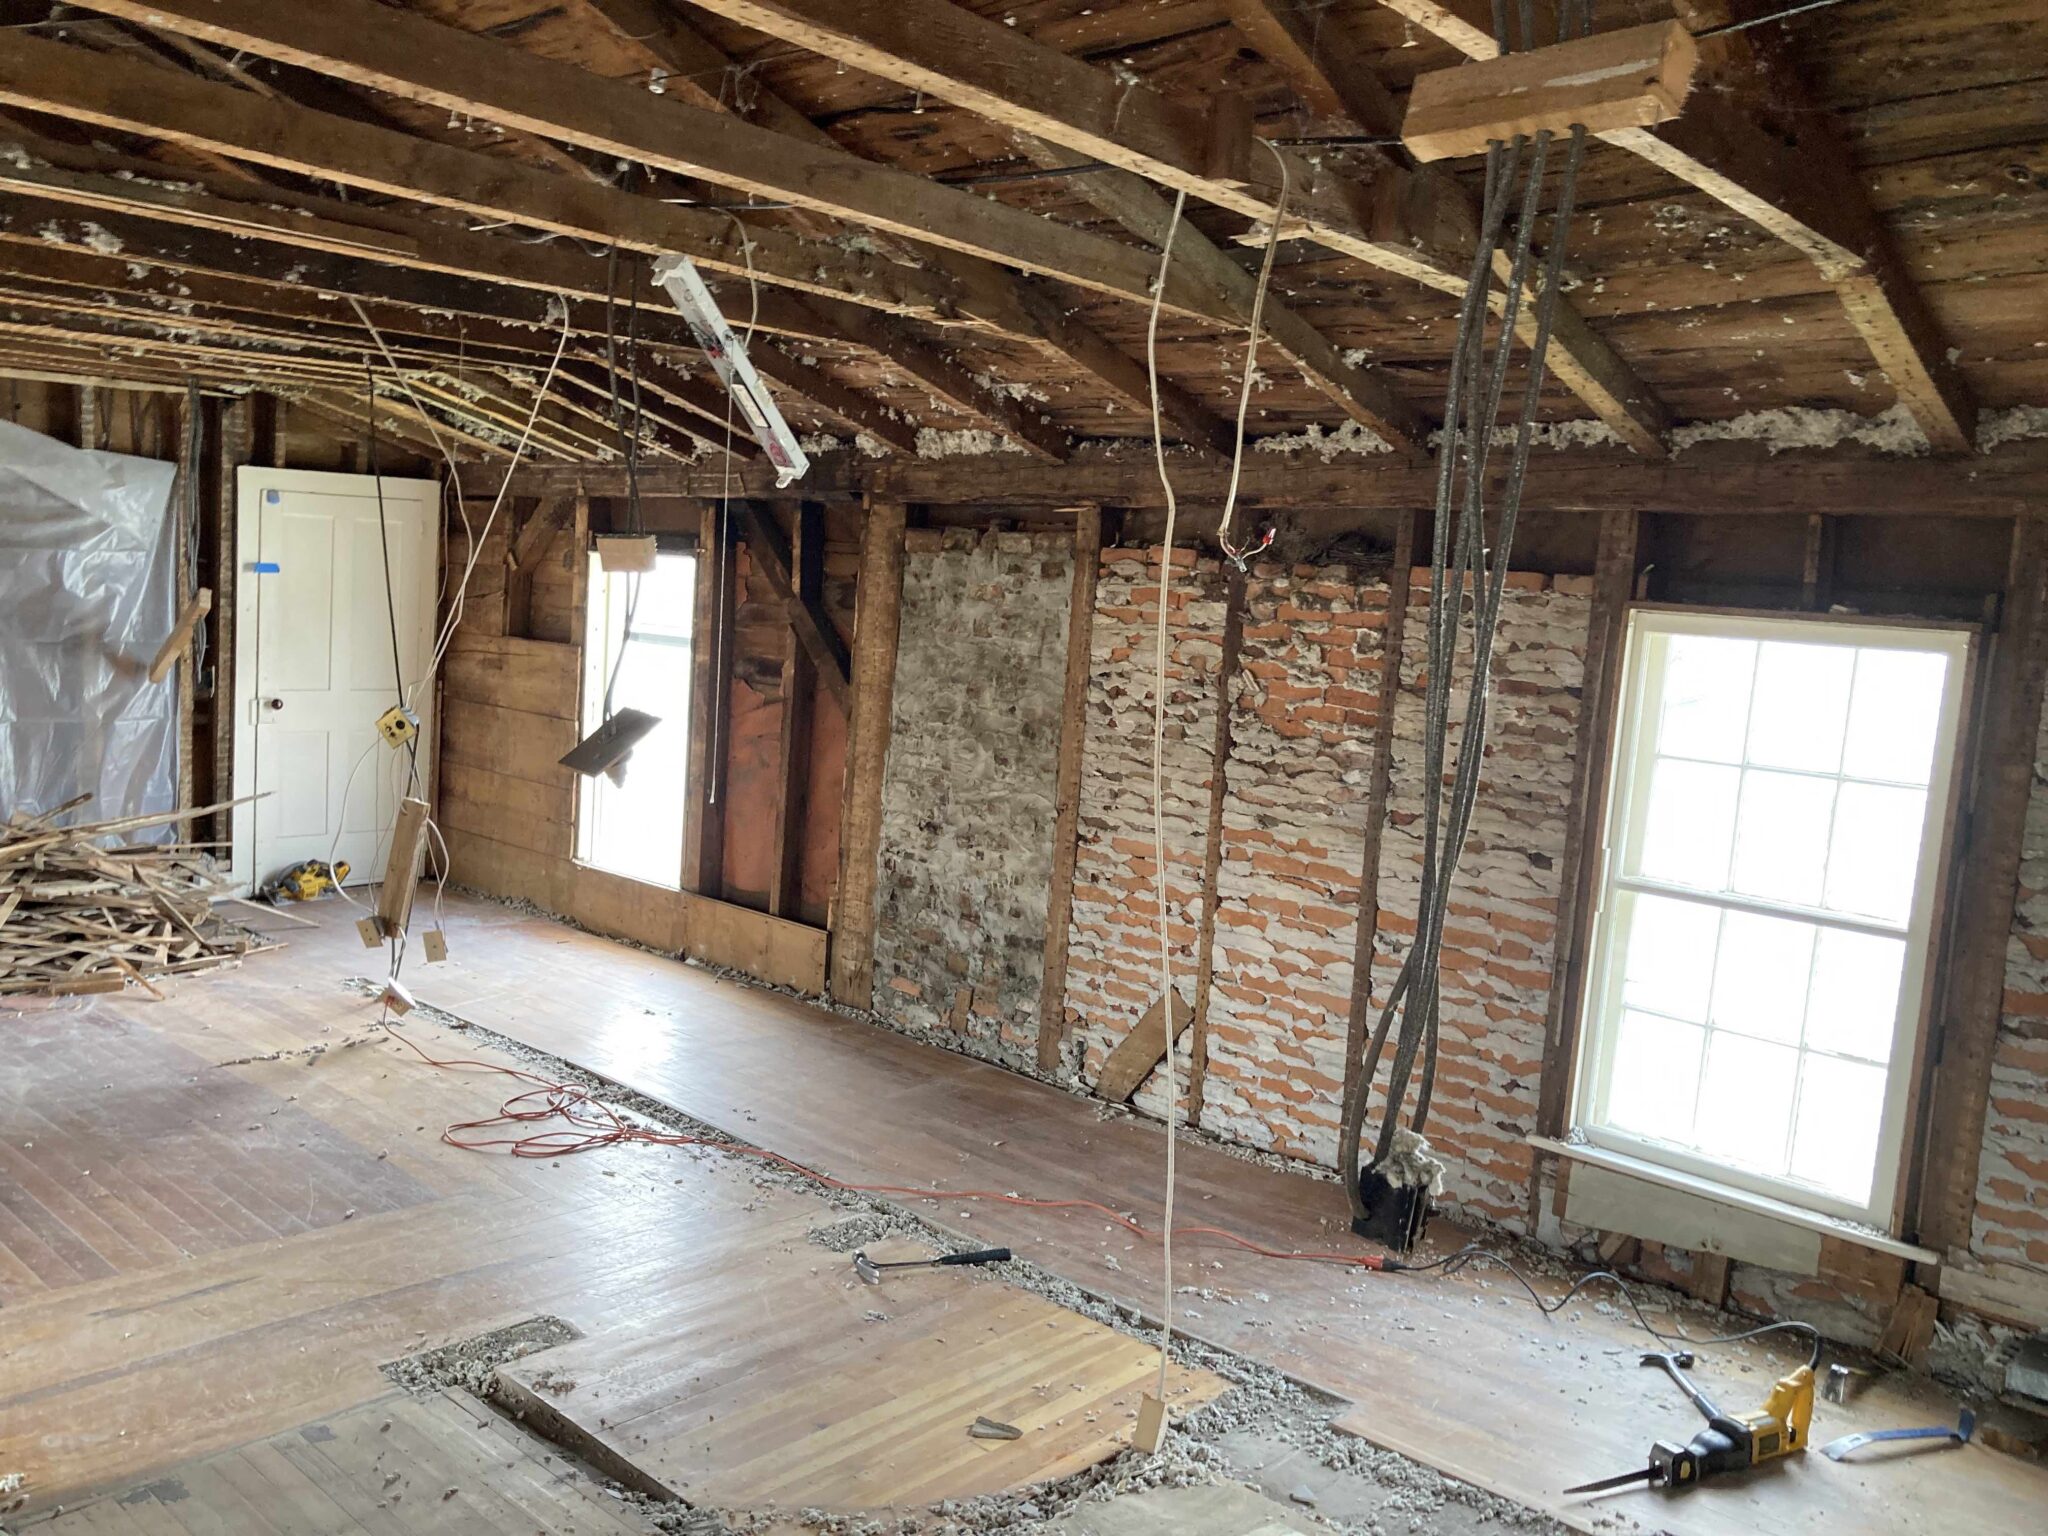
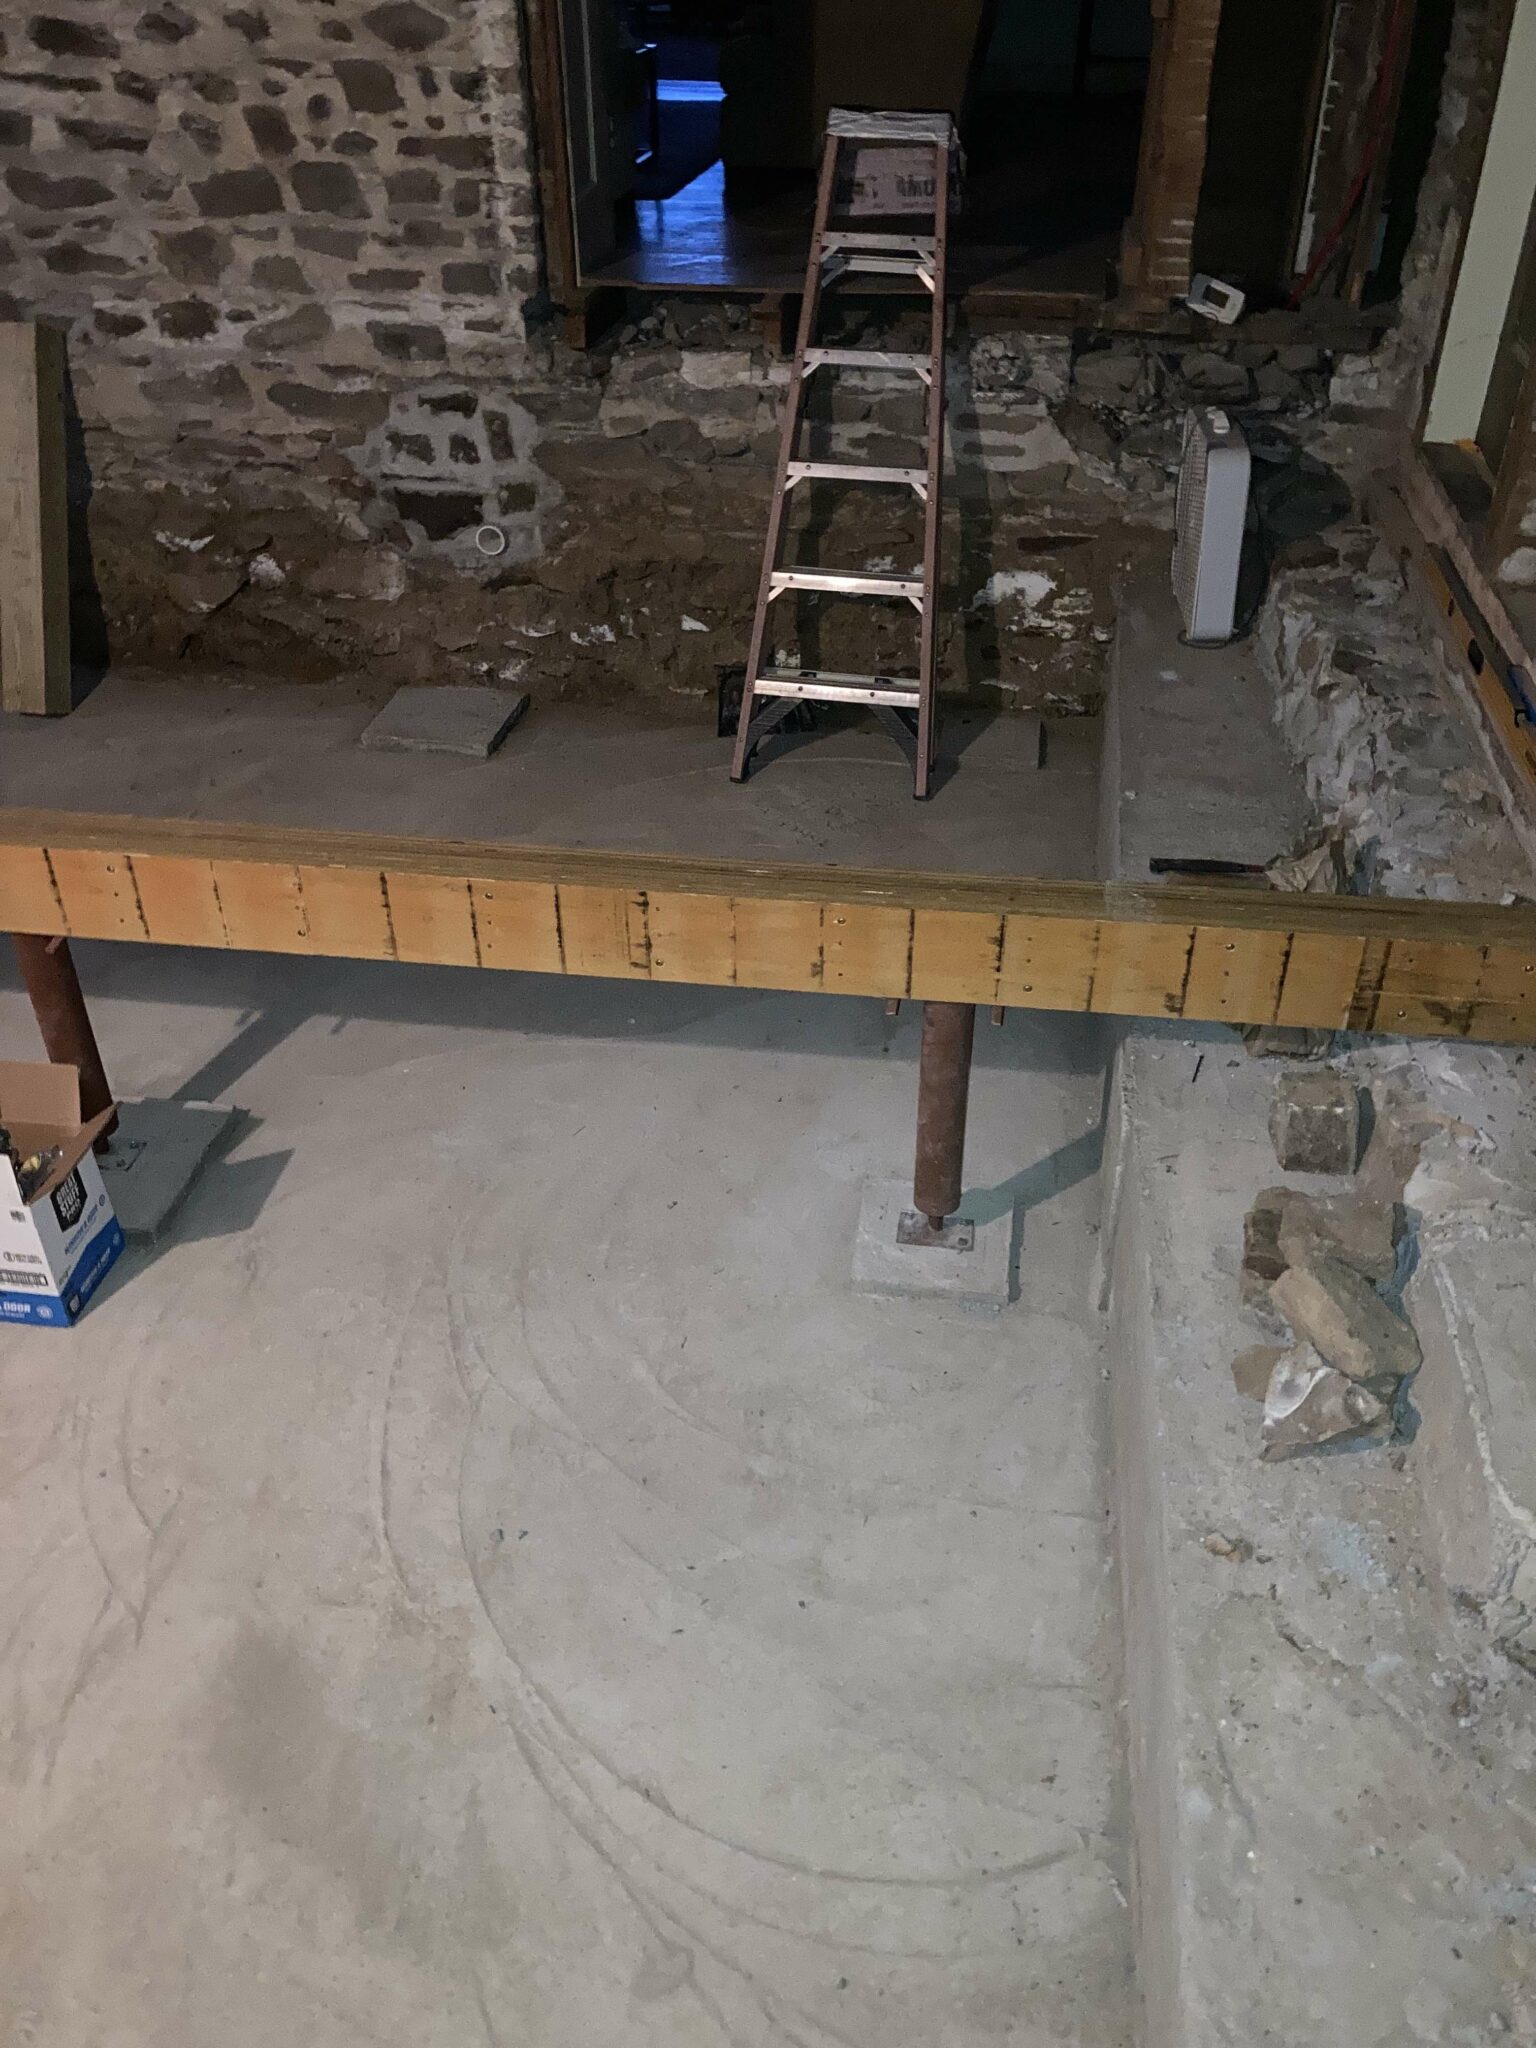
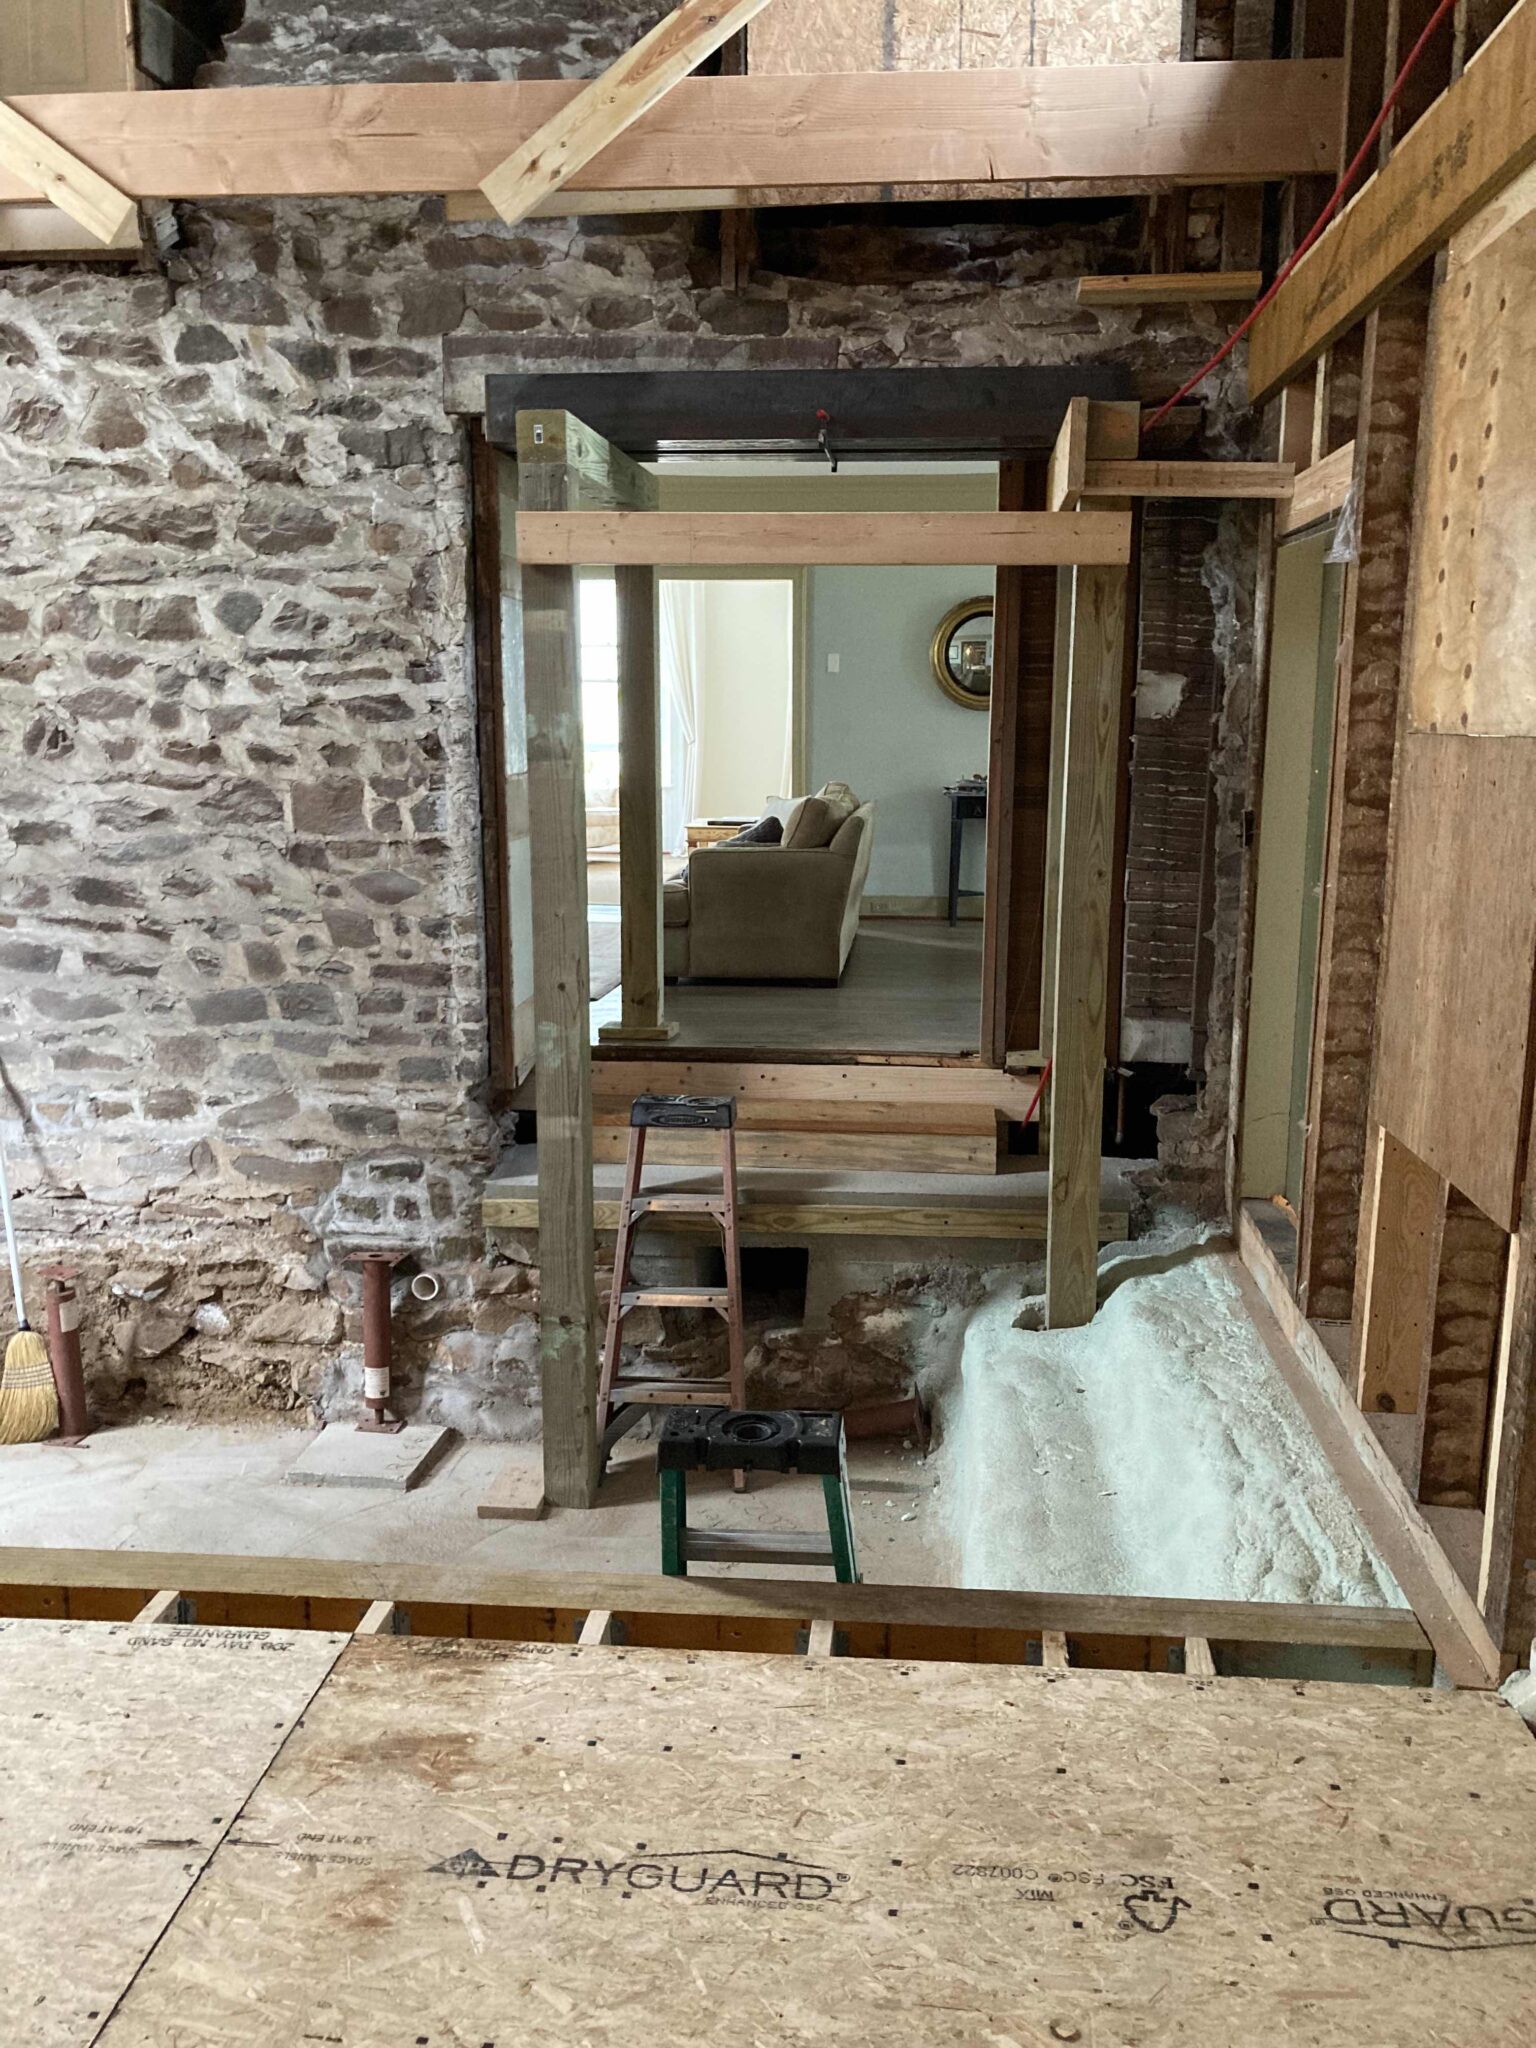
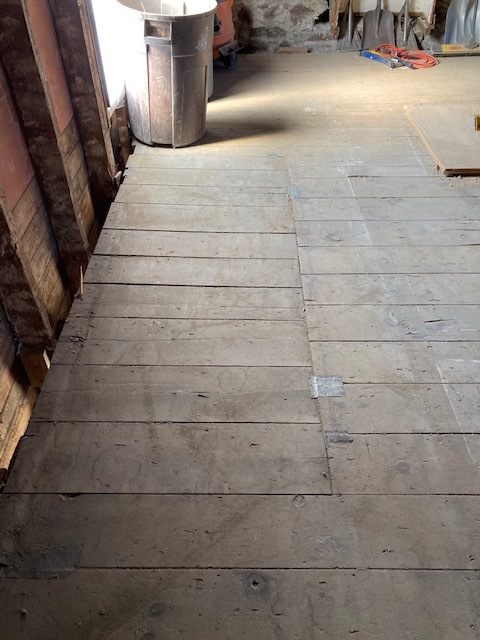
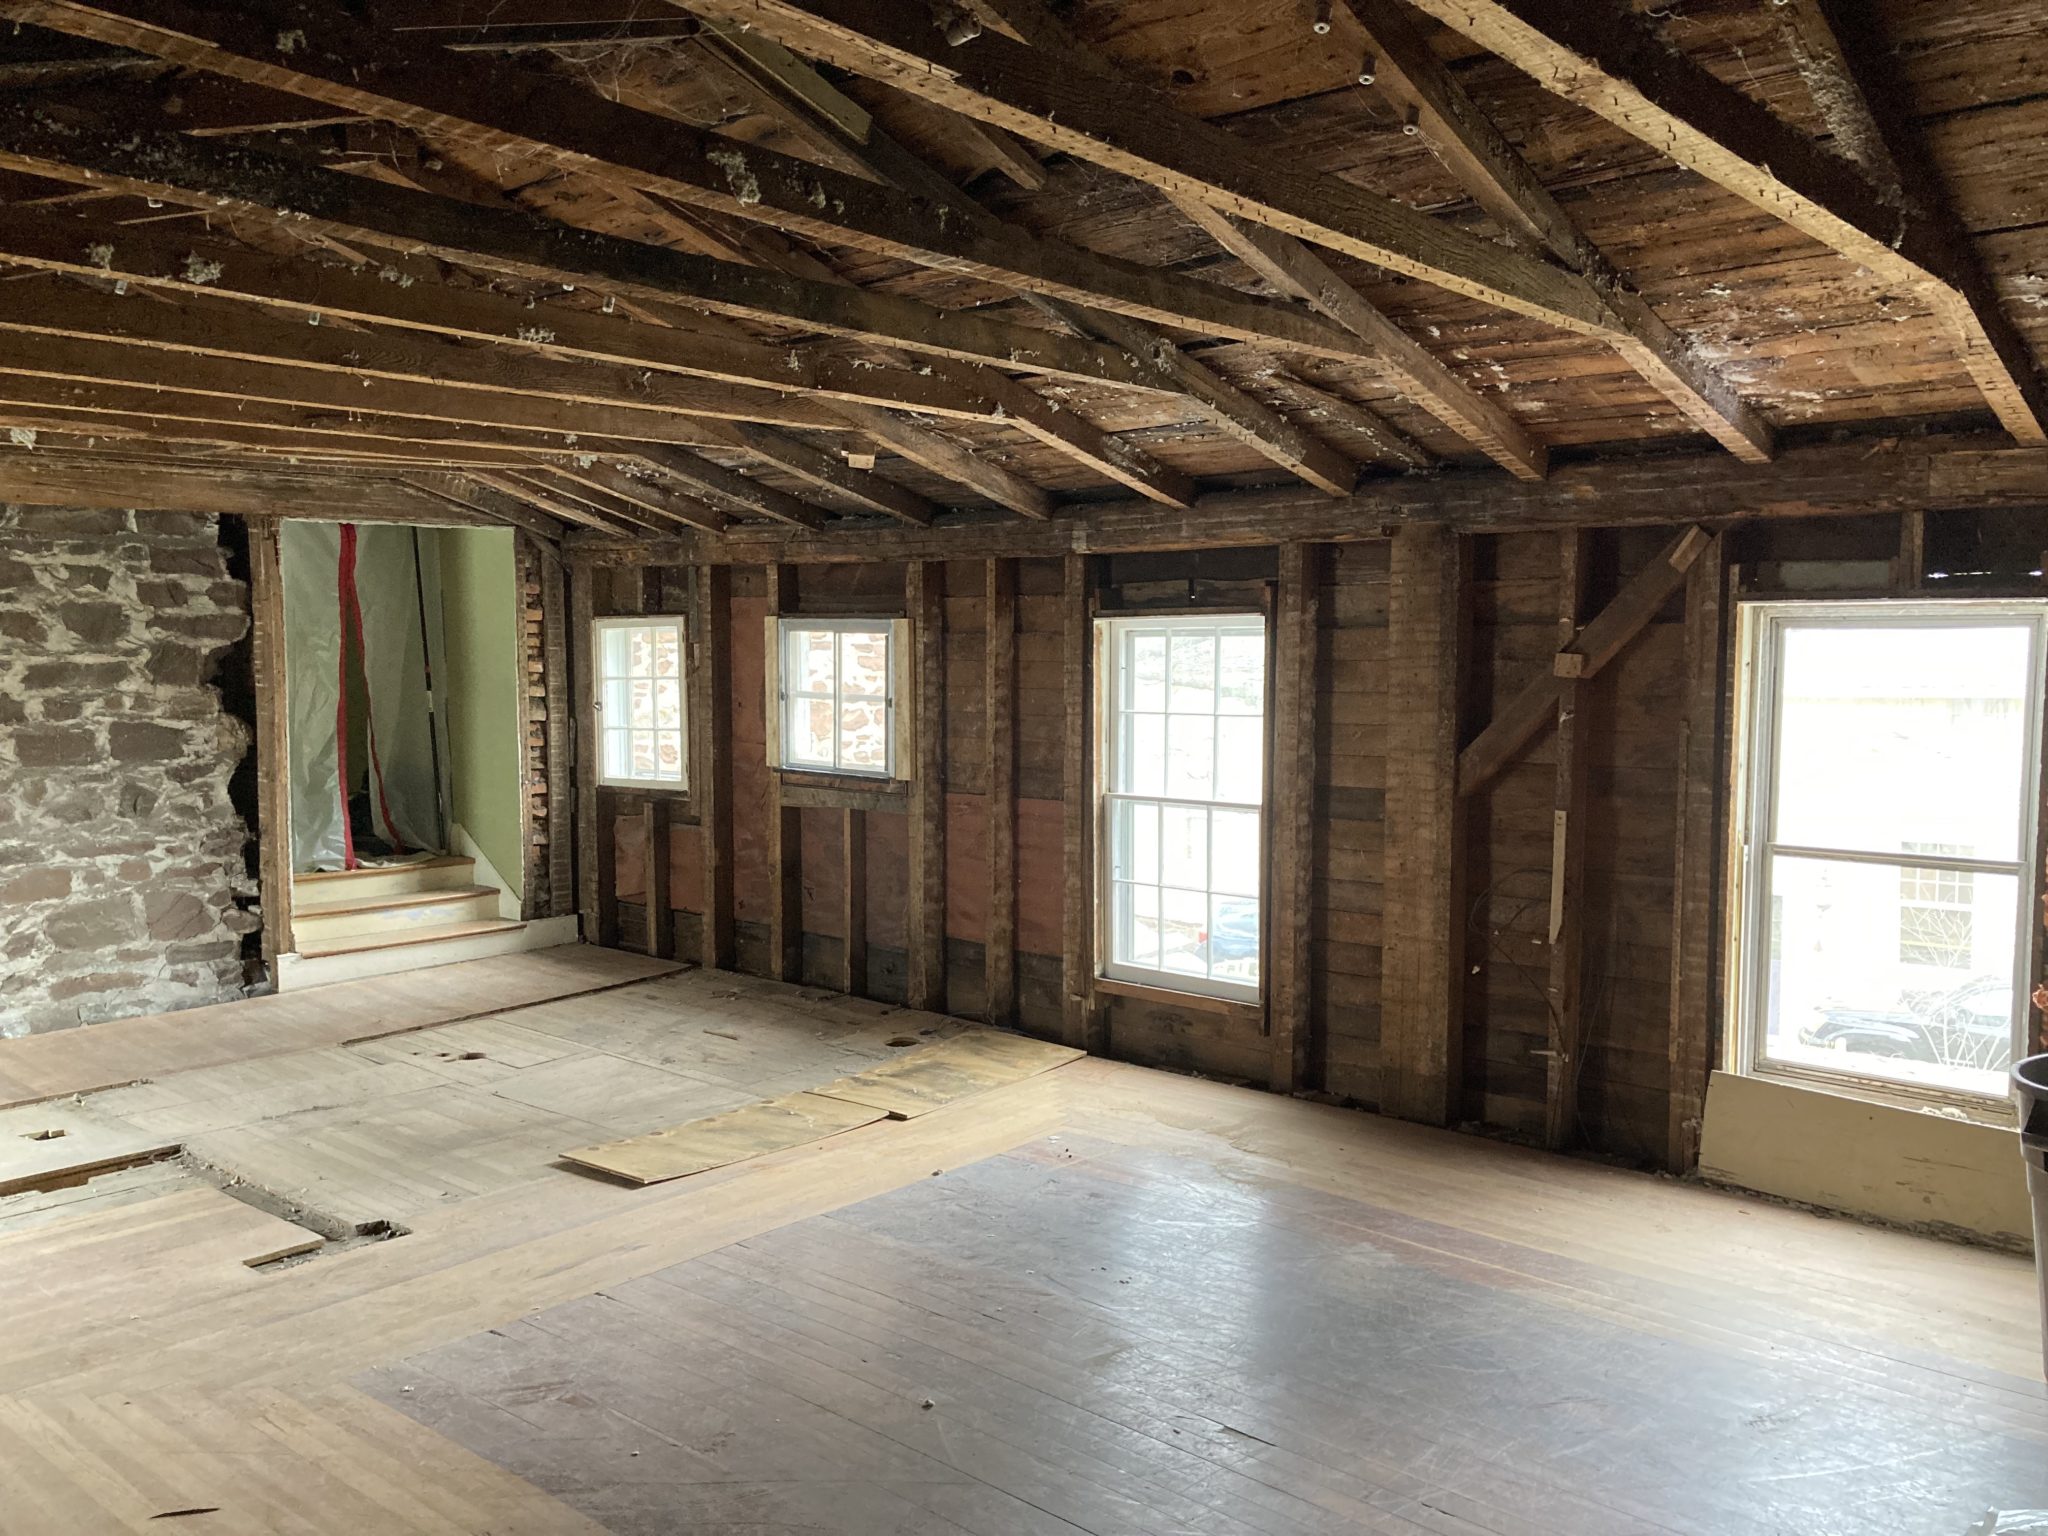
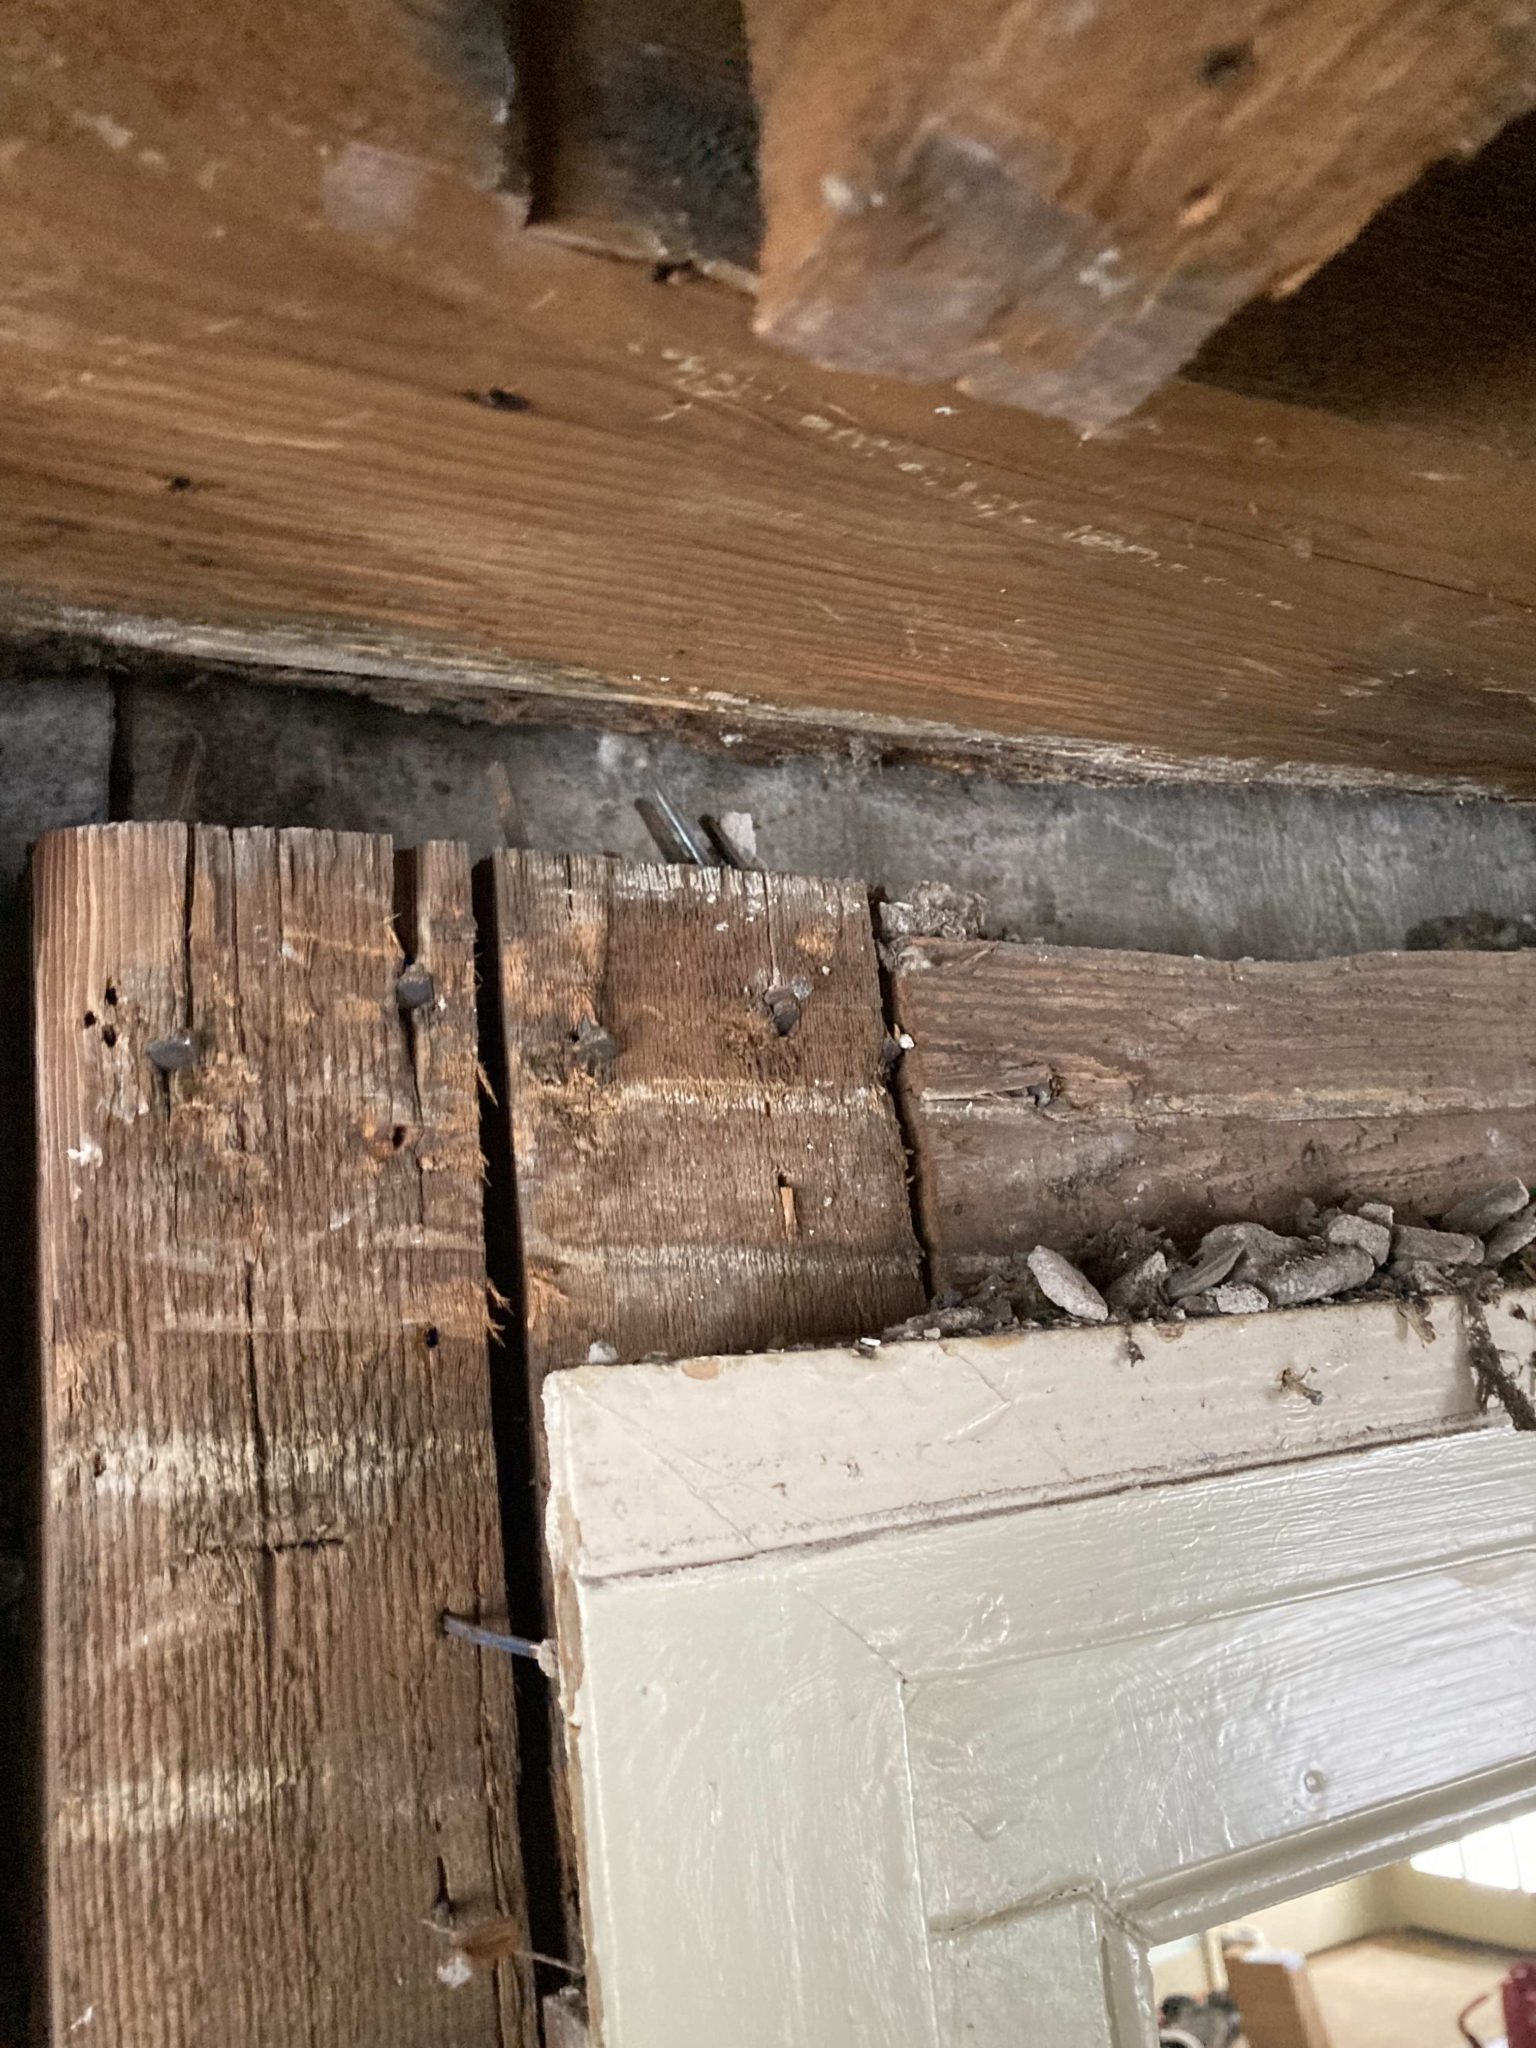
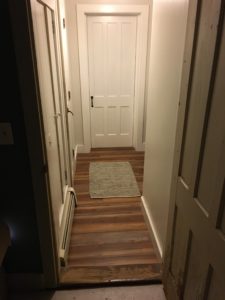
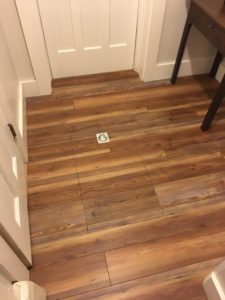
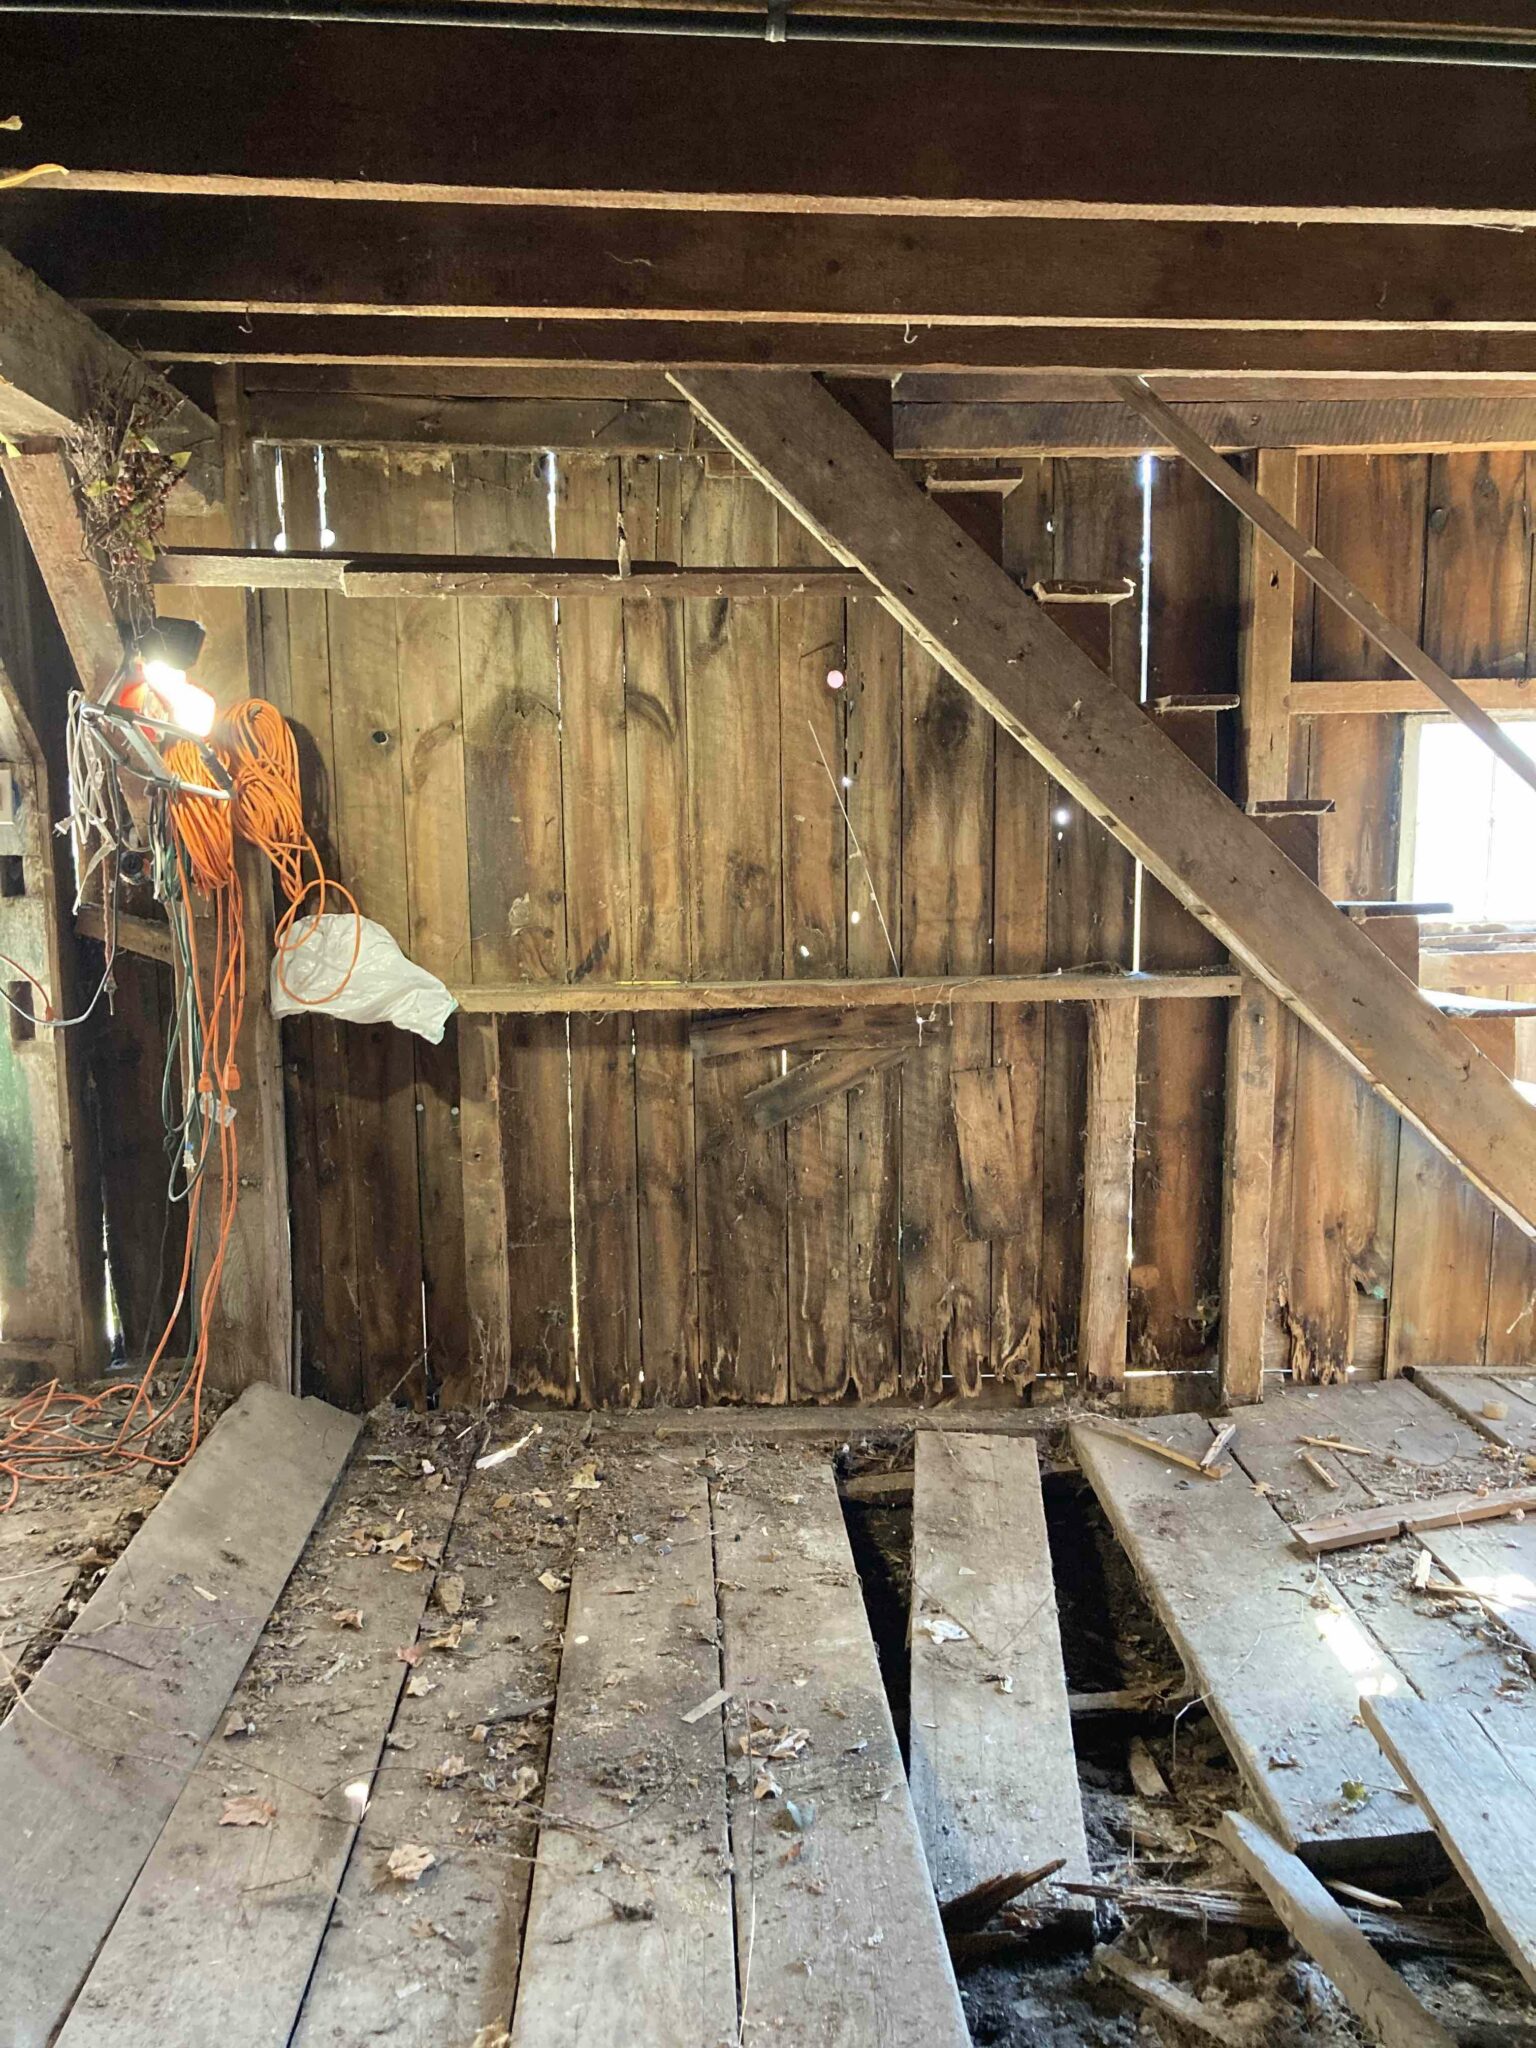
The damage is more apparent on the inside, where the rotted sill beams have led to settling and a noticeable lean to the building. The floor was wood over wooden joists. Judging by the dimensions of the joists, it looks like they were added in the 1950s or so, which pre-dated pressure treated lumber. Being so close to the wet dirt under the barn, they’ve mostly rotted away.

The state of the wood floor – the floor boards themselves are still mostly good and may be reused.
What were once solid 8″ x 8″ sill beams have been sitting on a stone wall. The rot goes up the posts.

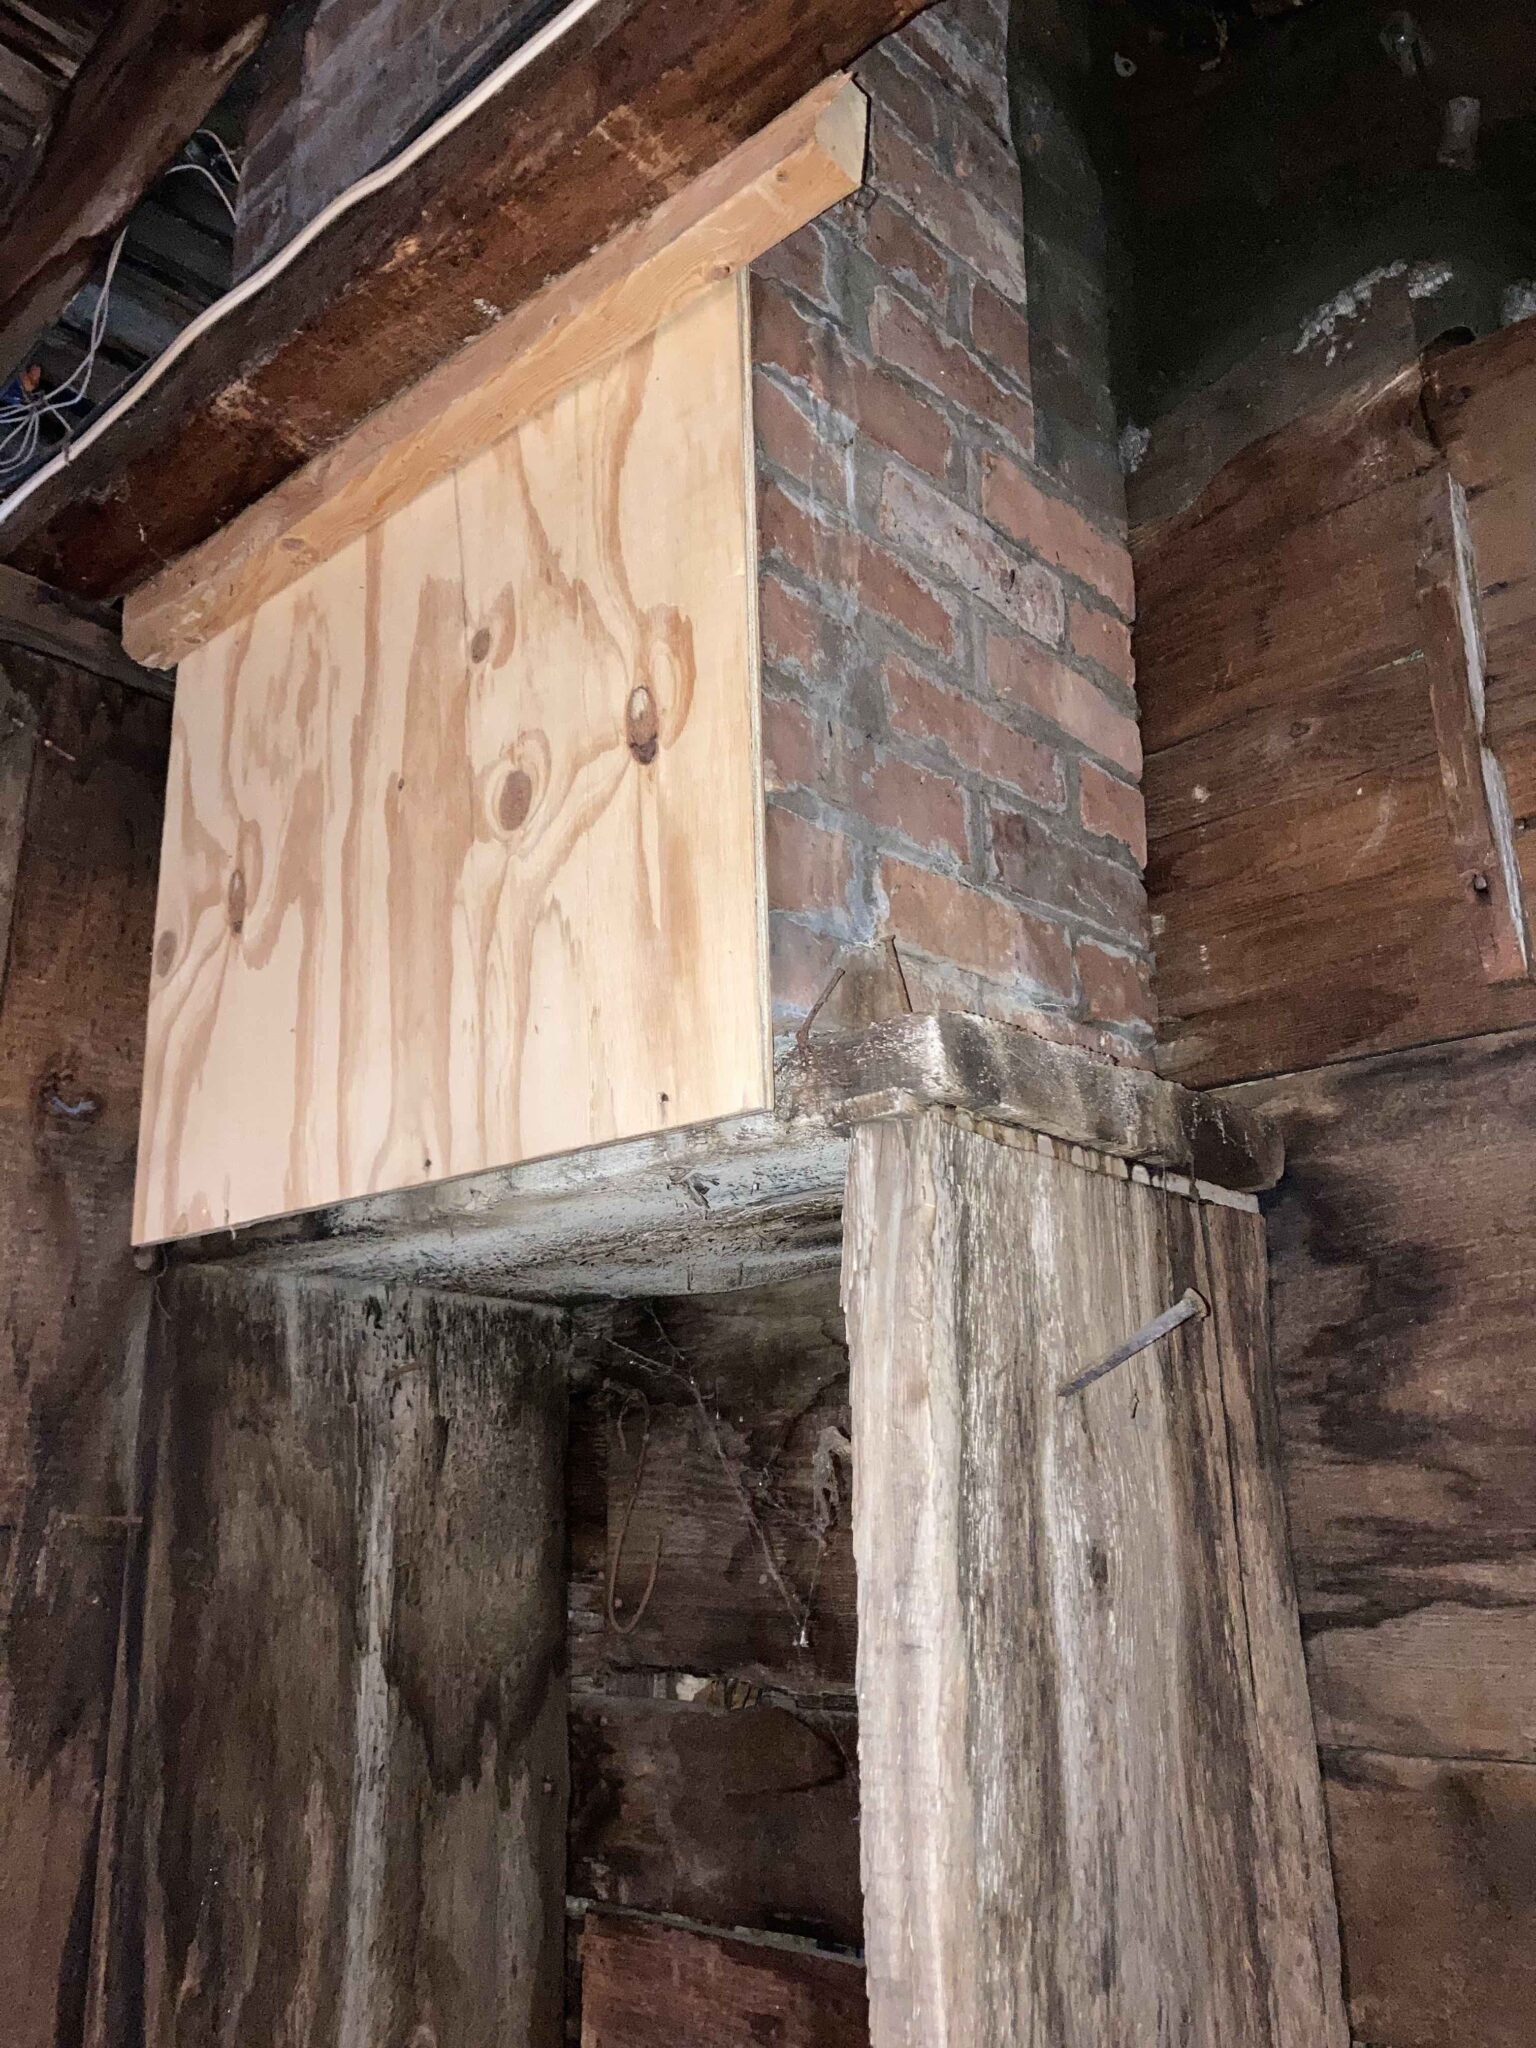
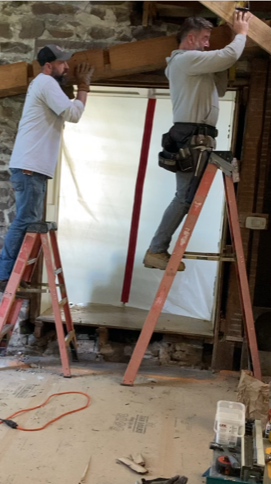
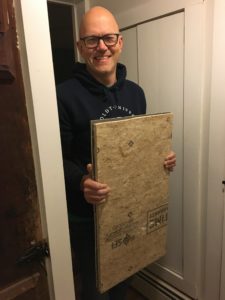
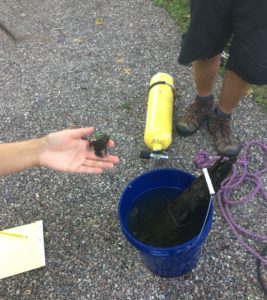
The first step, though, was removing the accumulation of stuff that barns collect.

Polo worried about changes.

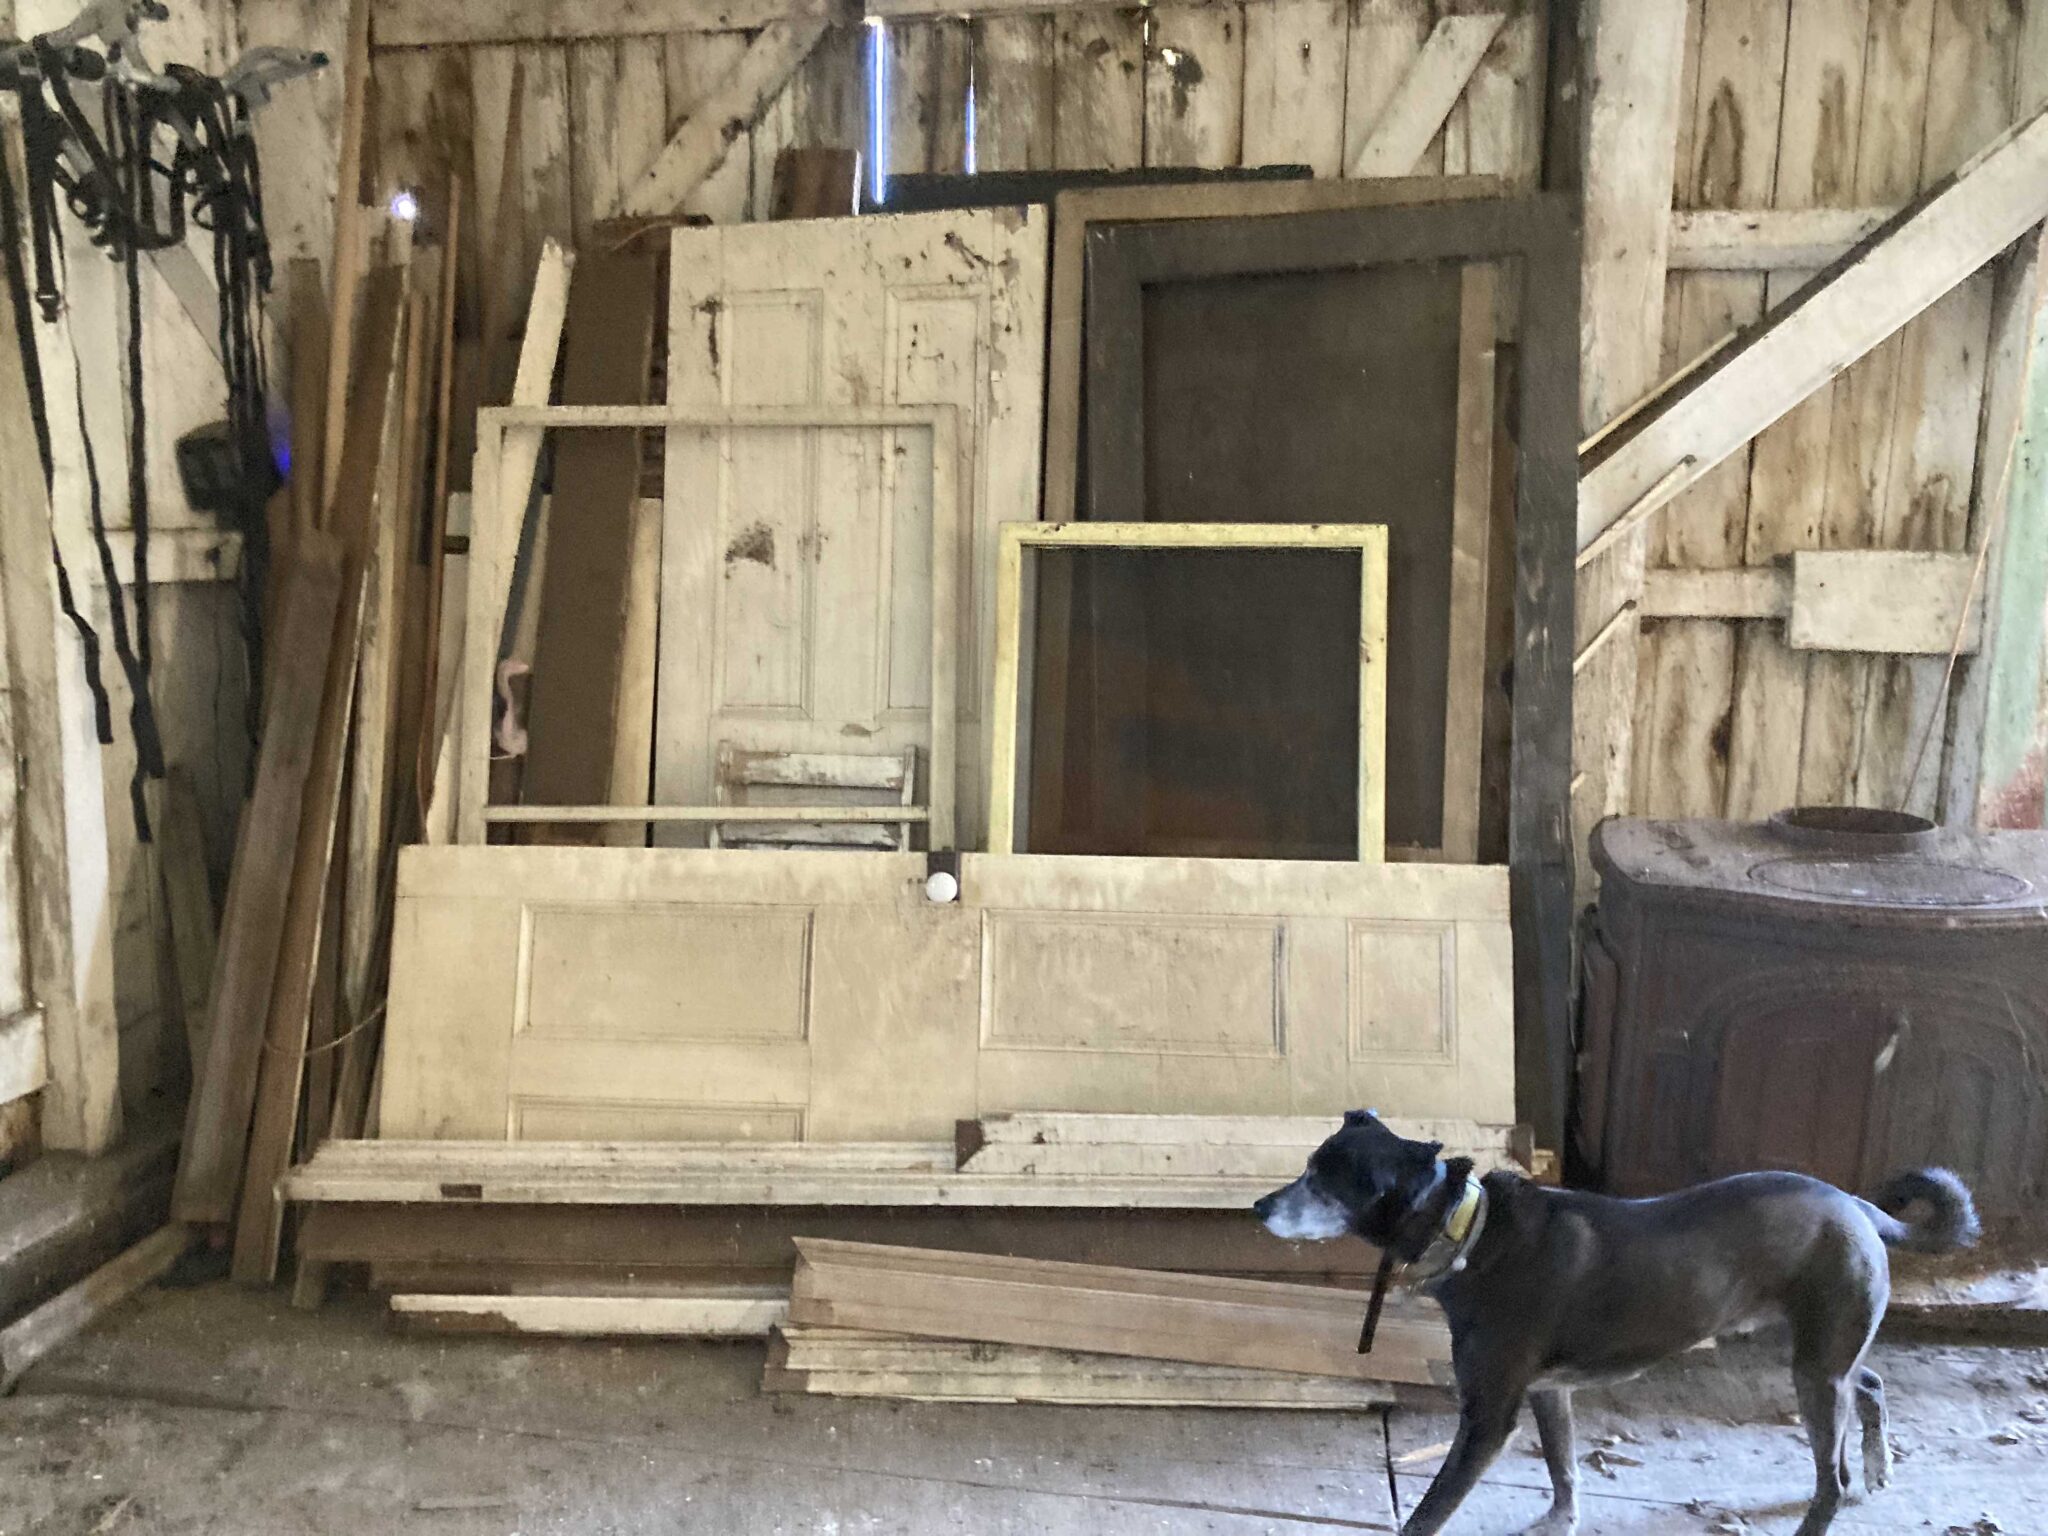
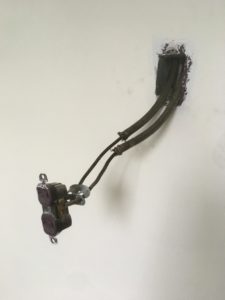
Some of the material was from the house, so needed to be saved for potential reuse. Other items, like the wood stove shown above, had been in the barn since we moved in. Finally digging it out, we found it to be a less exciting model from 1975.

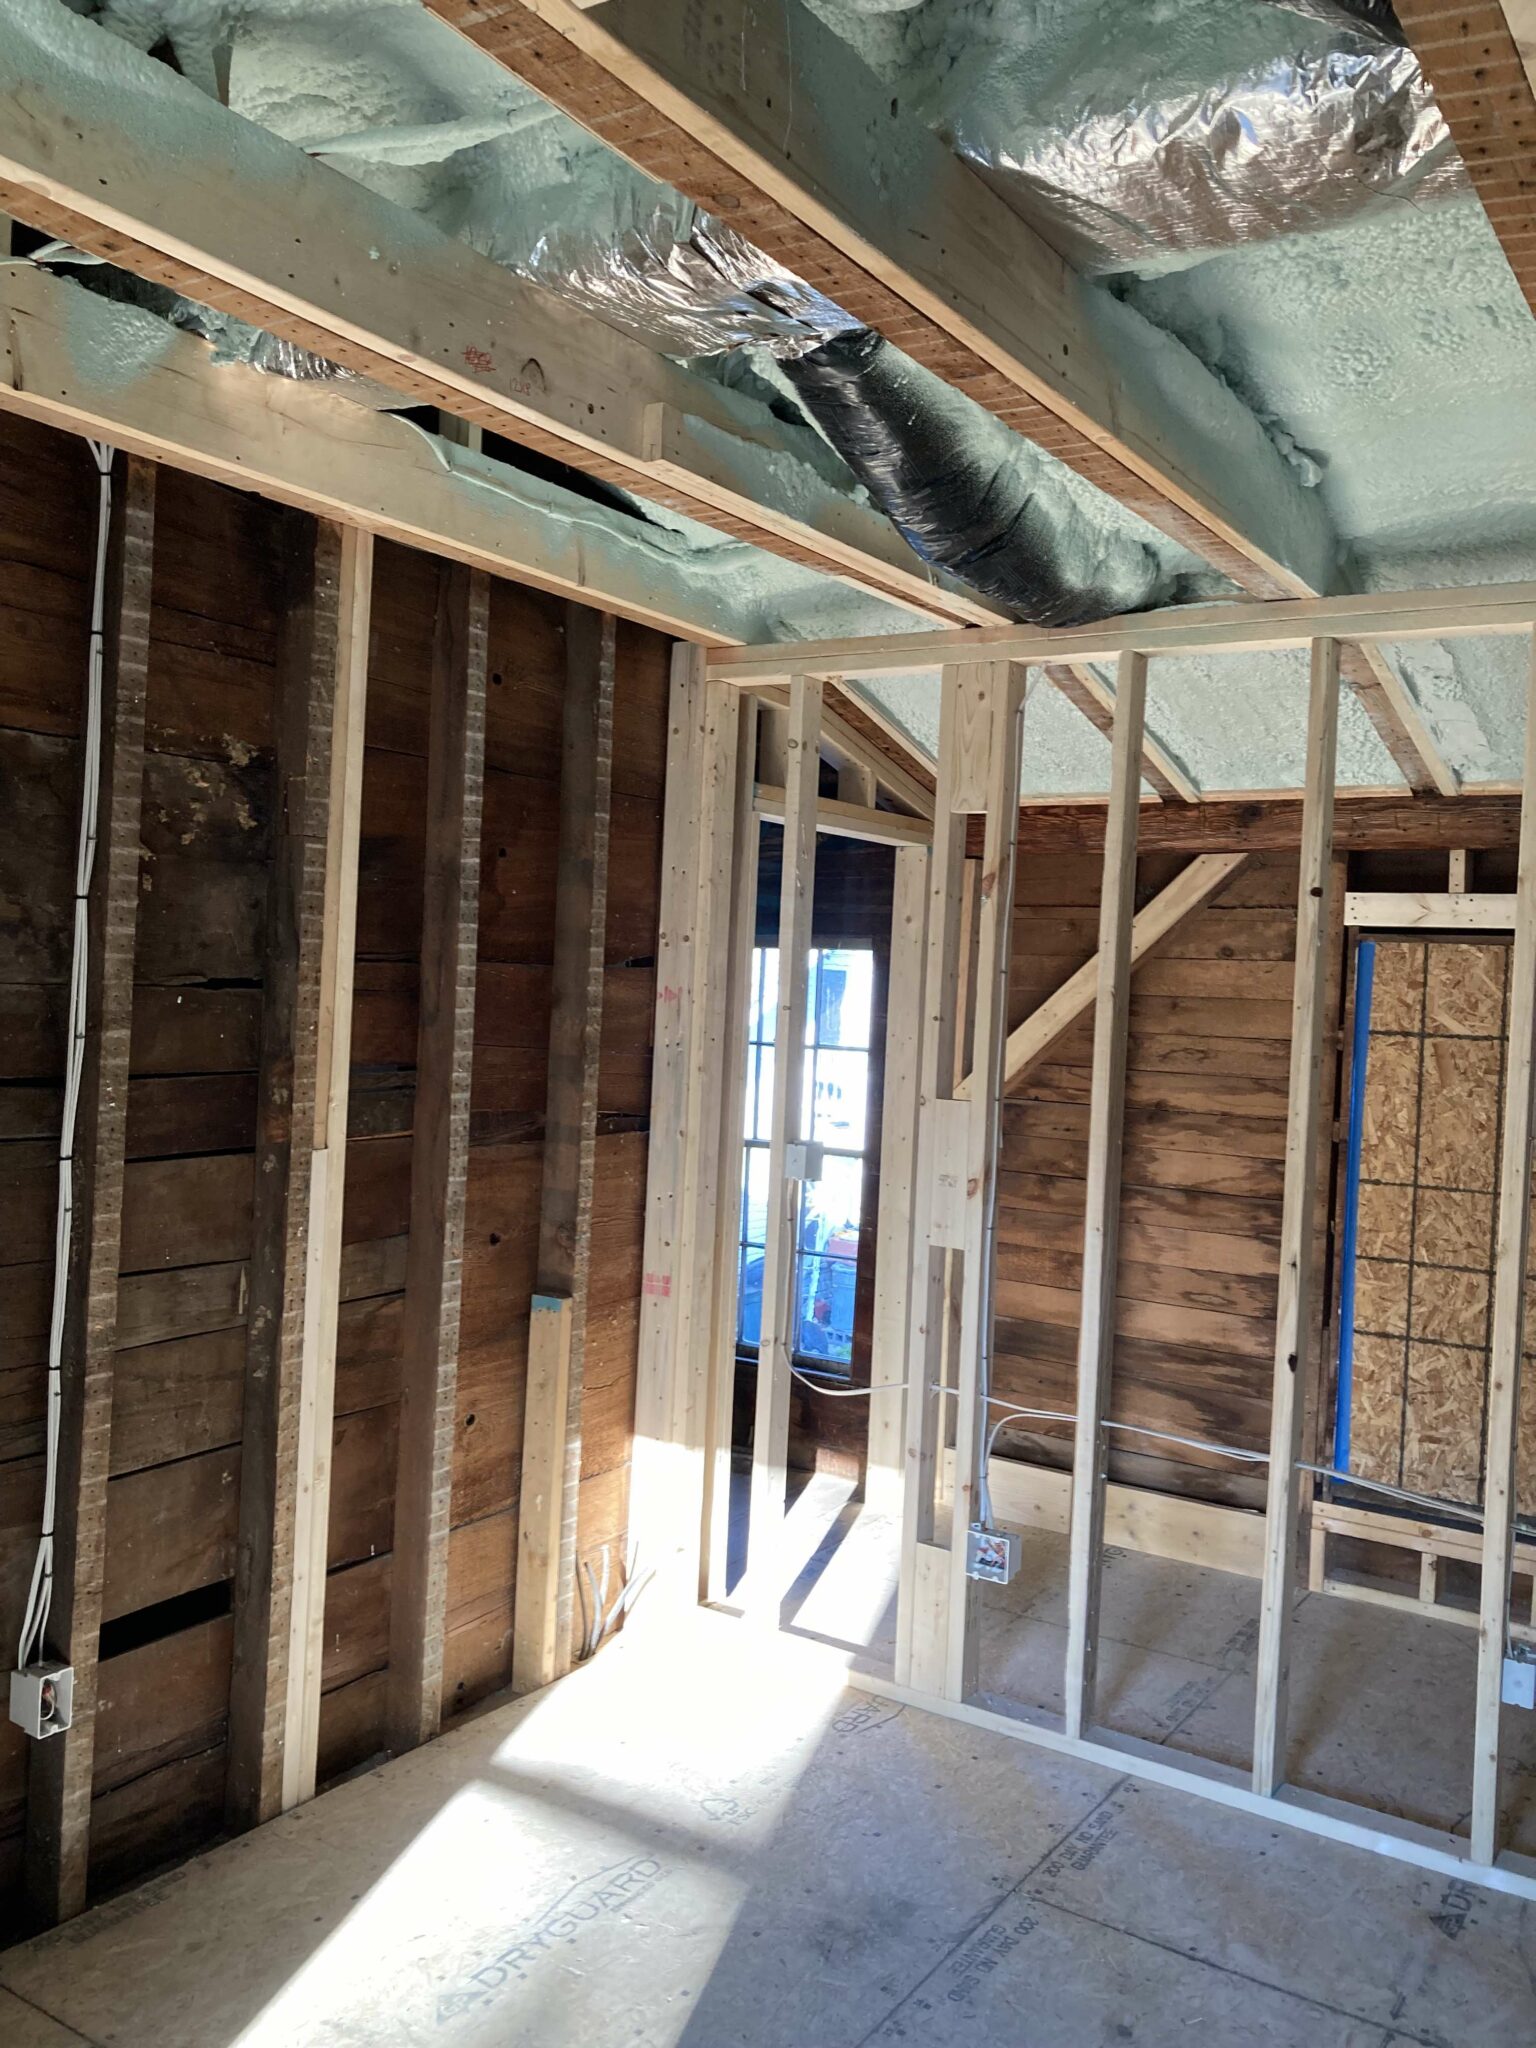
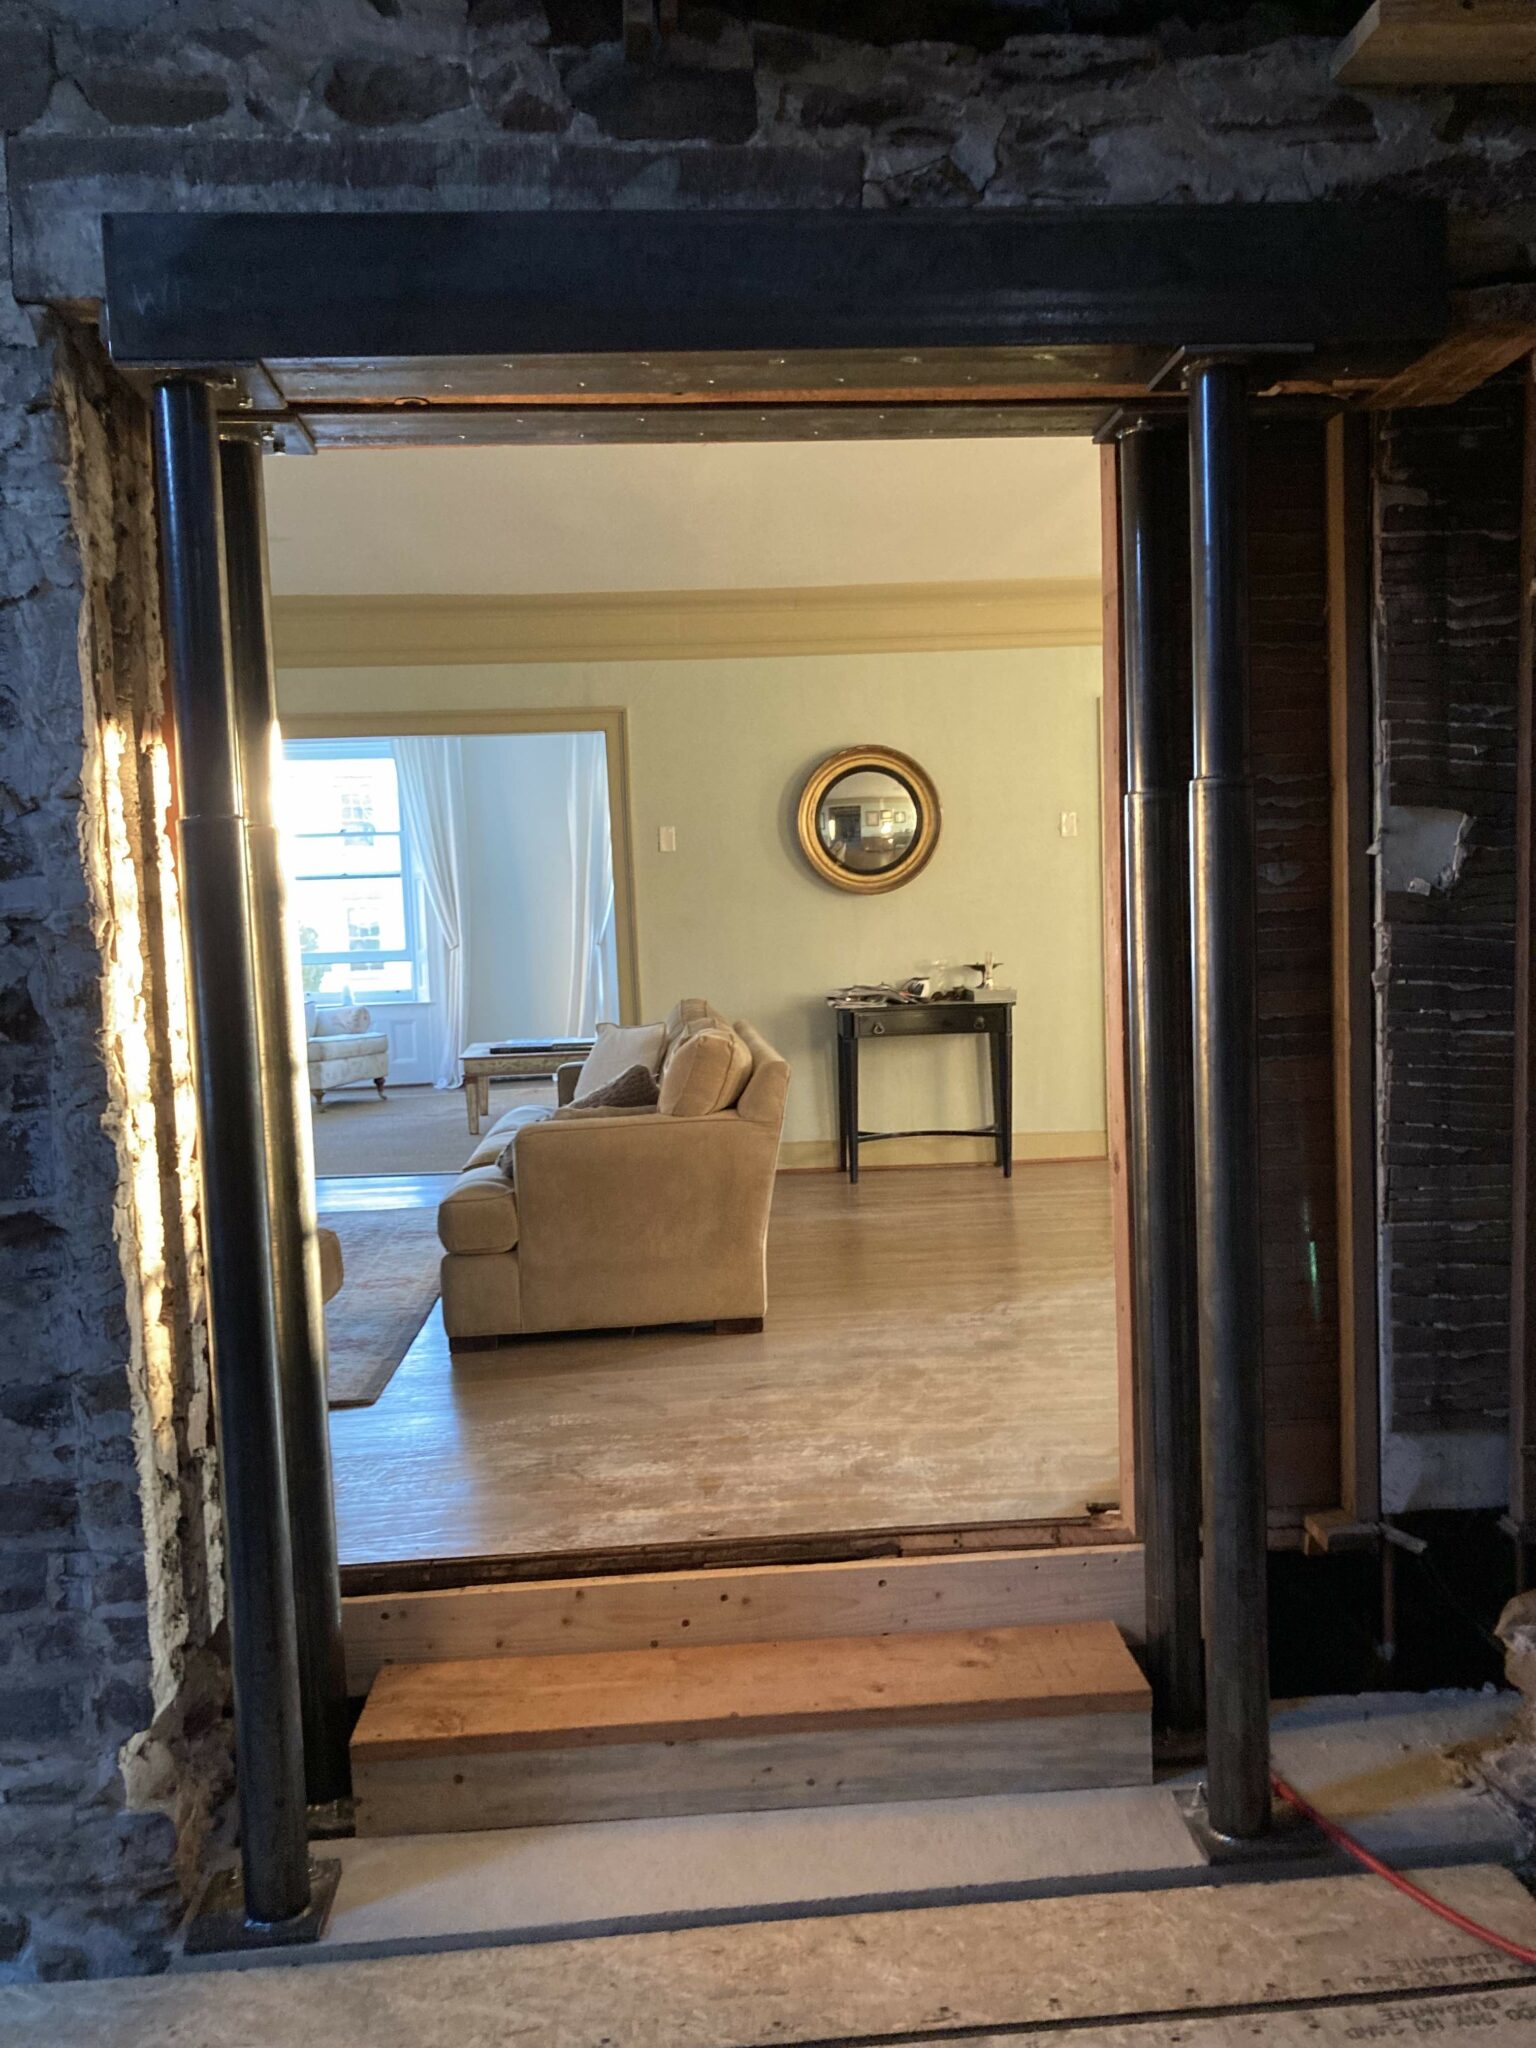
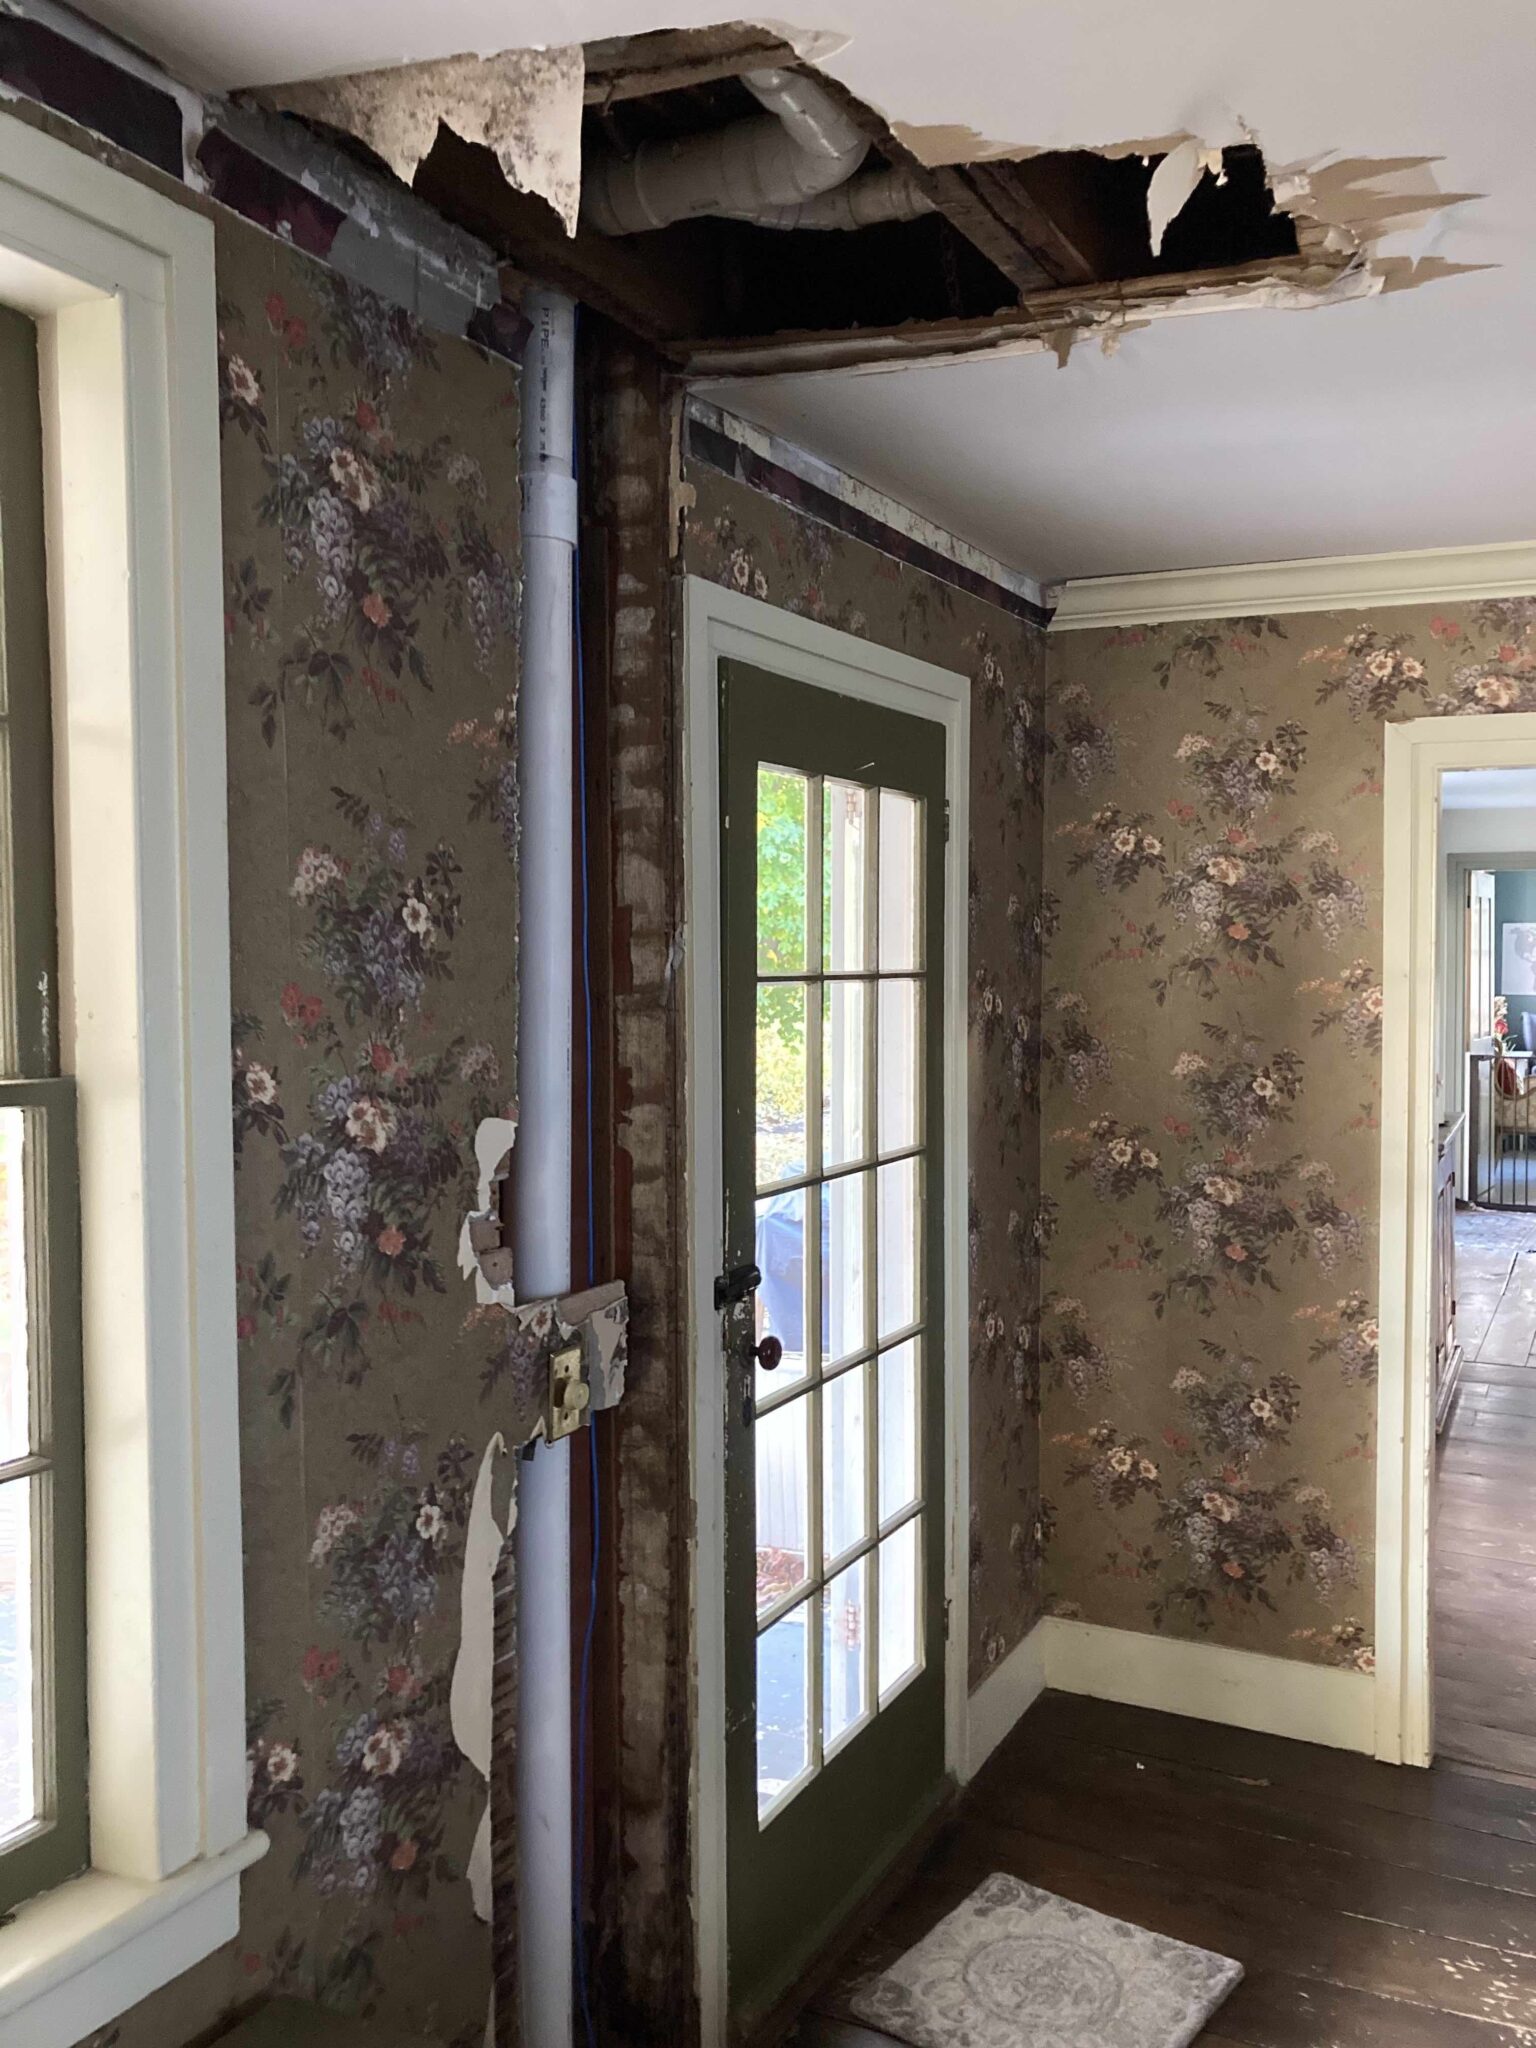
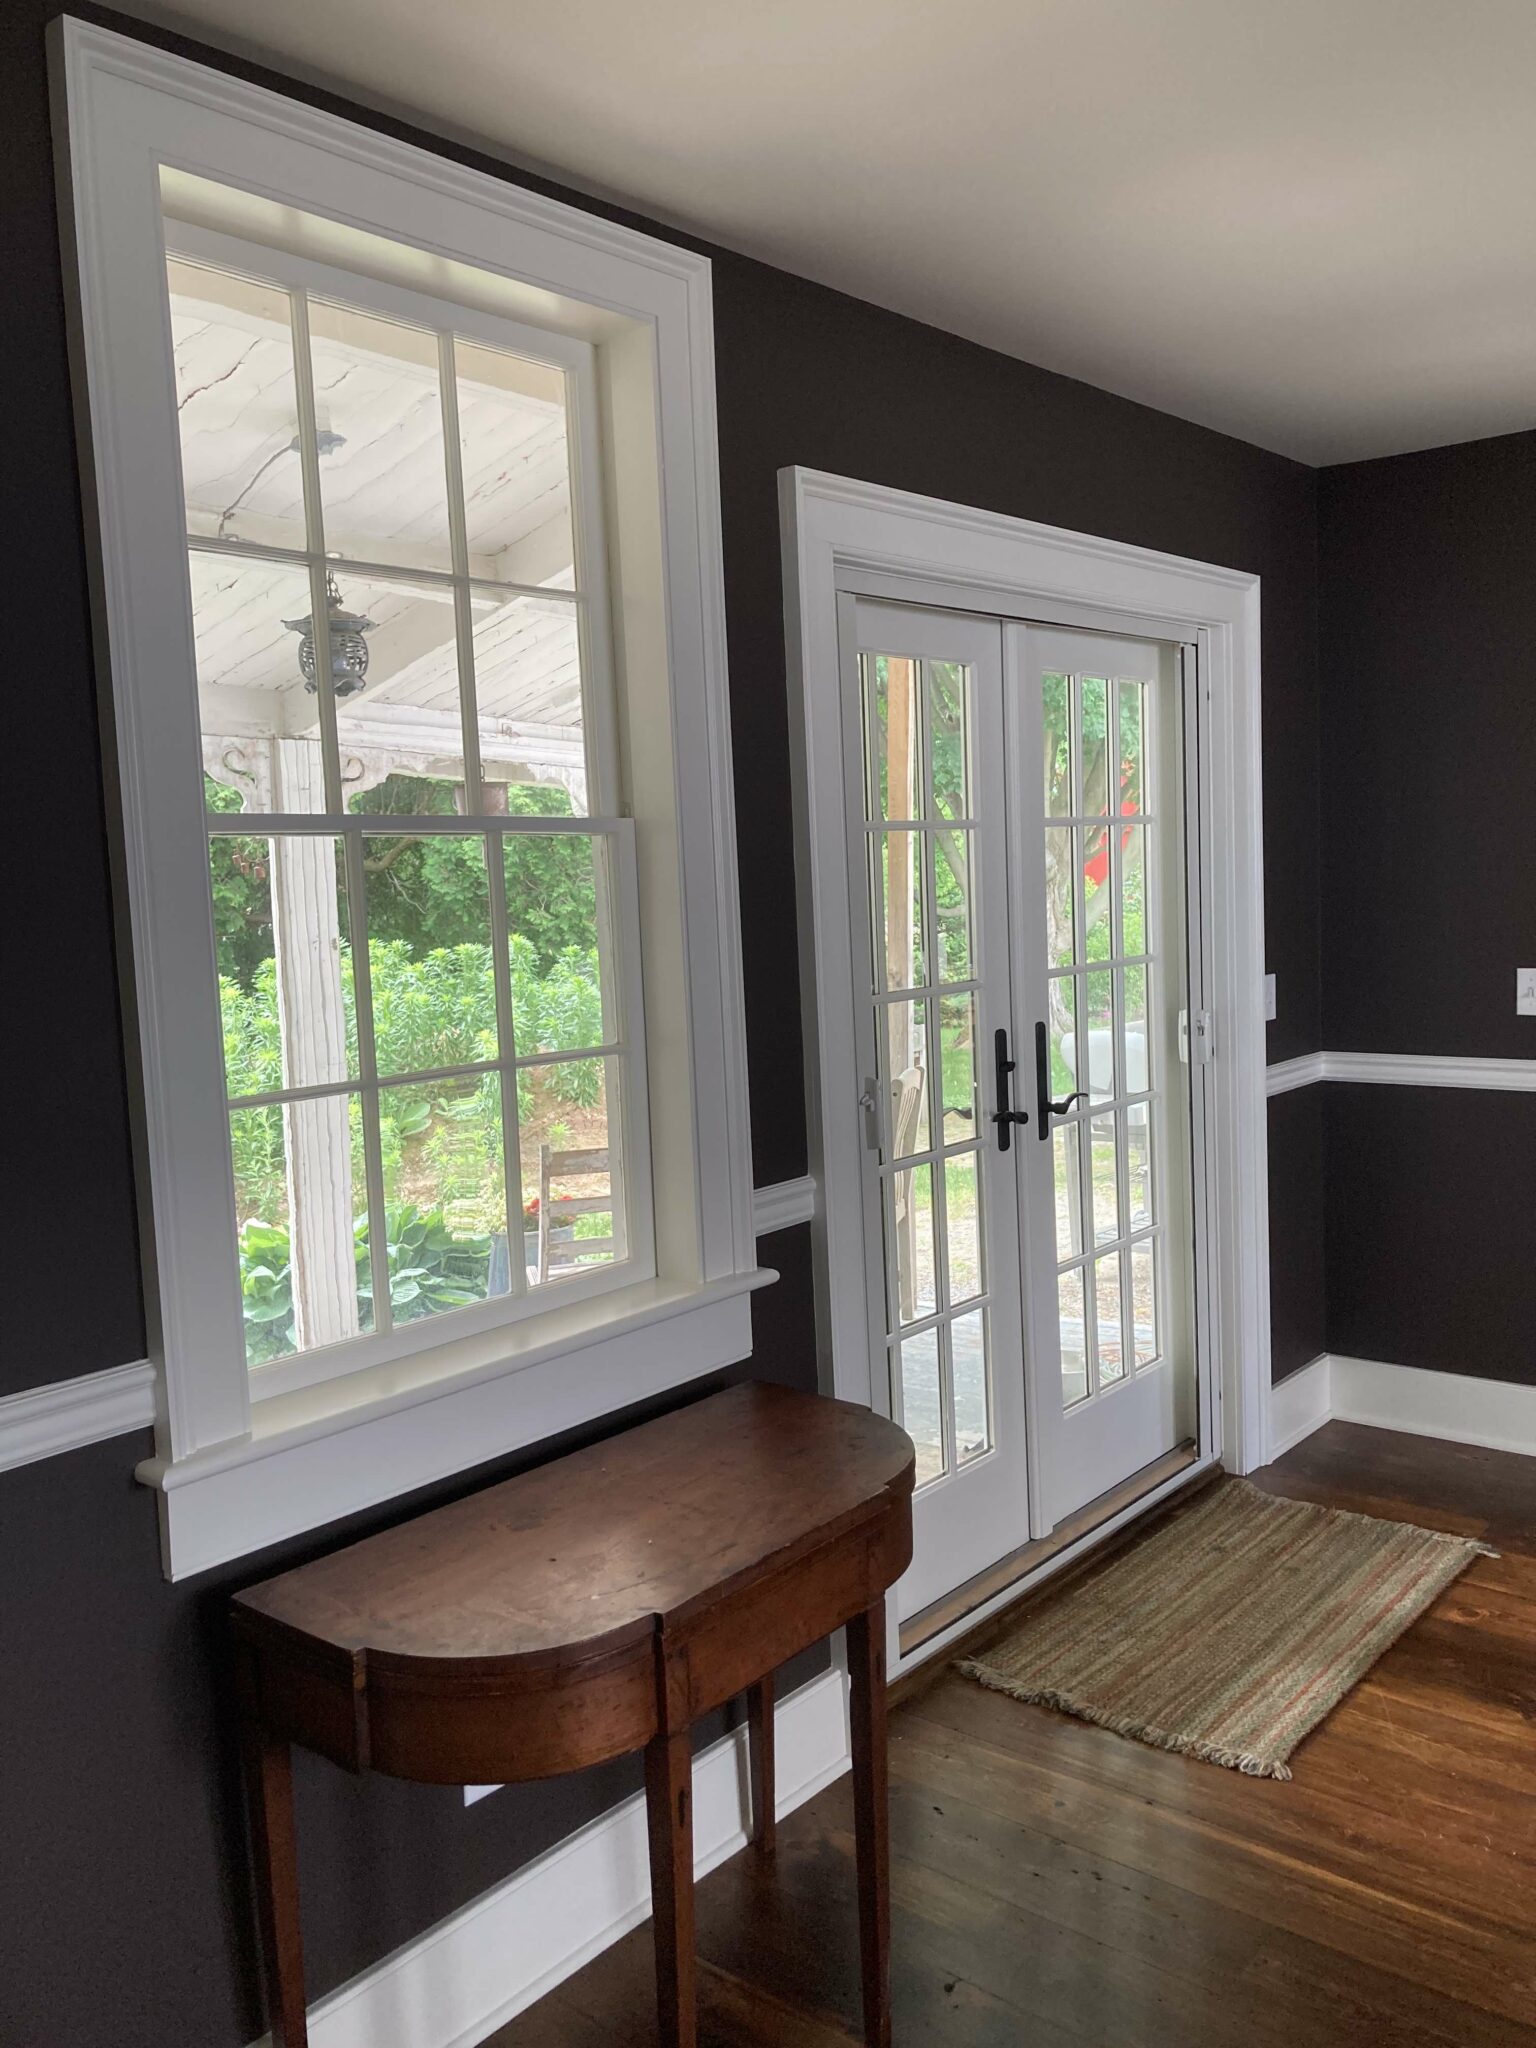
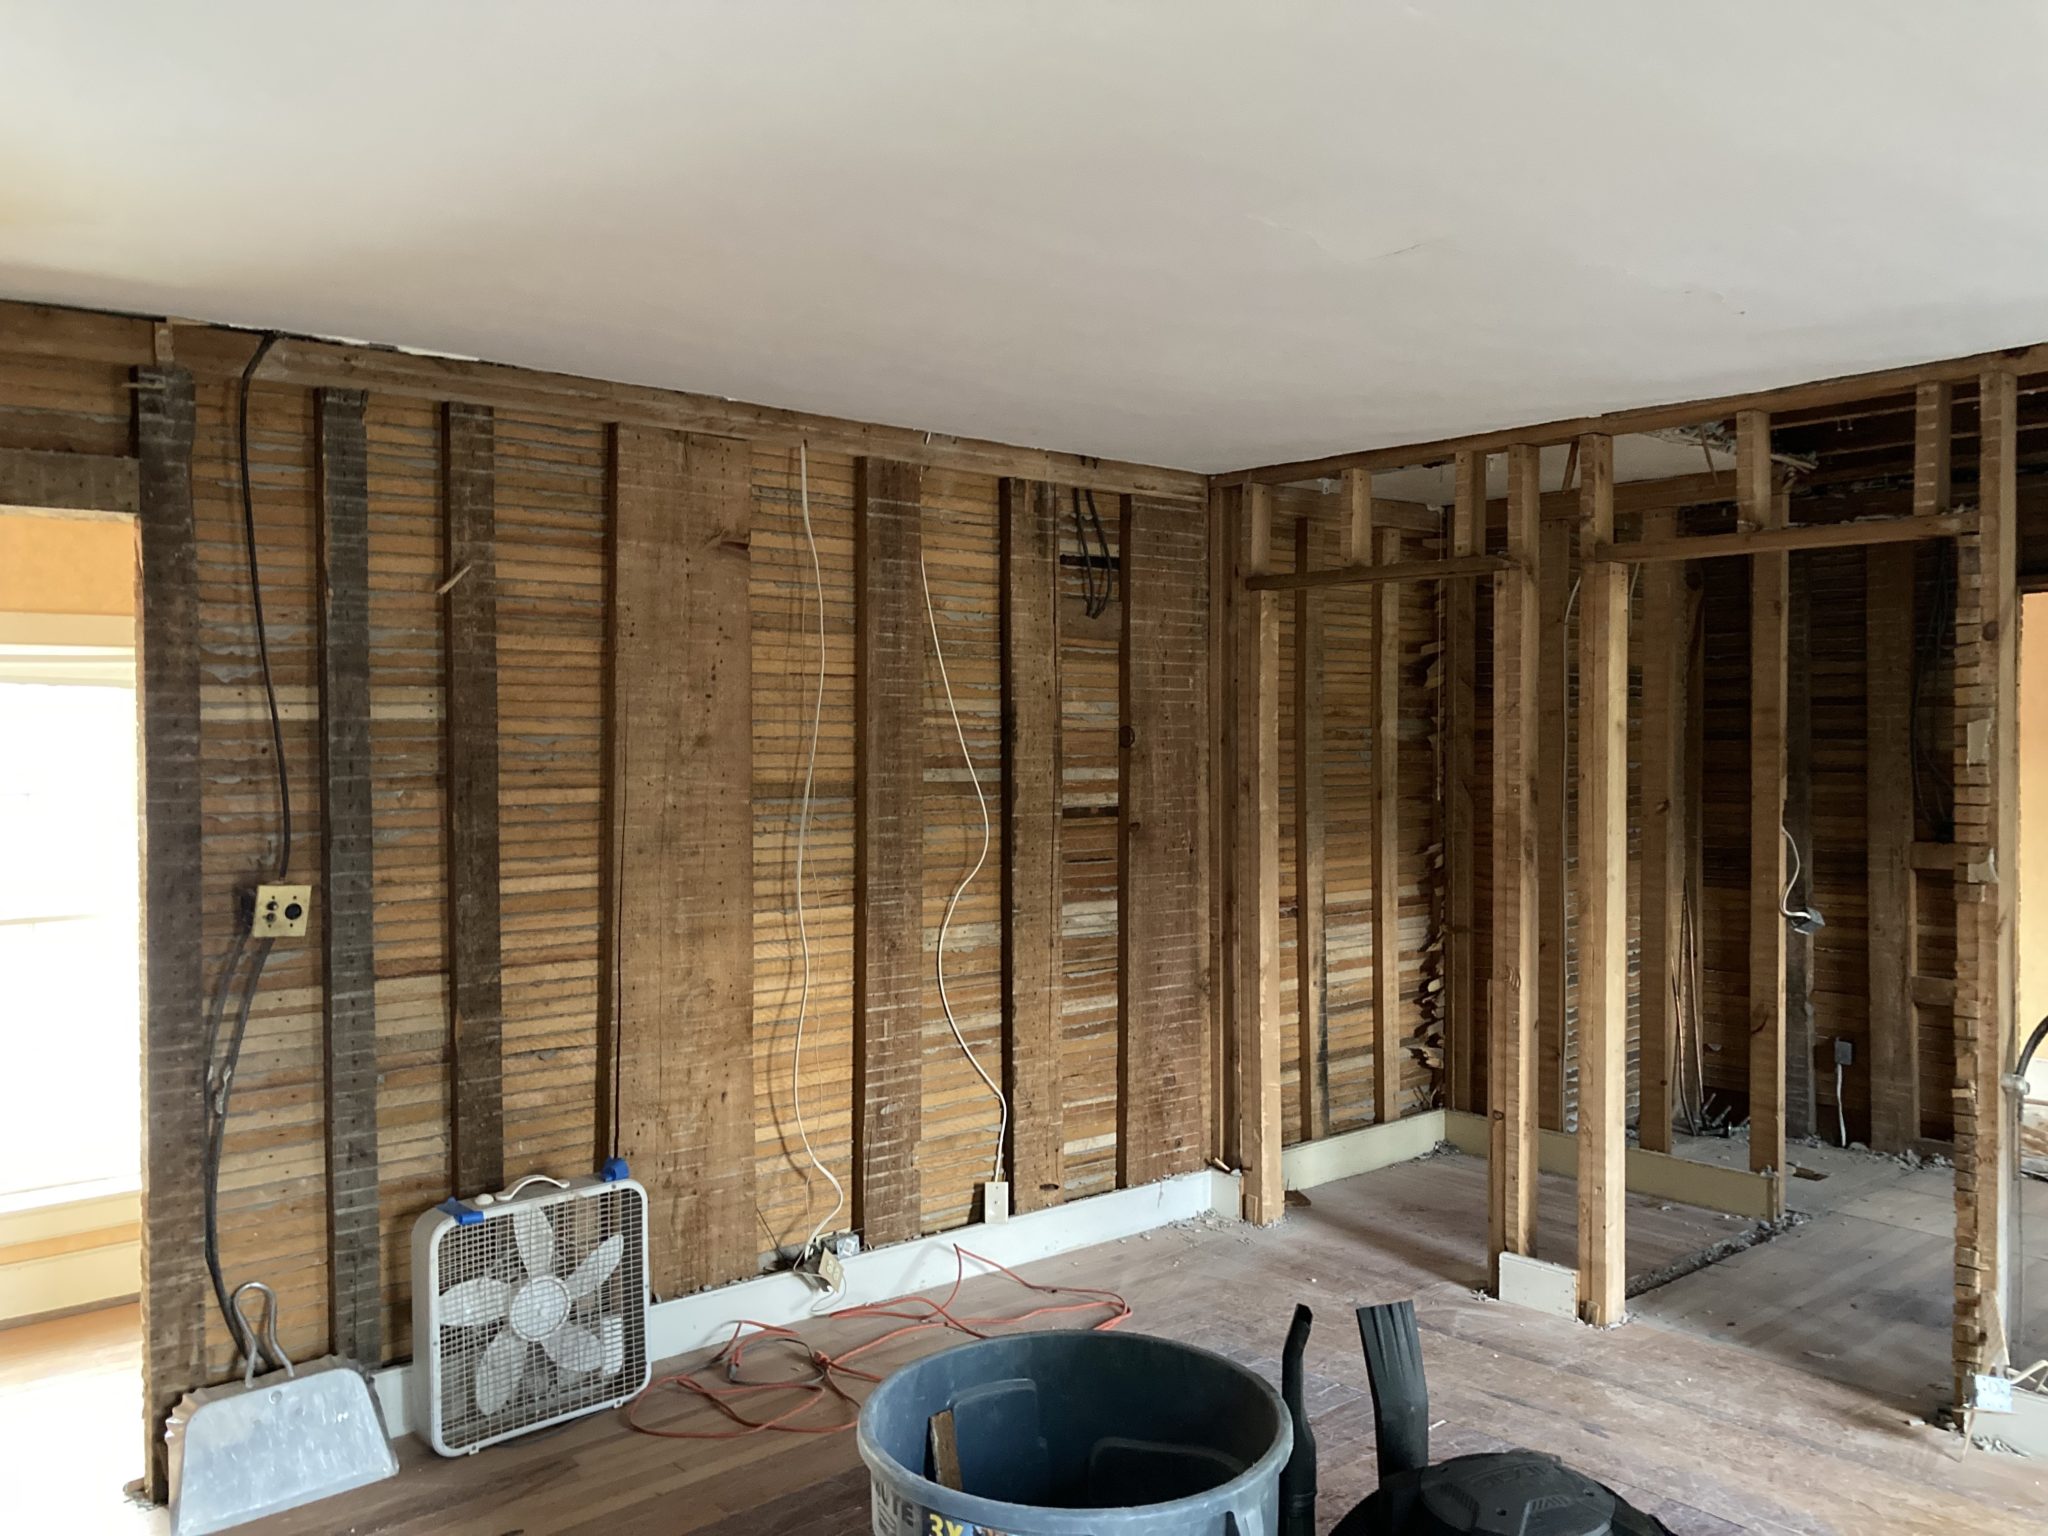
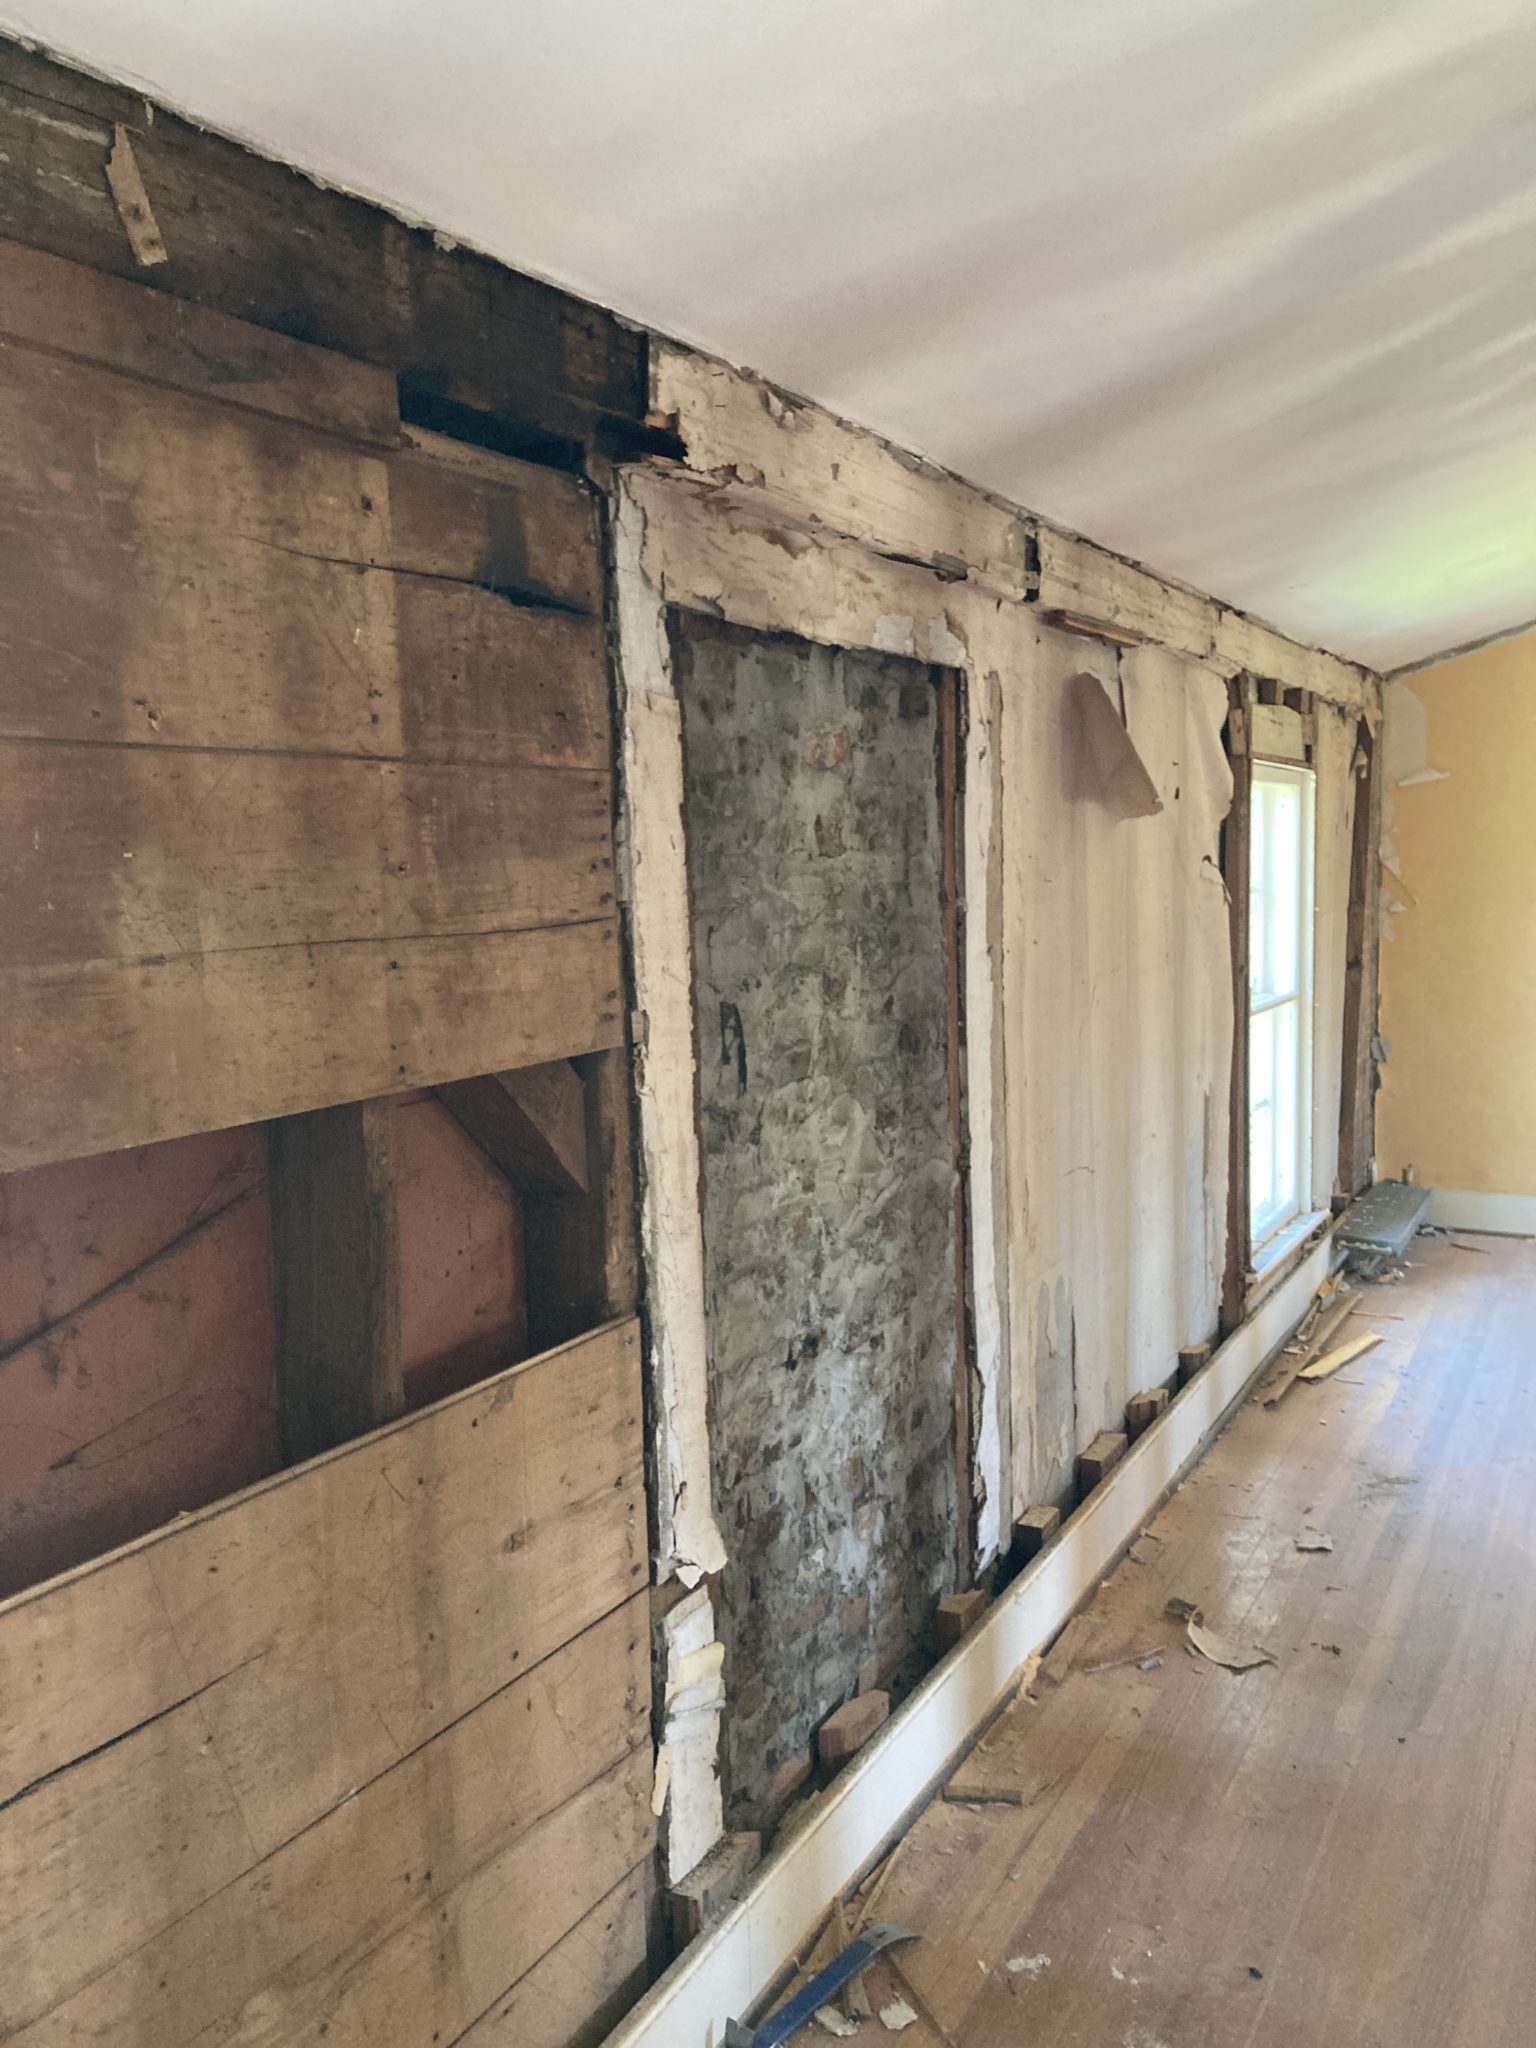
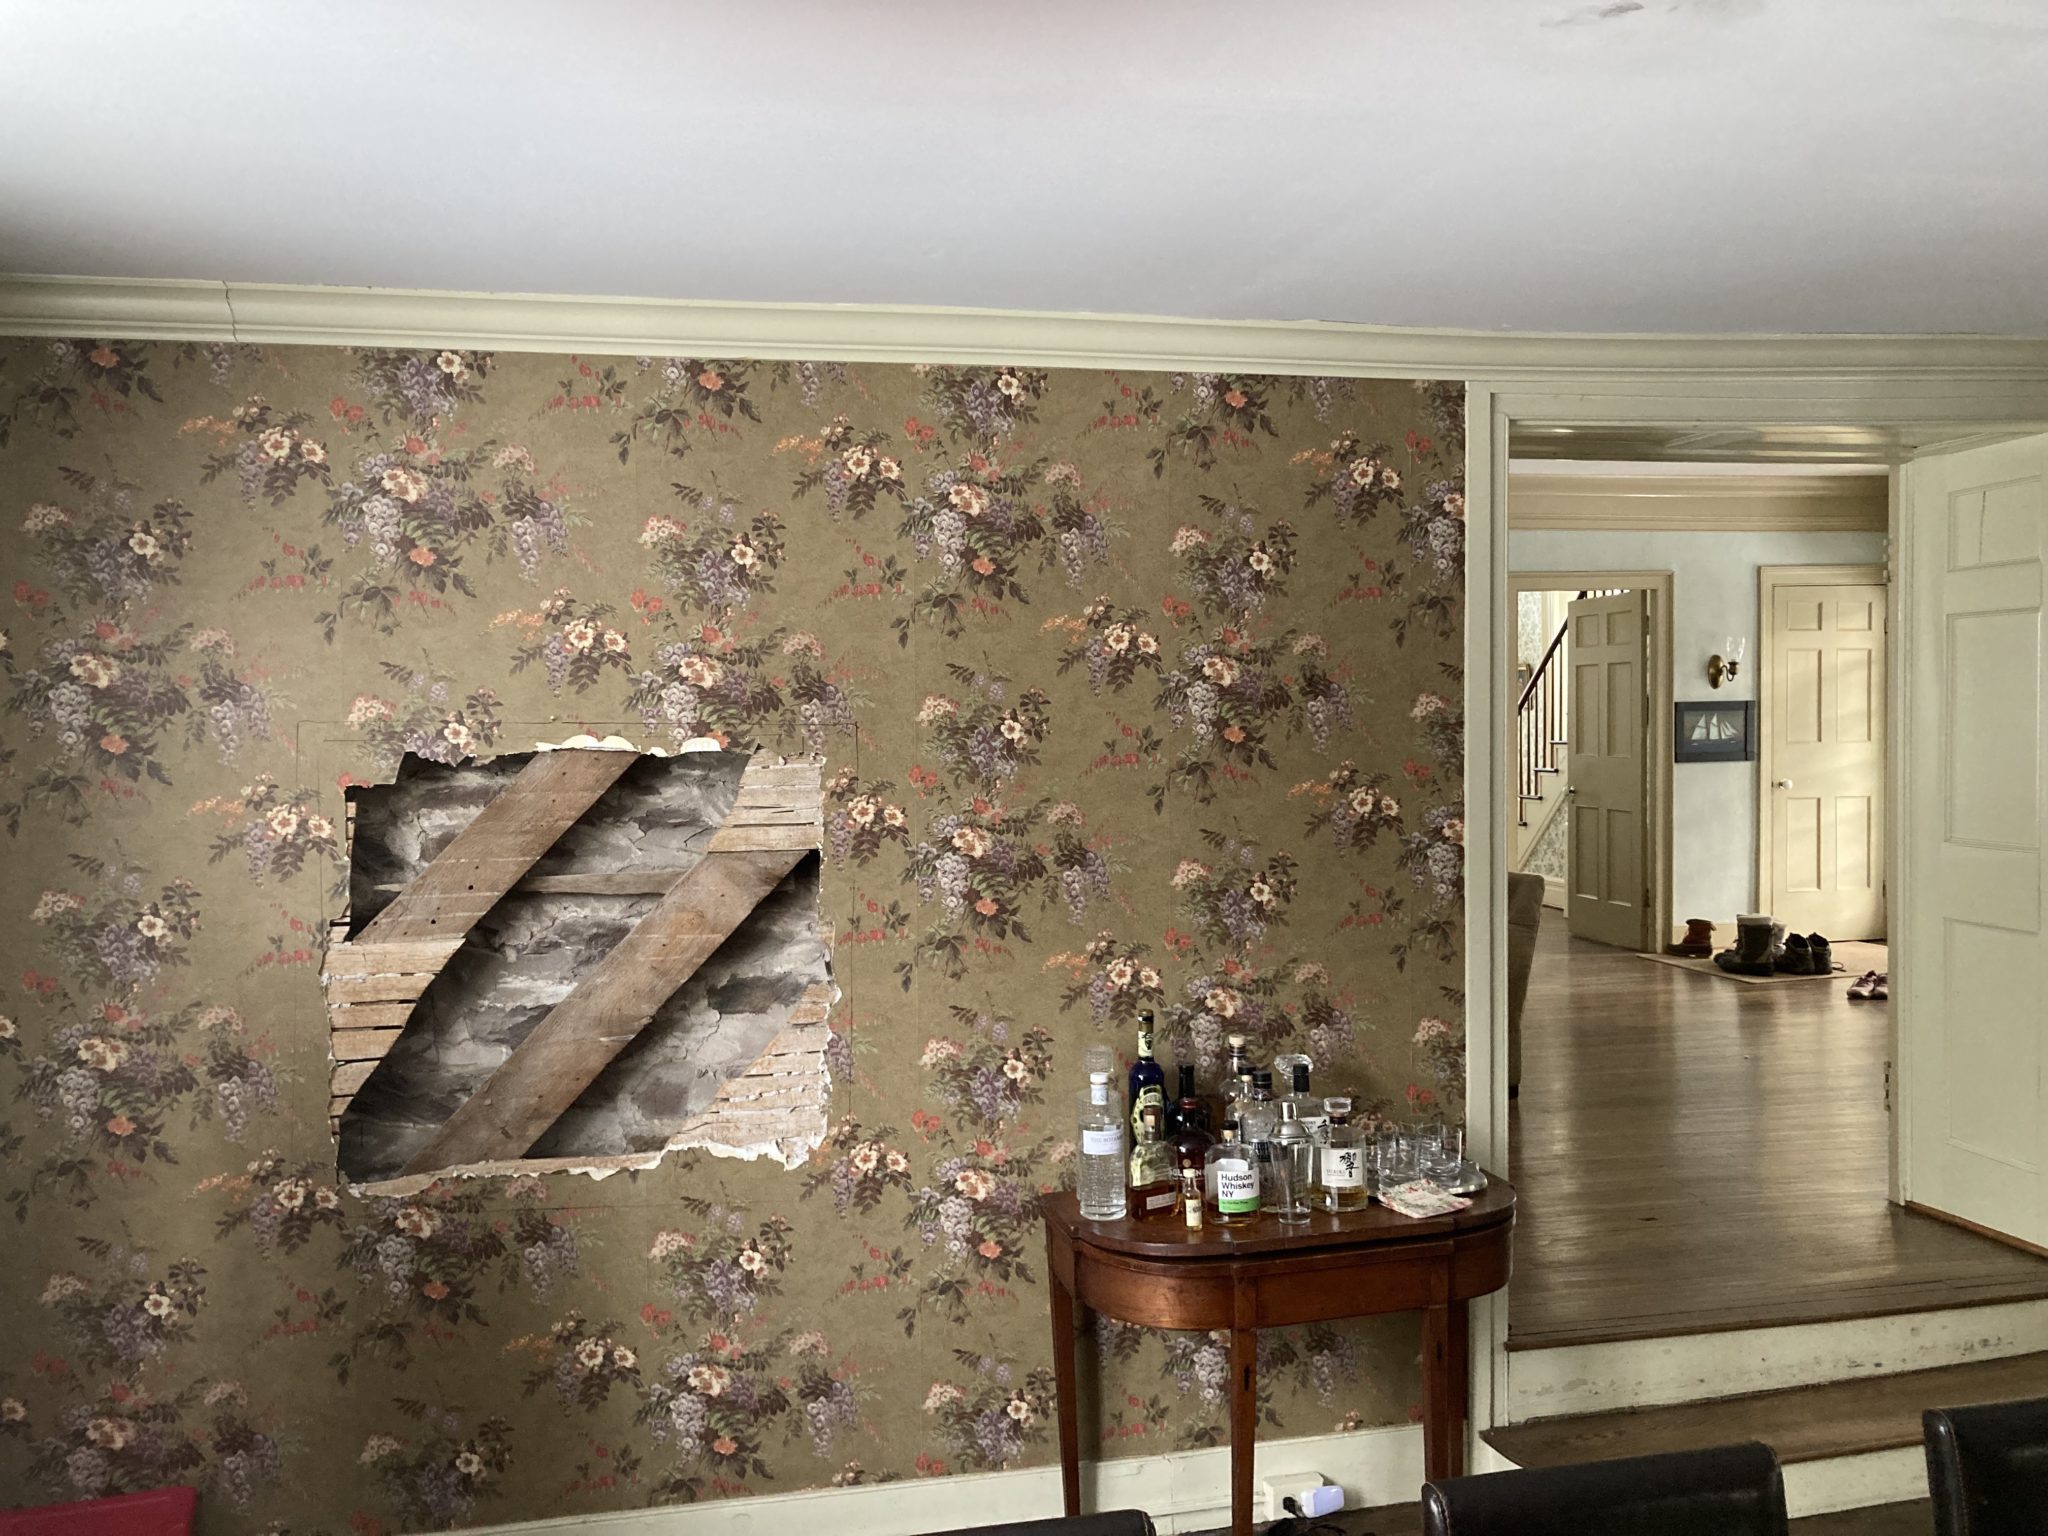
The wall holding up those house parts looked from the outside like it had been a second door, which was more clear once everything was moved out of the way.

The same view as above, more clearly showing a second door.

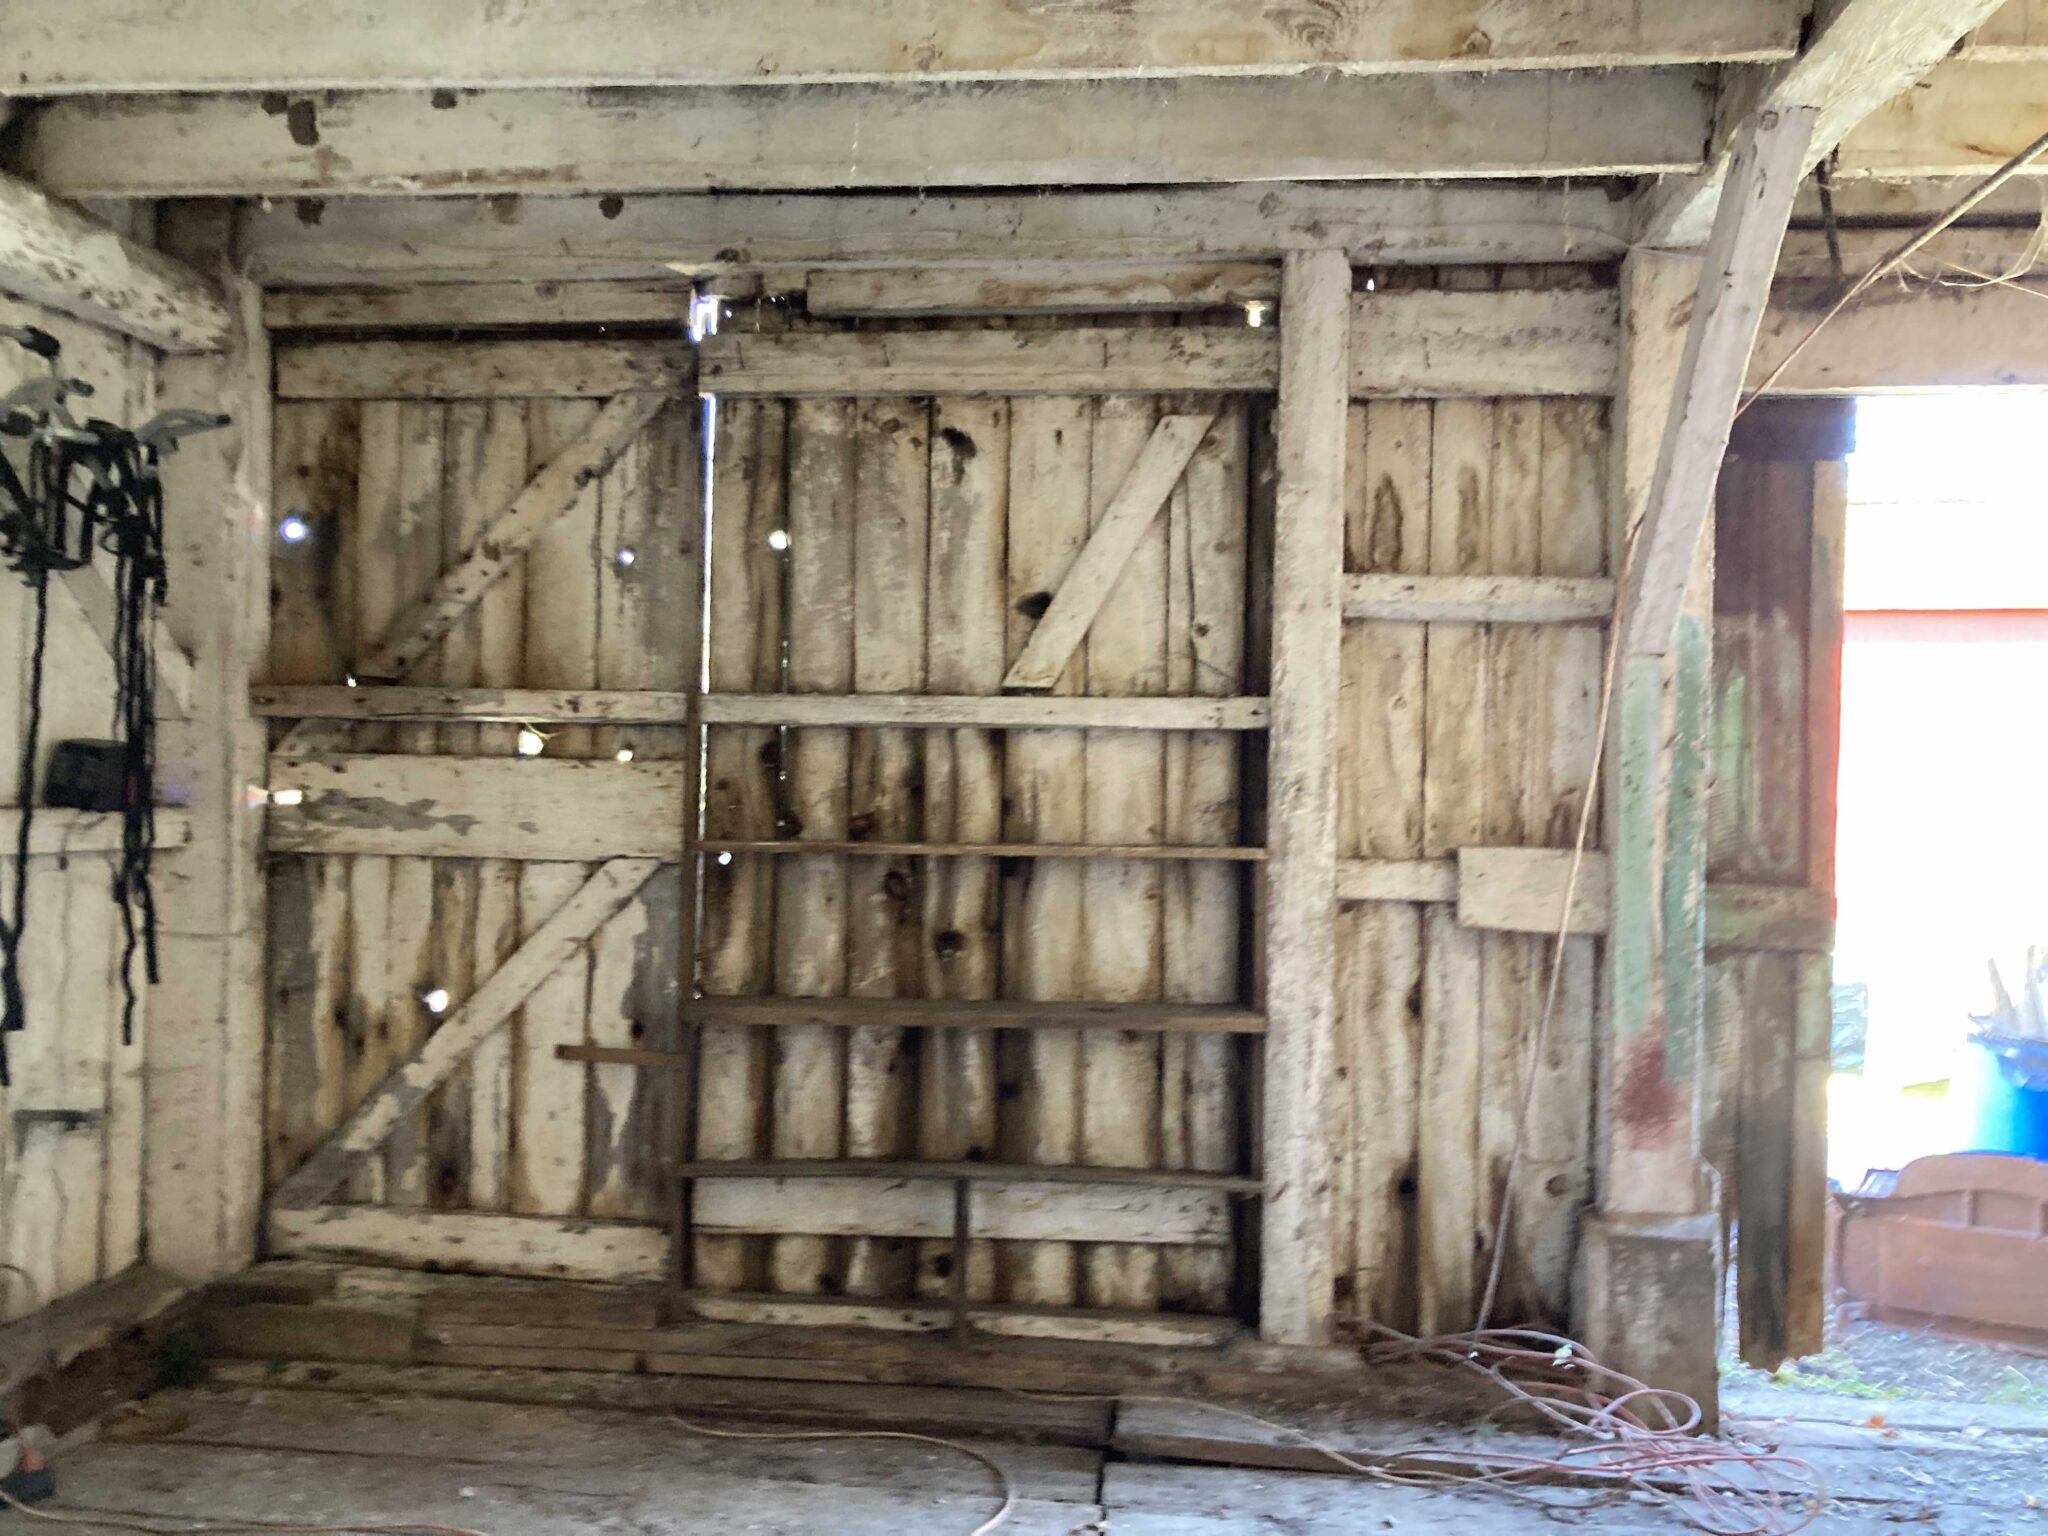
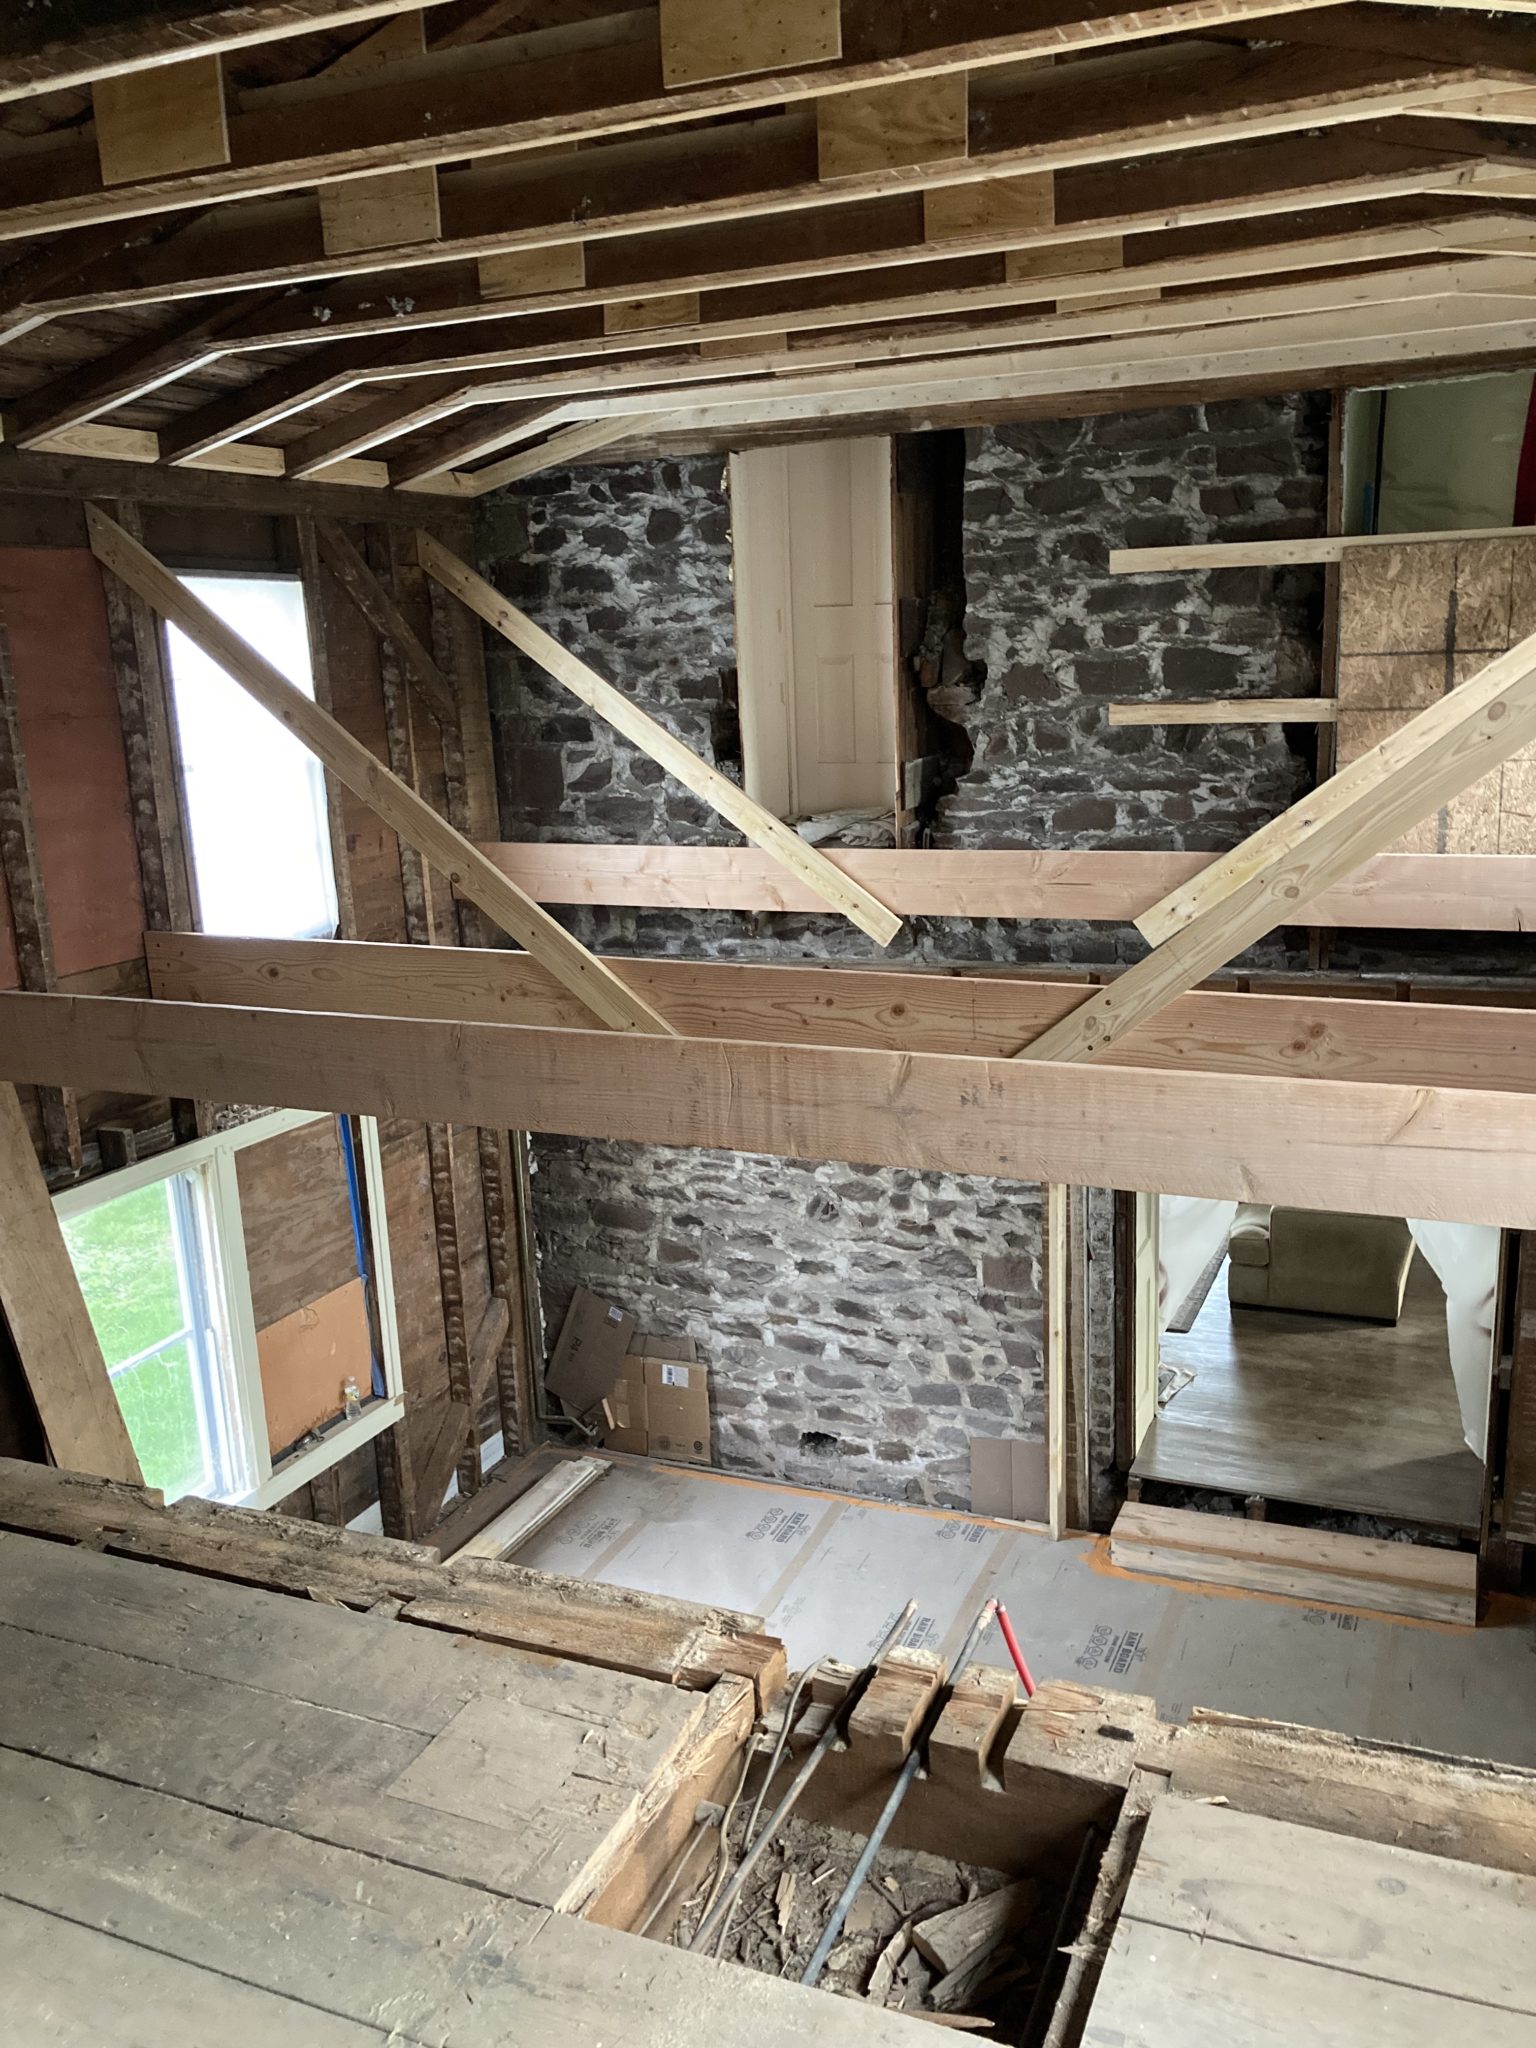
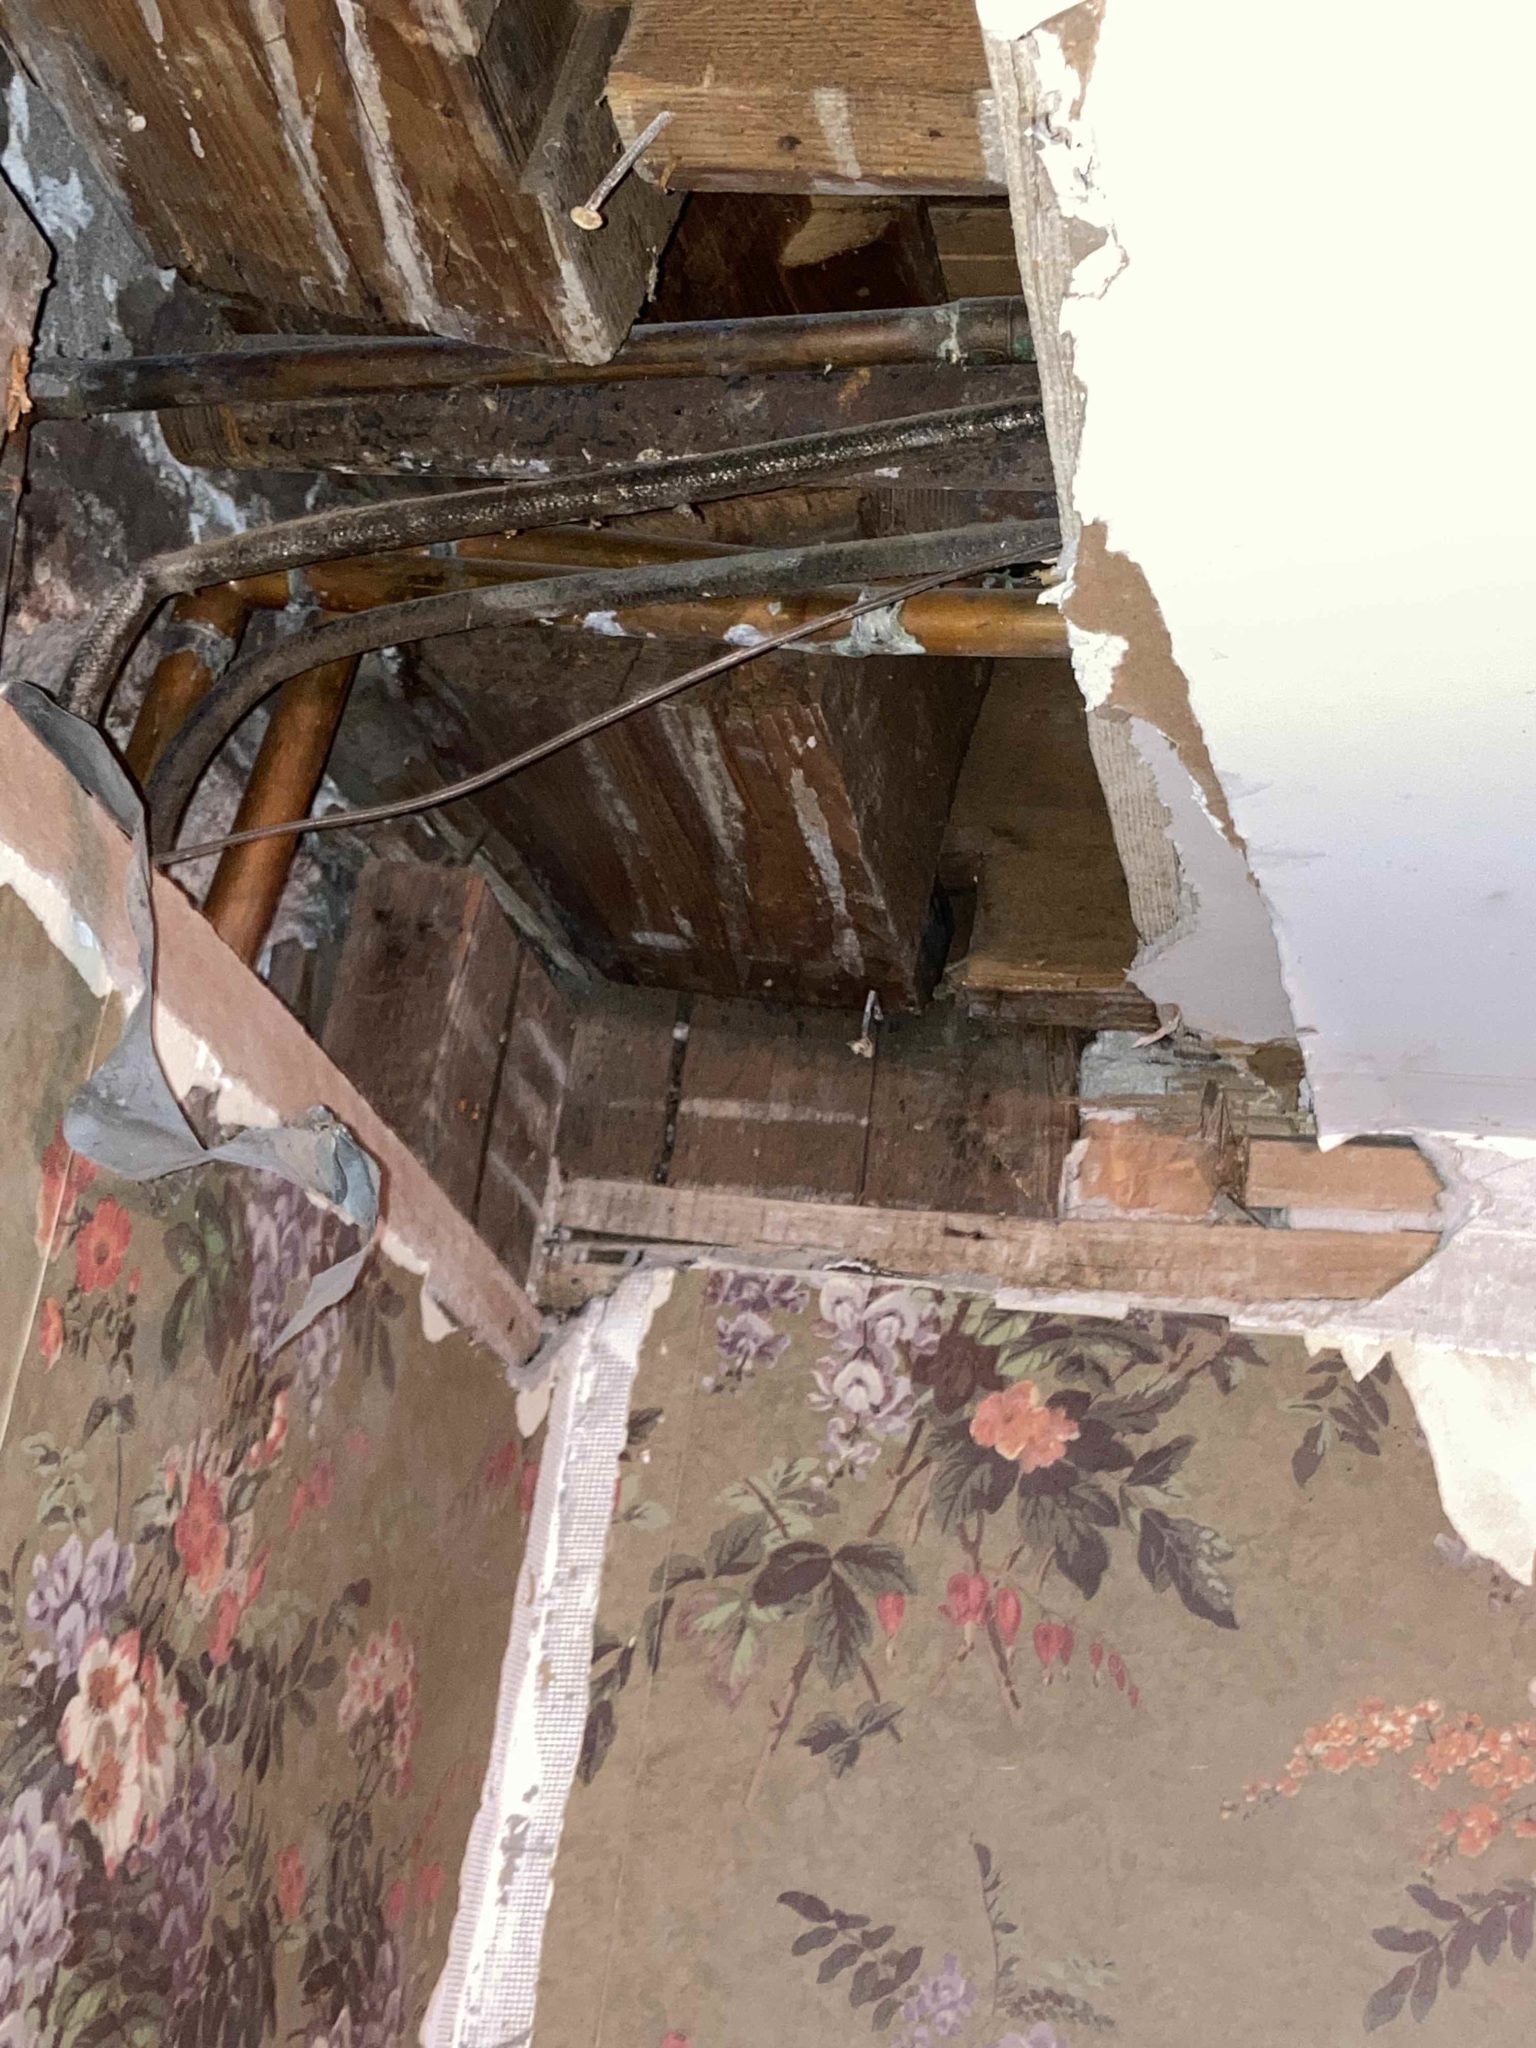
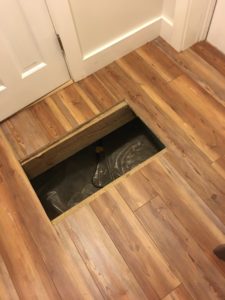
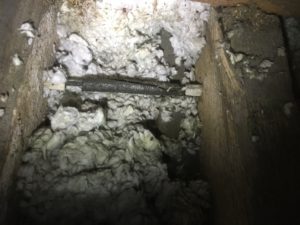
After cleaning out the north side of the barn, the “fun house” floor could be removed and the rotted floor joists taken to the dump. Now we could see more of what we had gotten ourselves into…

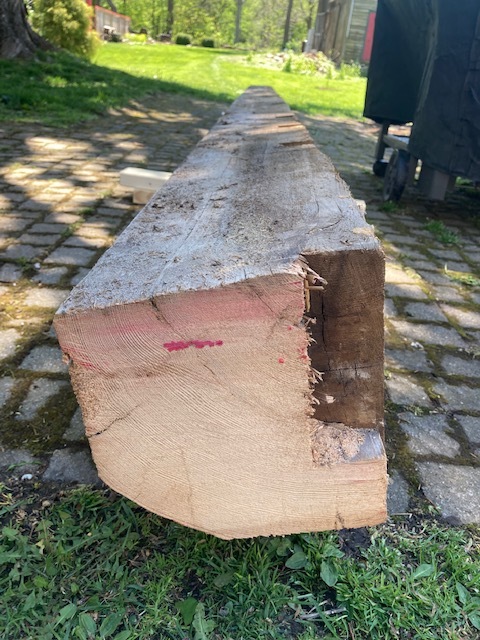
What’s left of floor joists and a sill beam from the south section of the barn.

There was just nothing left of some of those beams.

Up to the Roof

The structure of the dining room ceiling was so bad, the joists and beam had to be removed. Unfortunately, physics dictates that if you remove the joists, you need to remove the floor above it. And, like the children’s book “if you give a mouse a cookie”, if you remove the floor above, you need to remove the walls that are on that floor, and the ceiling above those walls. We weren’t able to stop until we reached the roof deck, which opened up a few possibilities for how to put it back together.

Up to the roof.

Above the dining room was a hallway, bathroom, and a part of an upstairs bedroom. It’s hard to replace the floor in half a bedroom, though, especially when the new part would be level and the old part decidedly wasn’t. The slope of that floor would have led to a slight step up at one end of the seam and step down at the other. Instead, we decided to make the whole room level: the new part above the dining room was built level; and the part of the bedroom above the kitchen that didn’t need to be removed was sistered with new, level joists for a smooth, continuous flow.

There wasn’t enough flooring to reuse for the upstairs bedroom and hallway, so we needed something that would fit the house. On a visit to a local reclaimed wood company, we took a tour of their production facility and noticed an old sample of elm flooring. They were able to track down enough for the bedroom and hallway; we just had to wait for it to be prepared.

Upstairs hall, with “new” floor, new lighting and outlets we never had before, and with the original beam exposed.

We had complete freedom to redesign the upstairs flow. In the end, though, the layout is roughly the same, with a few small improvements. We added heated floors to the bathroom and enlarged the shower by taking space from the bedroom closet. The old claw foot tub was re-glazed and new fixtures ordered so it could actually be used. One unexpected issue with the new tub – it holds more hot water than our existing tank can generate. The excitement and expectation of using it for the first time was unfortunately tempered, literally, when the hot water ran cold. 

For space heating, the entire zone was being removed, so instead of replacing the radiators and running new hot water pipes, we made room from a small hallway closet to hold a heat pump. Since the ceiling was open, installing ductwork was easier now than it would ever be again, and the heat pump provides both heating and cooling – the first “central” air of the house.

If you have the ceiling open, add spray foam and duct work!

While we were at it (a phrase that came up far too often), we also removed an old, unused chimney that was in the back part of the house. The old kitchen stove that may have once needed it was long gone, but all the brick was still there, resting on a couple of wooden boards, adding weight to the kitchen ceiling and taking up space in the attic.

About 15 feet of brick resting on a couple of boards.

Demolition all the way to the roof deck also allowed for the roof structure to be stiffened and spray foam insulation added. Typical of how the project grew, this was a chance to replace all the knob & tube wiring of this section too. The two bedroom windows were restored, for the first time fixing the broken pane of glass that had been covered with cardboard for years in the upstairs bedroom.

Bedroom, looking towards hallway and bathroom.

The problem with having a tub larger than the water tank was resolved, by the way, by increasing the temperature of the tank. That provided water that was hot enough to mix with cold and fill the tub. The renovation was a finally done.

Success!

Digging Deeper

Before we head upstairs, it’s worth looking behind the scenes at the dining room. I had mentioned the floor joists were in the dirt, and that was not an exaggeration.

Floor joist in the dirt, surrounded by many little footprints, and one big one.

To stop the drafts, and the critters, we had to get down to a level where we could have a crawl space. And, like so many other aspects of this project, if you have the floor open, you might as well dig and pour a proper crawl space. So we did:

Digging down for a crawl space.
Reinforcing the existing foundation wall.
And creating a proper crawl space to support the new floor.
Spray foam on the foundation walls and some of the steel needed to hold up the stone wall.
Final steel structure.

Down to the Dirt

The story continued, even if I haven’t been timely in reporting it. There’s already a new project going on out back, but I need to finish talking about the last one first with a couple of “before and after” posts.

This one covers the dining room, which is where the project started. Before we began, the plumbing repair of our first year (Week 7 – Leak 7) was still exposed, the slanted ceiling was of some concern, and the floor was always cold in the winter. The floor of the dining room also had a slope to it, and we knew that there was at least a cat-sized hole from the crawl space to the outside, since our daughter’s cat had on more than one occasion managed to work his way outside from the basement under the cobblestone section. That explained the cold winter drafts and where a cat could get out, we assumed other critters would have no trouble getting in.

The dining room is the northernmost end of the wooden part of the house, abutted against the southern, back wall of the cobblestone. They were not attached other than some trim work, just sitting next to each other.

Above the dining room, under the hardwood floor, there was more evidence of an old stairway along what is now the west wall of the dining room, but not much else that would provide clues to the original layout upstairs before the addition of the bathroom and the plumbing that led to this whole project.

Above the dining room.

From the earlier post (Everything must go), we saw that the ceiling joists were split and the beam supporting them was compromised to the point of twisting. Not being sound enough to attach new joists, the beam was removed and replaced with a laminated beam and laminated floor joists across the span of the dining room. Where the never-used tub was to be returned above, additional reinforcement was added.

Removing the compromised beam.
Still solid, if only it hadn’t been cut up elsewhere for the addition of heating pipes.

The other reason for a new laminated beam was to eliminate the need for supporting posts along the north wall. That allowed us to leave the back wall of the cobblestone exposed. The front of a cobblestone usually has thin, neat rows of stones; the side has rows of slightly larger stones, and the back is simple fieldstone. Ours is no different, but even the back has a nice look:

Dining room, looking north.

The original floor boards of the dining room had been carefully removed, and with a few similar boards from upstairs, there were enough to be repaired and reused for the dining room floor. The preparation, though, included standardizing the random widths and adding a new tongue and groove to each board.

So, back to the plumbing before and afters:

Dining room wall and porch door – before.
Dining room wall and porch door – after. The pile of dirt outside came from under the floor.

In the next post: why we had extra floor boards from the upstairs…

Everything Must Go!

Update – temporary support wall needed as soon as dining room ceiling removed. This is what is keeping the upstairs bathroom upstairs. All the joists are bowed, but the ones under where the tub had been are also split – we learned from the engineer that cutting a 2×8 joist down to 2×6 at the end to fit it into a beam weakens it to less than the capacity of a 2×6. That’s clear from the splits still visible in these even after the temporary wall was added.

Temporary support for split ceiling joists.

The conclusion from the engineer – these joists cannot be saved. The bow, the splits, the amount of sag, all add up to an expensive retrofit that would only modestly improve the angle of the slope of the floor upstairs. New joists are needed. The only way to put in new joists is to take out the old ones, which means taking out the upstairs floor, which means removing the upstairs walls, which means taking down the upstairs ceiling.

Since this is the last view of those rooms before they are rebuilt, this post is dedicated to a series of “before” and “no more” pictures. The “after” will have to come in a later post.

Upstairs bedroom before.
Upstairs bedroom demo – cut lathe indicates the walls were a “modern” addition.
Upstairs hallway, facing north, towards the stone wall.
Upstairs hallway demo – there were two layers of wall on both sides. Under the plaster wall built flush with the top beam was a previous plaster wall. In this case, it also looks like an old window had been bricked over.
Upstairs while there still is an upstairs. These rafters also need to be reinforced but that can be done in place.
Joists removed. The beam in the foreground is in tact, except where this plumbing was cut through, and has only a 1″ sag in the middle of the 19′ span. It’s above the wall between the dining room and the kitchen. The 2×12 beams across the dining room are temporary bracing.

Never Assume

Consider this part 2 of the post from yesterday. What had been the conclusion of that post was, in fact, premature. I had opened up a corner of the wall, but it was just one corner.

Today I opened up the corner the rest of the way to the floor. There was one vertical post, so I was able to work my way down to the floor.

Unfortunately, there was not an obvious beam there. All I could see was at least three inches of mortar surrounding the base. Maybe a beam, maybe a foundation wall. We’ll have to wait until we open the floor to find out.

Across the top of the opening between the two sections of the house, though, I was able to keep pulling away plaster and lathe to expose the hoped for lintel. It did keep going, but only the width of what must have once been a window. It does not go all the way across.

West side of opening, with the stone lintel.
East side of opening, after the stone lintel ends.

The other end looked like the fields stone back wall of the house, with nothing specific holding it up above the wood frame.

Digging deeper, I was able to find wood holding up the stone. Maybe a 2×8 or so, set horizontally, so not a lot of structural support for the stone wall that is over a foot thick.

So, never assume what you see at one point keeps going to another.

Keeping that in mind, I decided to keep going to see how the beam I found at the top of the wall was supported.

North-East corner of Dining Room

This corner view has a lot going on – not least of which is the wallpaper pattern – but the beam is sitting on a post in the corner. That part was good news. How the hot water pipes for the radiators were cut into that beam, however, is concerning. Almost half of that 8×8 beam had been hacked away to make room for two 1″ copper pipes.

It begins again

It’s been a while. There have been projects, and I may post them eventually, but I also thought this was the best way to share the discovery process that is the first step of a new project.

First, some context. This is the dining room, a room in the older, wooden part of the house, looking north through an opening to the family room in the cobblestone section. There is work to be done in this dining room, and we wanted to know if the two sections of the house, what were probably two separate buildings originally, are actually attached.

Dining Room wall

We started by opening the wall. Odd that the wood studs holding the lathe and plaster are at an angle, but there is always something to learn when we start a project. In this case, we wanted to understand the wall structure so we could potentially attach the two buildings and find out what was holding the stone wall up above the opening – hopefully something structural.

Starting in a corner, I took off the plaster. The lathe is split, not sawn.

Going deeper, I found why the studs were at an angle. They are not structural at all but are just between the beam at floor level and the beam at ceiling level.

It’s an 8″ x 8″ beam and still looks good and straight. The doorway, however, has dropped. We noticed that when we moved in, and in fact I measured it at the time to make sure it wasn’t still dropping. It’s not, but now it’s clear what’s going on:

The post next to the doorway has dropped. I didn’t open up the floor, though that will be part of the upcoming project. It’s likely there is a beam along the floor, but it’s resting very close to the ground so has probably weakened and sagged in the middle, bringing the door frame down with it.

Likewise, looking at the joists going from that beam across the dining room ceiling, it’s clear that the weight above has been too much. There’s a whole bathroom that was added above the middle of the dining room, and it doesn’t look like the ceiling joists were sized to hold it. They’ve split, which is why the floor above slopes so much.

The real question was if there was anything holding the rock wall up above the door.

There is! I can’t tell if it’s stone or concrete, but it’s solid. So, there is something above the doorway holding up the rock wall. It makes sense that there is, but it’s reassuring to find it.

It’s not original

Just to clarify, for the record.

There’s a trap door under the rug, but it’s not part of a secret hiding spot.

Back back hallway
Back back hallway

Capt. Throop was an active member of the Underground Railroad (see Rochester newspaper video and local blog ), but his role was as ship captain, ferrying his “passengers” to their next stop or across the lake to freedom. It was up to others to hide the runaway slaves, so we haven’t found any evidence of a secret hiding spot.

But, there is a trap door under the rug in the back hallway now.

IMG_0986

I put that in. I need to get access to the small crawl space under this section of the house, and it looks like the only outside access was walled up long ago.

IMG_0987

Unfortunately, back in Week 3 – Leak 3, I mentioned that the leaking pipe had a hidden value. In an important lesson in unintended consequences, fixing the leak meant that there was no longer a constant flow of water through the pipe. Unfortunately, that pipe goes through an exterior wall, so without a constant flow, it freezes easily. So, a few weeks after I fixed it – the pipe froze.

That’s when I realized there wasn’t a way to the pipes. The crawl space under the adjacent room is accessible through the kitchen floor, but this section is walled off. So I had to cut through the plywood floor to thaw the pipe. It was a terribly tight fit, and the exercise confirmed that I would not enjoy spelunking. With a heat gun from underneath and a blow dryer from on top, we managed to thaw the pipe before it split.

I’m hoping to avoid more frozen pipes with a temperature-controlled light providing much-needed heat, but I fully expect I’ll need to get under there again. In the meantime, I’ve finally covered the plywood floor with something a little nicer, but I can still get underneath when I need to.

IMG_0988

Well?

Having a daughter that’s an archeologist and a neighbor that’s a scuba diver can make for interesting weekends if they’re both home.

It’s possible there is a well in the old drawing at the top of this blog. A little wooden thing between the two trees behind the man walking down the street. That’s about where we have a well. It has a cement cap on it now, but we were curious enough to open it up this past summer.

img_1562

Rock lined all the way down. At the time, it was about 15′ done to the water and another 9′ of water depth. First we sent a goPro, but it just showed rocks at the bottom and maybe a piece of wood. With Teddy and Kendall ready, we had to investigate.

img_1560

More precisely, Teddy geared up and went to investigate.

img_1558

First, there is a pipe going from near the bottom of the well up and into the side wall. From there, it goes straight in to the basement under the cobblestone part of the house. Just a cut off pipe there now, but clearly their first running water.

img_1539

Teddy worked his way down and under the water. He brought up some muck from the bottom in a bucket, along with the wood that we’d seen. And a frog he found swimming around – probably fell in while we had the top open.

frog

You can see the wood in the bucket. It looks like part of a wooden water pipe, and I’ve since seen other wells with something like that sticking out the side. It could have been used to direct water from the well in to a bucket. Except for a few mouse bones, that was the most exciting find on this expedition.

Knob and Tube

Our house has had its electrical system upgraded with every generation of technology since it came in to homes, including examples of new outlets wired to older wiring, so you can’t trust it just because it has three prongs. Take this example, where cloth wiring goes into an outlet I don’t recognize, then goes out through metal conduit, an ultimately to new wiring and a nice, new outlet. Don’t trust the outlet.

img_2036

The entire upstairs has knob and tube wiring, which is always good for some costly drama on the home repair shows. The technology is simple, knobs hold the wire against the joists, like this part going through our attic:

img_1809

And tubes run it through drilled holes in the joists:

img_1811

In the end, it shows up in my office as a single two-pronged outlet. This is how it looked when I pulled the outlet from the wall to start replacing it:img_1817

Fortunately, one new circuit has already been run to the attic through what was once a closet in the living room. I was able to run wiring from there over to the office and down through the wall, so I have a real outlet in the office now. The ethernet cable I had to string along the hot water heating pipes, because I couldn’t get to that former closet to run any new wiring.

One outlet down, the rest of the upstairs to go.